Tissue-specific in vivo transformation of plasmid DNA in Neotropical tadpoles using electroporation
Jesse Delia, Maiah Gaines-Richardson, Sarah C. Ludington, Najva Akbari, Cooper Vasek, Daniel A. Shaykevich, Lauren A O'Connell
Abstract
Electroporation is an increasingly common technique used for exogenous gene expression in live animals, but protocols are largely limited to traditional laboratory organisms. The goal of this protocol is to enable in vivo electroporation techniques in a diverse array of tadpole species. We explore electroporation efficiency in tissue-specific cells of five species from across three families of tropical frogs—poison frogs (Dendrobatidae), forest frogs (Aromobatidae), and glassfrogs (Centrolenidae). These species are well-known for their diverse social behaviors and intriguing physiologies that coordinate chemical defenses, aposematism, and/or transparency. Specifically, we examine the effects of electrical pulse and injection parameters on species- and tissue-specific transfection of plasmid DNA in tadpoles. After electroporation of a plasmid encoding green fluorescent protein (GFP), we found strong GFP fluorescence within brain and muscle cells that increases with the amount of DNA injected and electrical pulse number. We discuss species-related challenges, troubleshooting, and outline ideas for improvement. Extending in vivo electroporation to diverse amphibian species will offer a powerful approach to explore topics in genetics, behavior, and organismal biology.
Before start
Consult with your local animal ethics board prior to experimentation.
Attachments
Steps
Anesthesia Preparation
Mix 0.02g ethyl 3-aminobenzoate methanesulfonate (MS-222) and 0.08g sodium bicarbonate with 60 mL tadpole water
Store at 4C for up to one week
Electrode Set-Up for Targeting Muscle Fibers
Remove the tips from two 5 mL serological pipettes using scissors
Solder two ~ 5 mm X 8 mm pieces of platinum foil to separate electrical lead wires to make an electrode
Run one electrode wire through each cut serological pipette and secure it with electrical tape
Construct a platform out of clay evenly spread over the top of a Petri dish
Embed the anode into the clay with the foil exposed near the center of the Petri dish
Set the stimulator parameters to square wave, 1 pps, 0.1 ms delay, 5 ms duration, and 30-50 V
Electrode Set-Up For Targeting Brain Cells
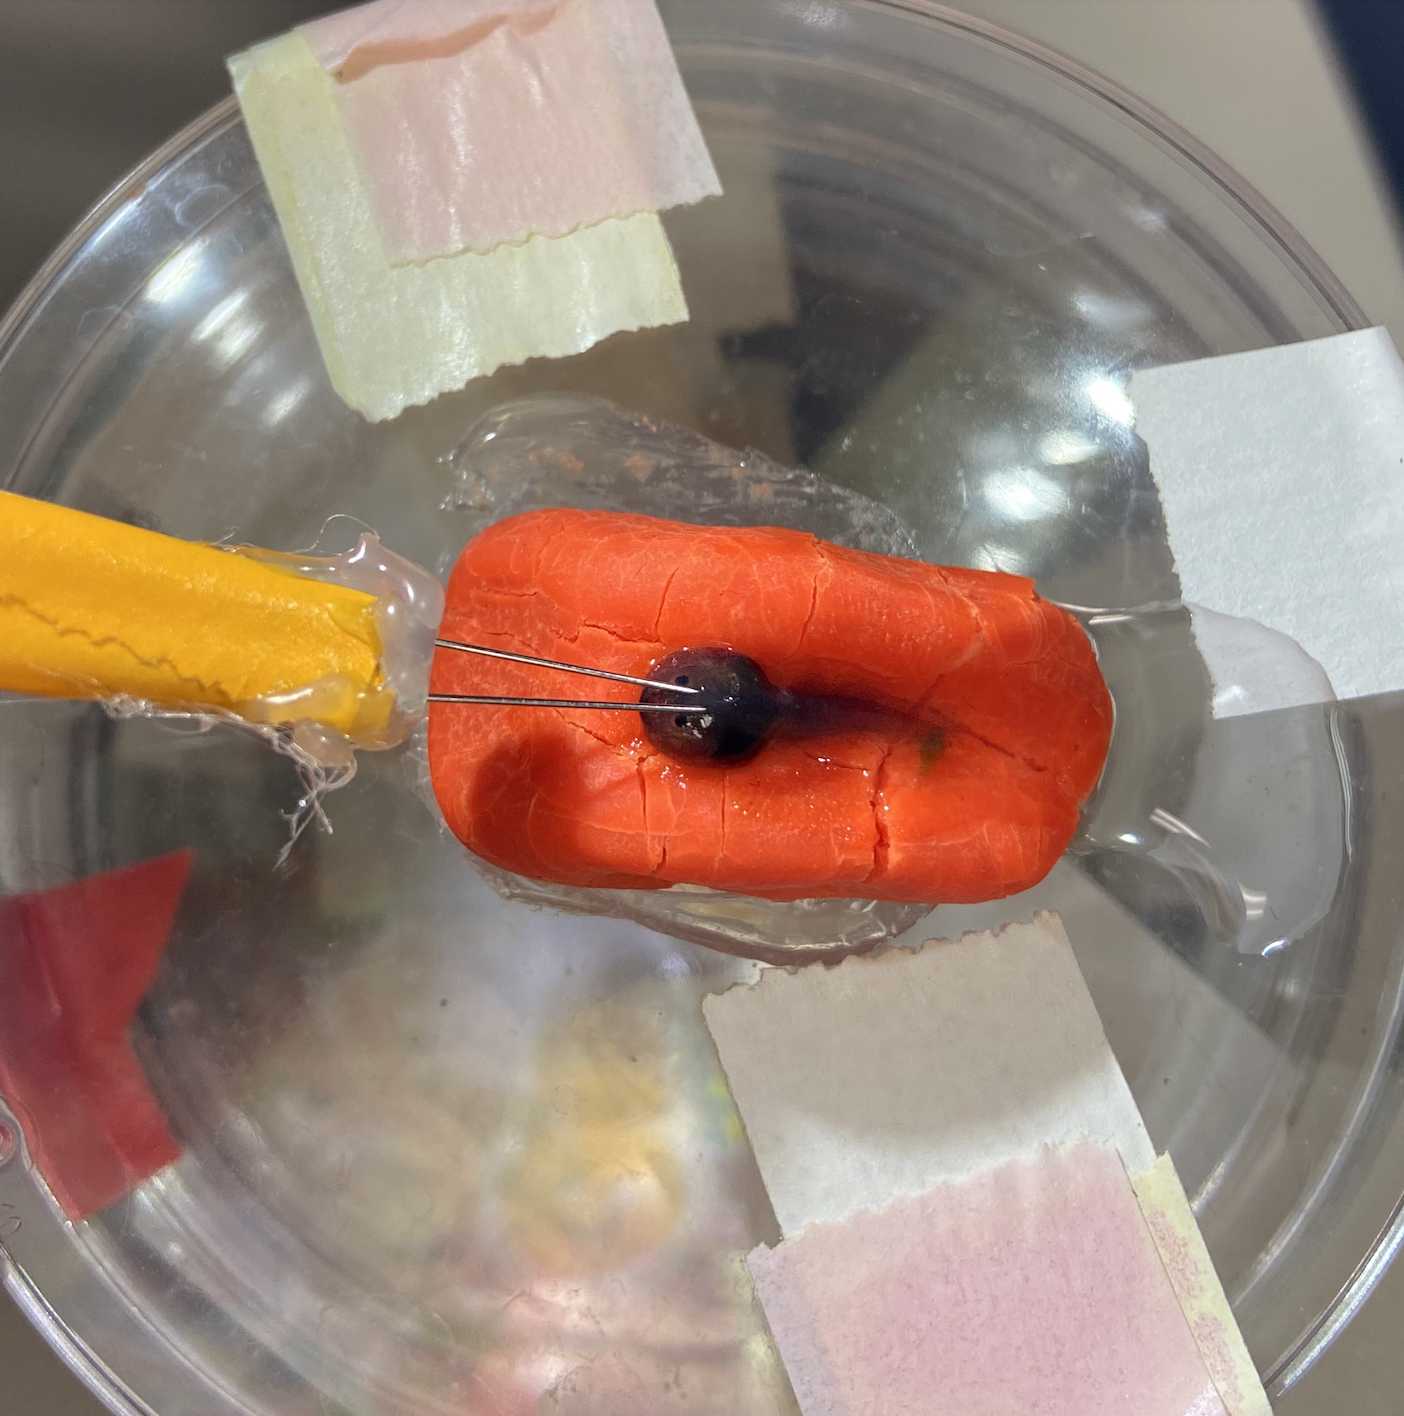
Construct a platform out of clay molded into the shape of a hill
Remove the tips from two 1 mL serological pipettes using scissors
Mount the serological pipettes side by side on the micromanipulator and fasten them together with electrical tape
Run one needle electrode wire through each cut serological pipette
Set the stimulator parameters to 10 pps, 0.1 ms delay, 15 ms duration, and 30 V
Injection Set-Up
Pull glass capillaries using a pipette puller
Break the pipette tip at an angle using forceps to create a beveled tip
Backfill the pipette with mineral oil using a 28-gauge needle and 1 mL syringe
Place the pipette onto the injector plunger and tighten the collet
Select an injection volume of 64.4 nl and set the injection rate to slow
Empty enough mineral oil to load 2 uL of plasmid DNA solution
Pipette 2 uL of plasmid DNA solution (0.25–0.27μg/μl) onto a piece of parafilm and mix with 0.2 uL 0.01% Fast Green
Fill the pipette without introducing air bubbles
Connect the electrode wires to the stimulator
Place the platform under a dissection microscope with the electrode on one side and the injector on the other

Electroporation
Anesthetize the tadpole by placing it in a Petri dish of room temperature 0.03% MS-222 for 5 minutes
Confirm the tadpole is fully sedated by checking for movement in response to stimuli
Move the tadpole to the platform with a cut transfer pipette
Adjust the position of the tadpole using a paintbrush
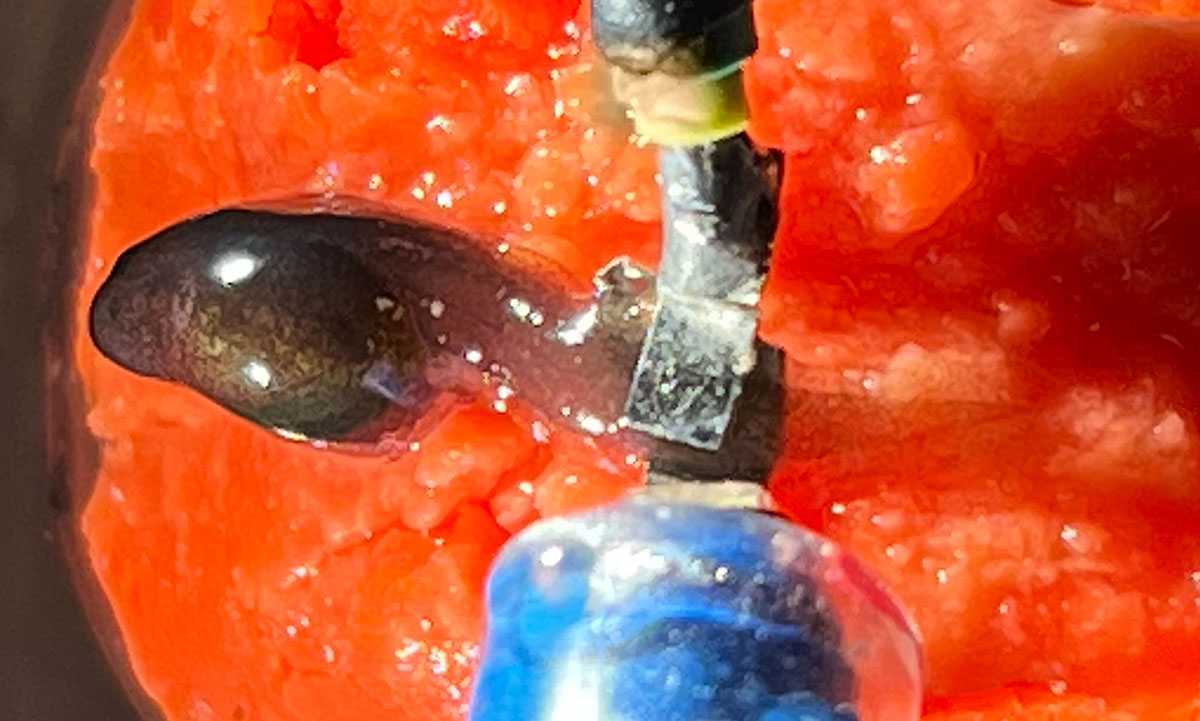
For experiments targeting muscle fibers, place the tadpole flat on its side with its head in the depression and its tail on top of the anode
For experiments targeting brain cells, place the tadpole dorsal side up with its head in the depression
Orient the platform such that the head of the tadpole is facing toward the injector
Lower the injector and insert the pipette into the target tissue
For experiments targeting muscle fibers, insert the pipette into a tail myomere
For experiments targeting brain cells, insert the pipette into the brain ventricle
Inject the plasmid DNA with a 5-10 s interval between each injection
For experiments targeting muscle fibers, deliver two injections
For experiments targeting brain cells, deliver three injections
Remove the pipette from the tadpole
Orient the platform such that the head of the tadpole is facing toward the electrode
Lower the electrode until it is in full contact with the target tissue
Deliver the electrical pulses
For experiments targeting muscle fibers, deliver 4-8 double pulses with a 1 s interval between each set of pulses
For experiments targeting brain cells, deliver 4-10 pulses with a 1 s interval between each pulse
Transfer the tadpole to fresh tadpole water for several hours to recover
Roughly 24 to 48 hours after electroporation, screen tadpoles for plasmid uptake by imaging GFP-positive cells
In Vivo Screening
Anesthetize the tadpole by placing it in a Petri dish of room temperature 0.03% MS-222 for 5 minutes
Move the tadpole to a new Petri dish with tadpole water and place under a stereomicroscope with a GFP filter
Center the imaging field on the target tissue and capture the fluorescent image
Transfer the tadpole to fresh tadpole water for several hours to recover


