Sample collection and eDNA extraction from Sterivex filter units
Oscar E Chiang, Pedro Inostroza
Abstract
The following workflow covers several steps in the DNA analysis of environmental samples, from the water collection to the analysis back in the lab. The samples can be taken from several water systems (i.e. sea, lakes, rivers, streams) and collected in triplicate (1 L) in Sterivex sterile filter units (Merck, cat. no. SVGP01050). The DNA extraction protocol modifies the Dneasy PowerWater Sterivex kit (Qiagen, cat. no. 14600-50-nf).
Steps
Sample collection
A portable peristaltic pump (Vampire sampler; Buerkle) is used for sampling at an approximate 30-50 mL/min flow rate. The tubing inserted in the unit's head has a suction hose (Marprene; 4.8 mm inner diameter), connected to a flexible silicone hose. A suitable adapter connects both hoses.
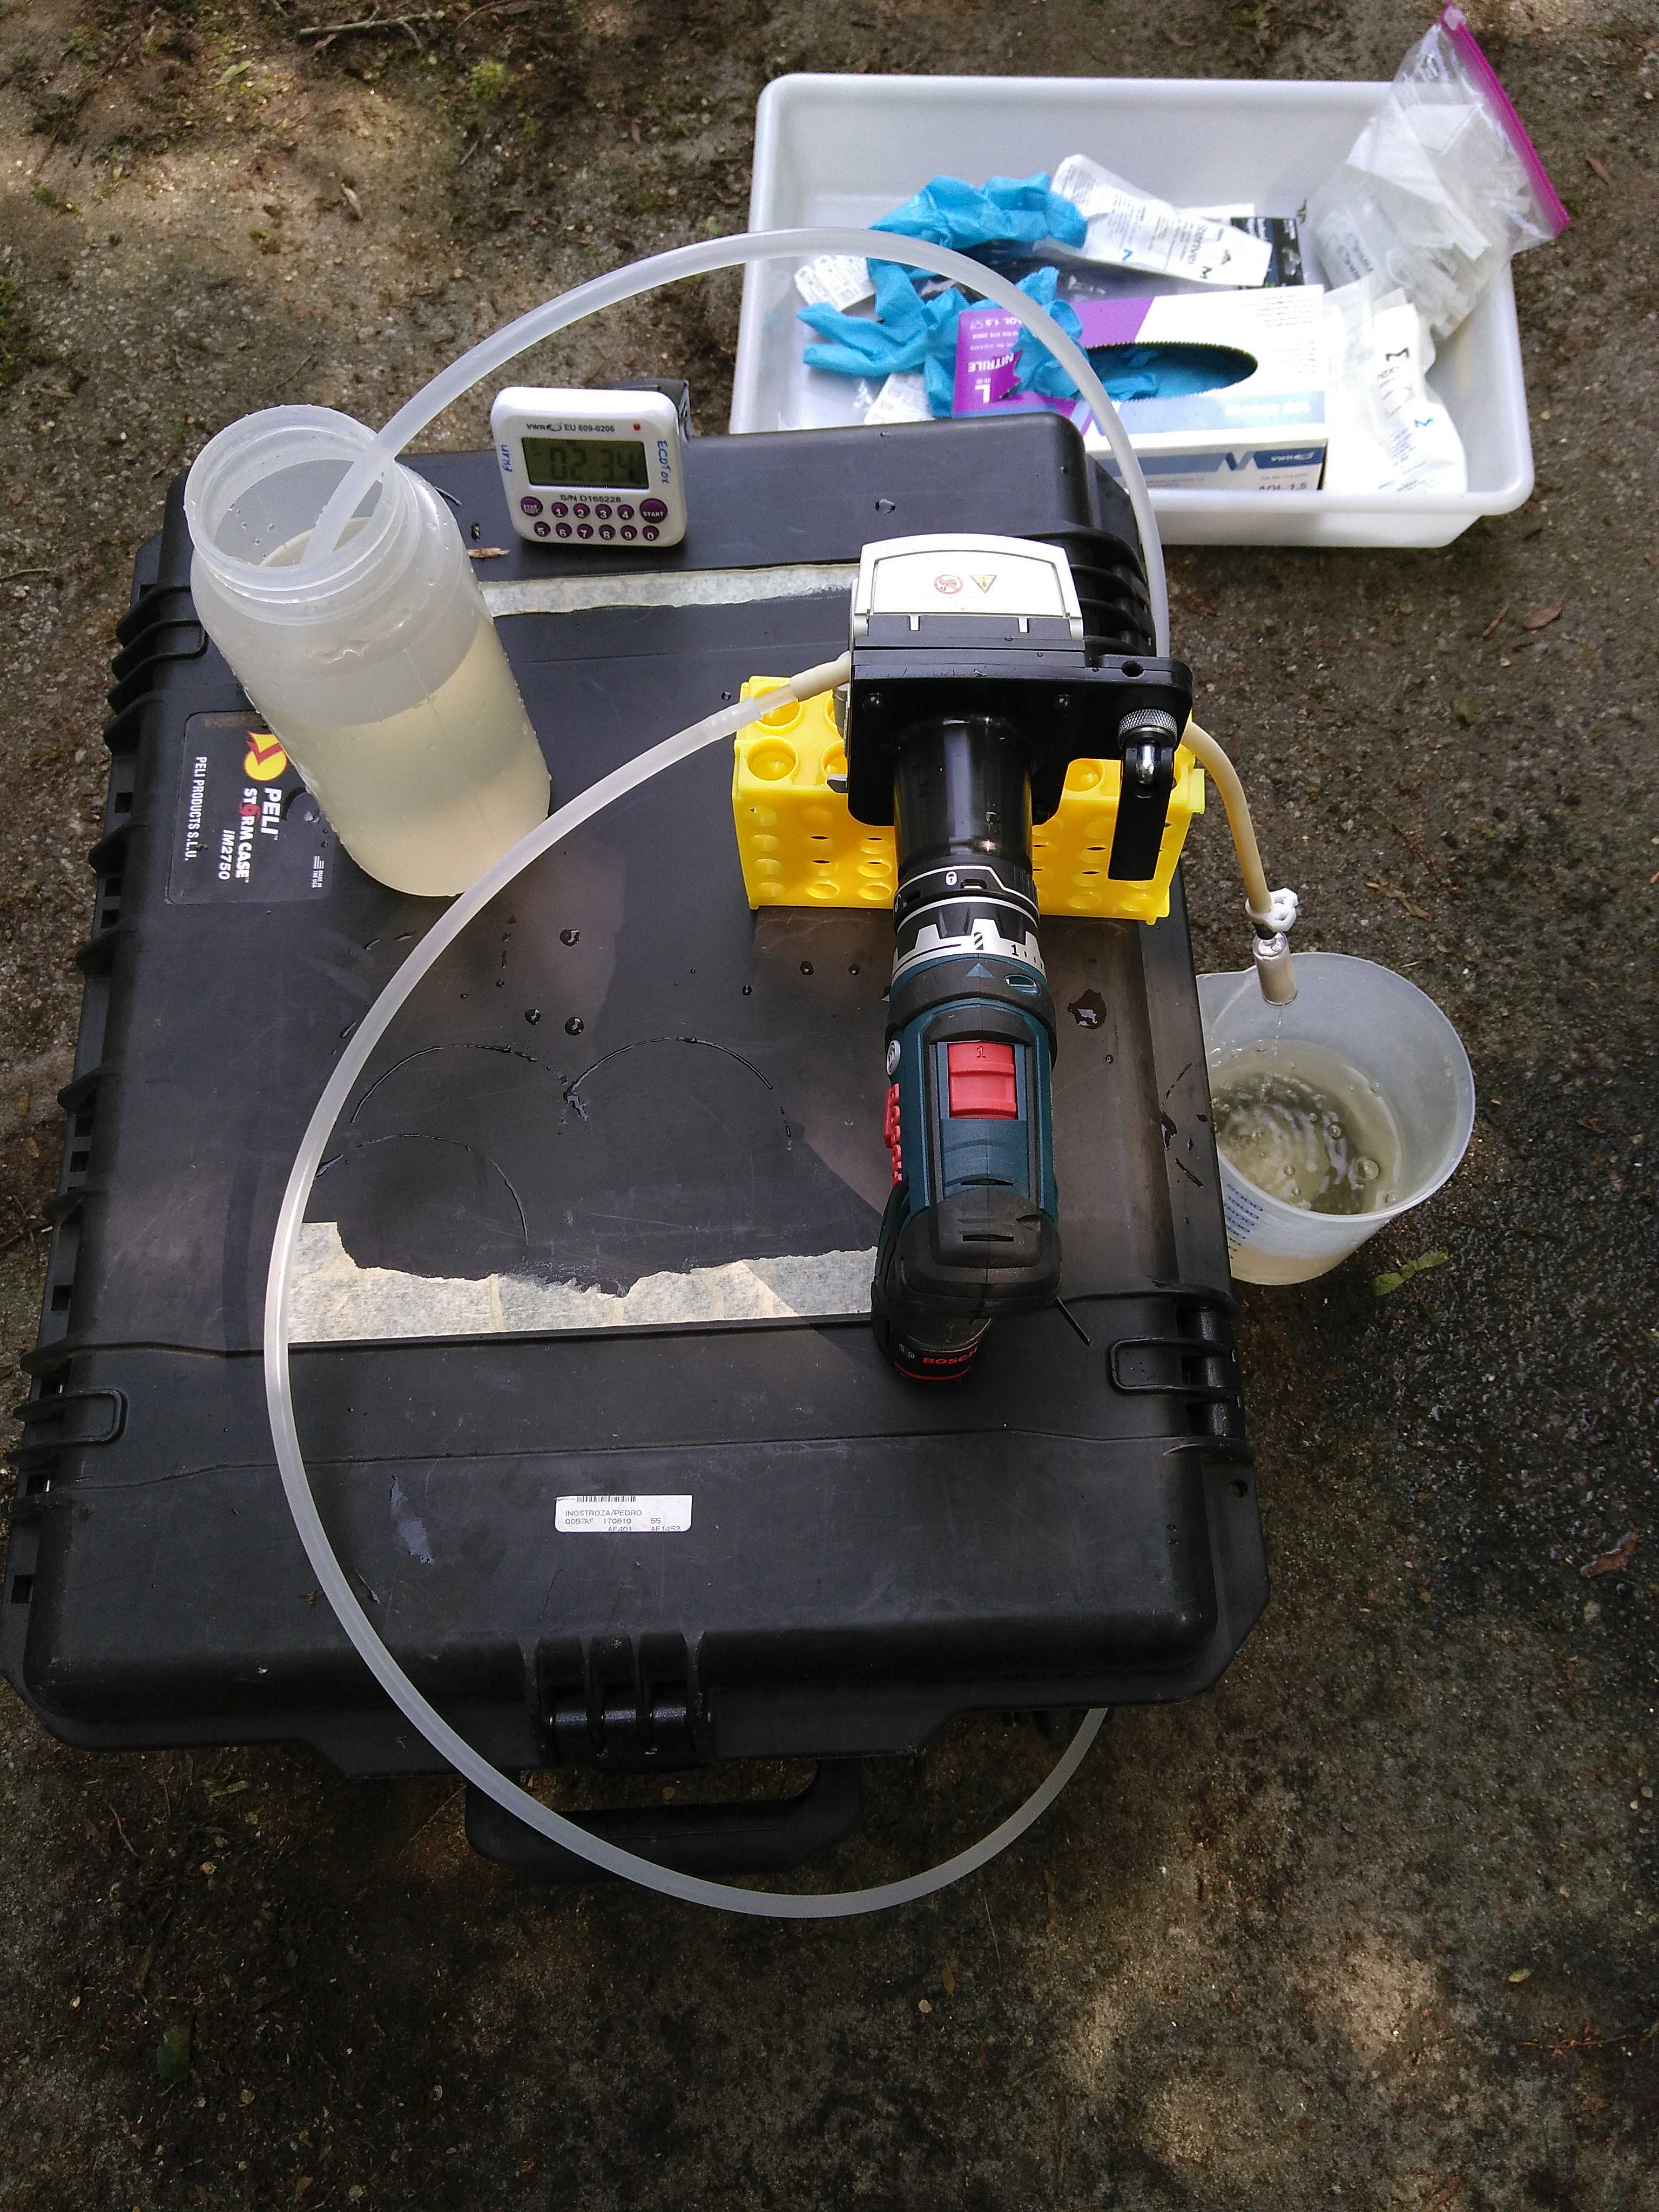
A Sterivex filter unit (0.22 µm pore size) is attached to the suction hose by a stainless steel male Luer-lock ring hose barb (1/4'). We recommend using a hose clip (9-10 mm; Buerkle cat. no. BURK8678-000) to firmly tight the Luer-lock ring to the hose. Each filter can process up to 2L of water depending on the amount of the suspended material.
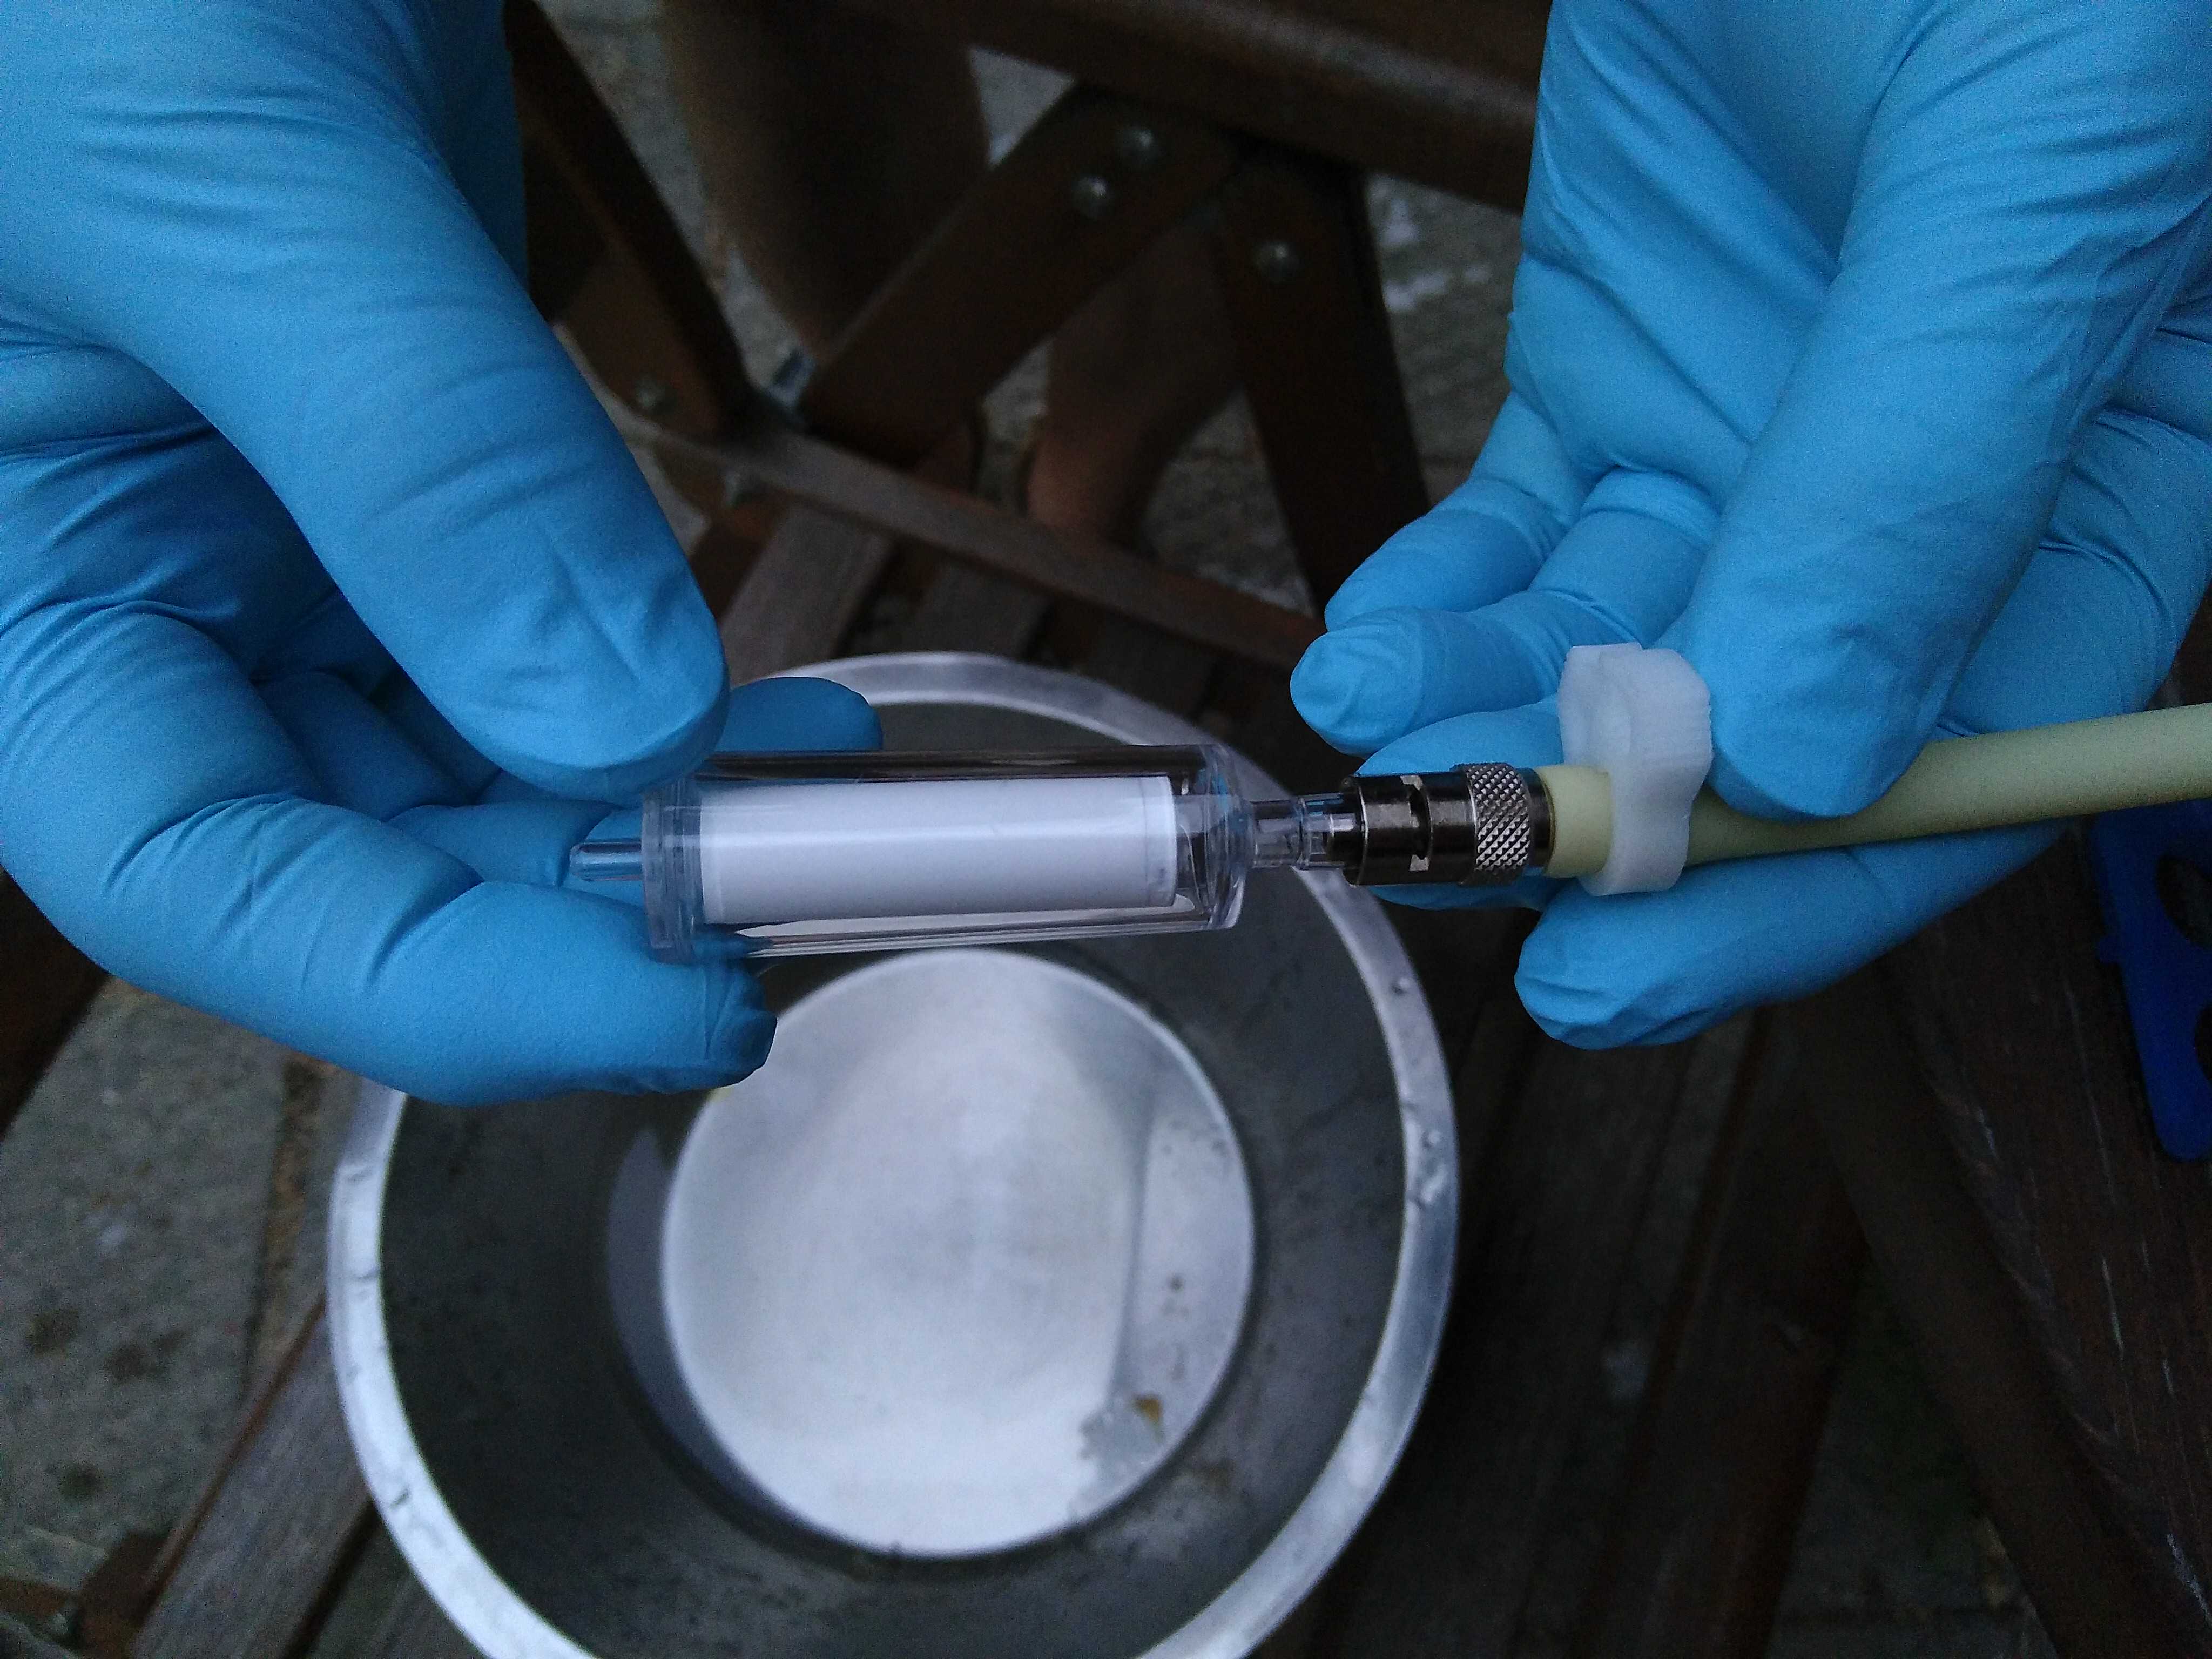
Once the water sample is filtered, remove the remaining liquid from the Sterivex unit using a 5 mL sterilized syringe or similar by pushing air.
Cap both ends of the Sterivex. If the units have a male tip outlet, Parafilm can be used to cap them. Be aware of potential leakage, and make sure the Sterivex is dried and well sealed.

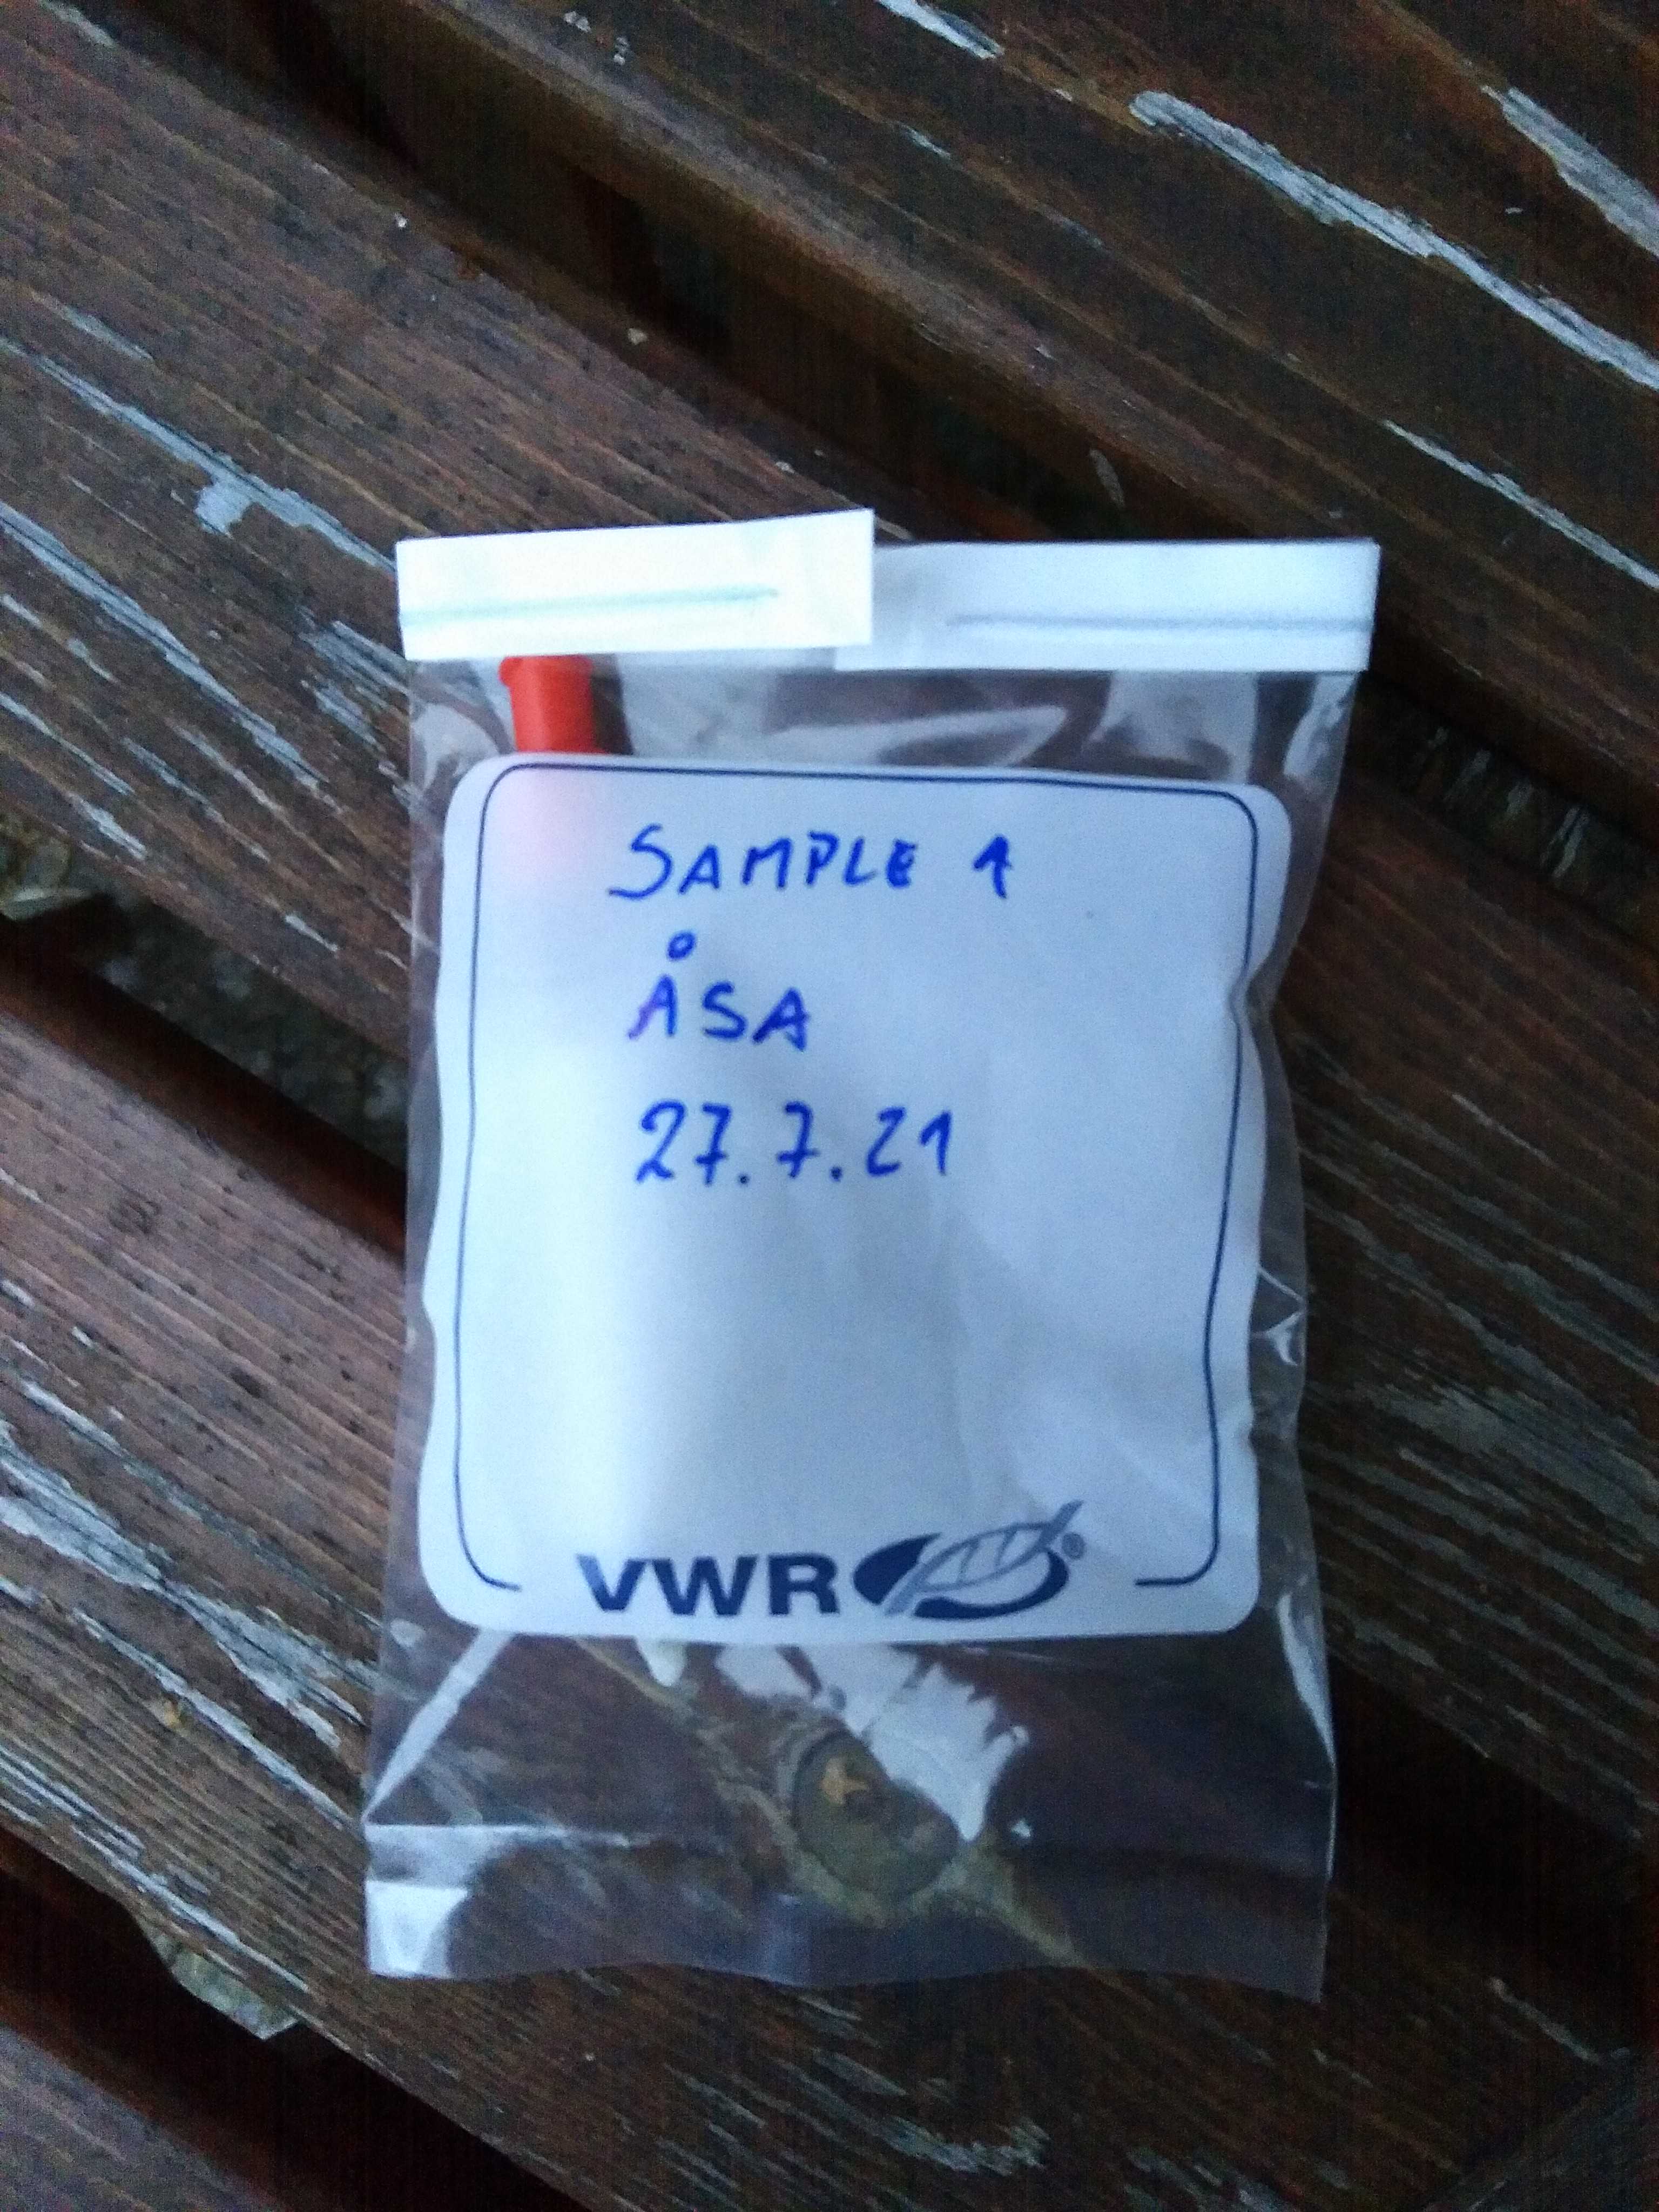
Now that the samples are ready and sealed, do not forget to identify them accordingly. A good rule of thumb is to write down ID, date, replicate number, filtered volume and station on the filter. Do the same on the sample bags, especially if there are more filters per site or replicate. The samples are store at -20°C degrees.
DNA extraction
Prior to the experiment, prepare the following:
-
Disinfect the surfaces and pipettes
-
Turn on waterbath and set it to 65°C
-
Turn on oven and set it to 90°C
-
Turn on heating block and set it to 37°C
-
Incubate MBL solution in waterbath
-
Attach vortex adapter to vortexer
Moreover, check if the Sterivex filter units are dry. If that is not the case, use a syringe to remove the remaining water. In addition, seal the outlet tightly with Parafilm or replace the present Parafilm on the outlet with a new one, respectively.
Note: due to the limited space on the vortex adapter only 6 Sterivex filter units can be vortexed at the same time. However, in order to increase the number of samples to extract simultaneously, it is possible to prepare another 6 Sterivex filter units while the first batch is vortexing for 20min (step 8 and 9). Afterwards, the second batch of samples is vortexed. In the last 5 min of vortexing of the second batch, the first batch is incubated at 90°C in the oven (step 11). The following steps then allow to work on both batches simultaneously (work on one batch while the other is vortexing). Ultimately, the two batches can then be joined prior to step 15.
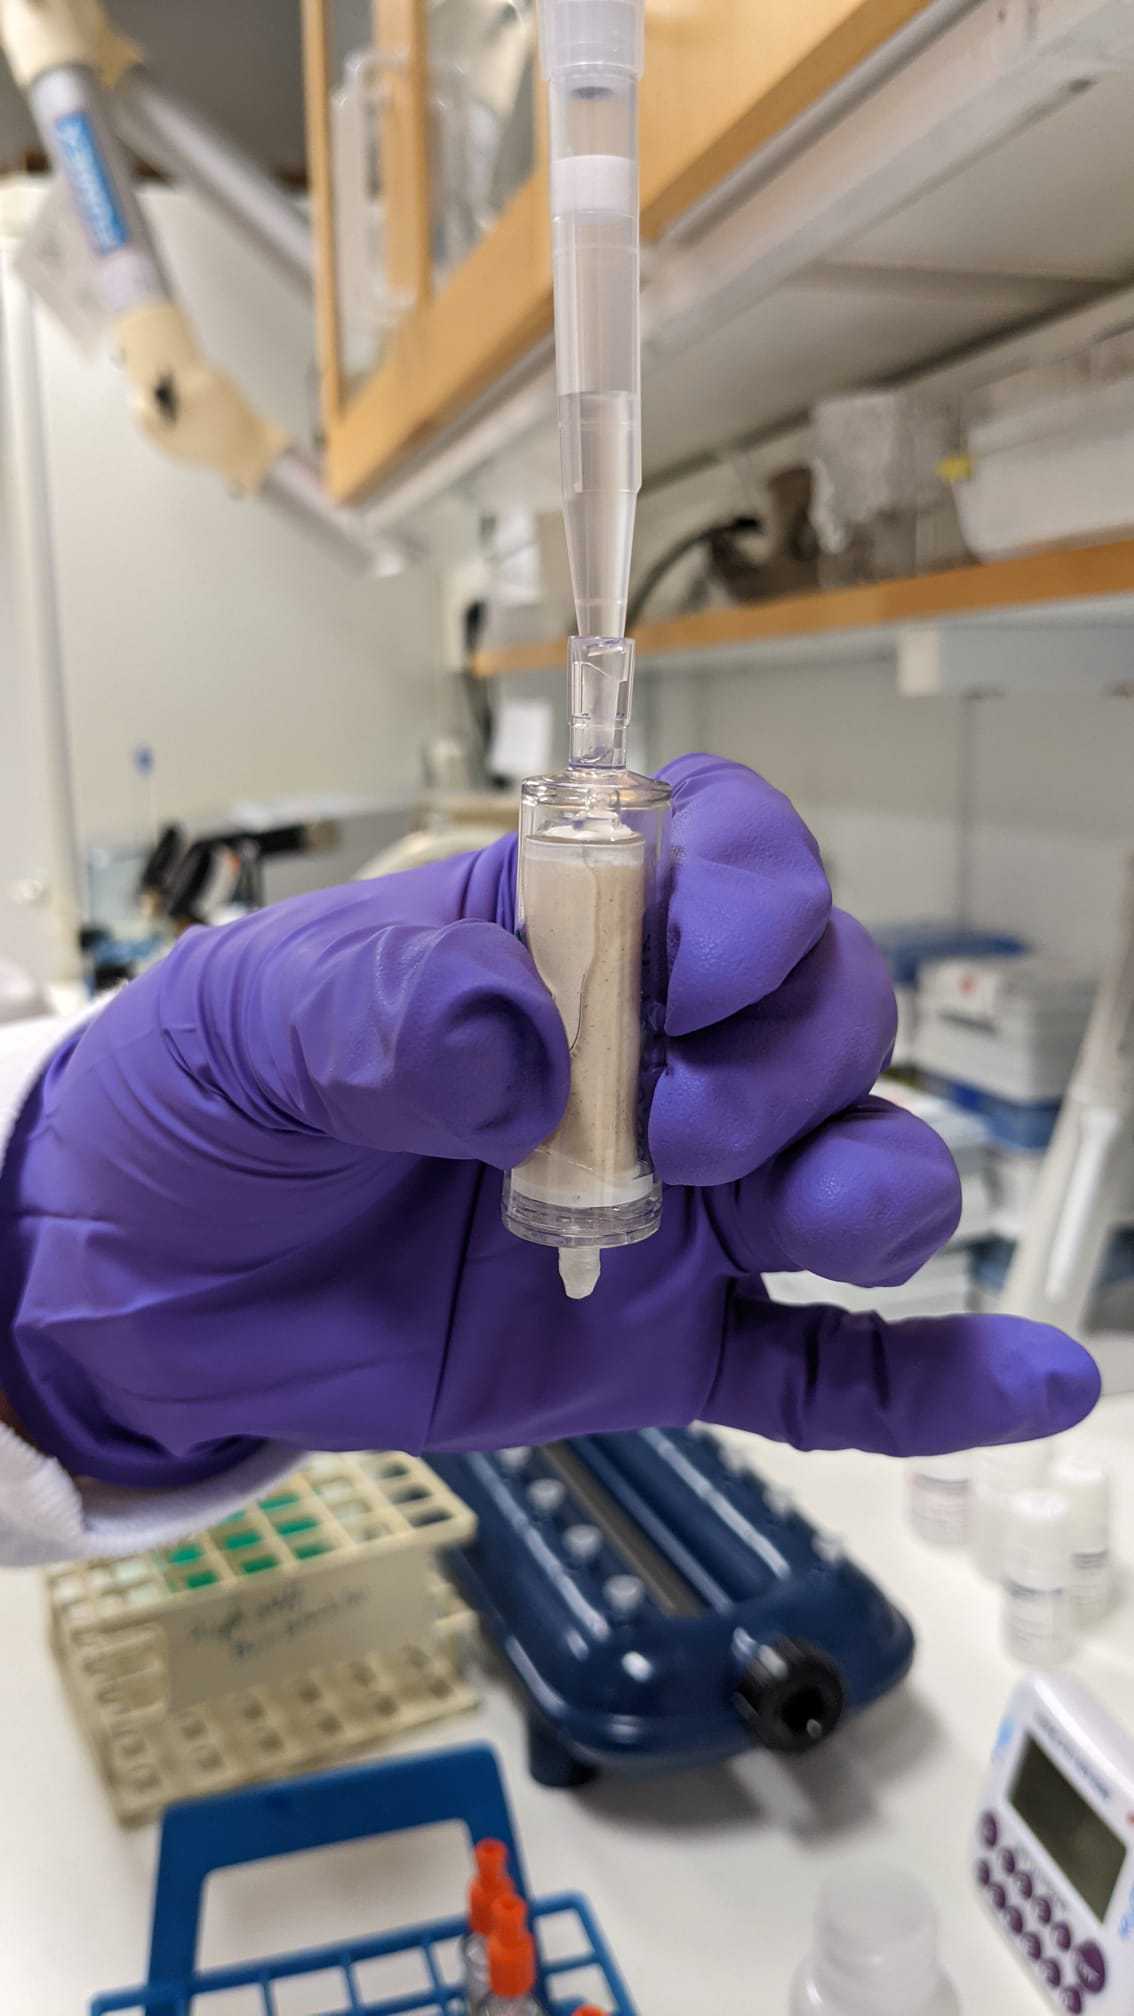
Place the Sterivex vertically (with the inlet cap upward) and load 900µLof ST1B buffer. ST1B is stored at 4°C. Be careful putting the pipette tip through the inlet (orange cap). Dispense the buffer slowly; a fraction of the volume can be lost.
Allow mixing in a vortex with a horizontal adapter (Qiagen, Cat. No. 13000-V1-5) for 00:05:00 at the minimum speed. Set the filters with the inlet facing out and check for potential leakage from the outlet sealed with Parafilm.
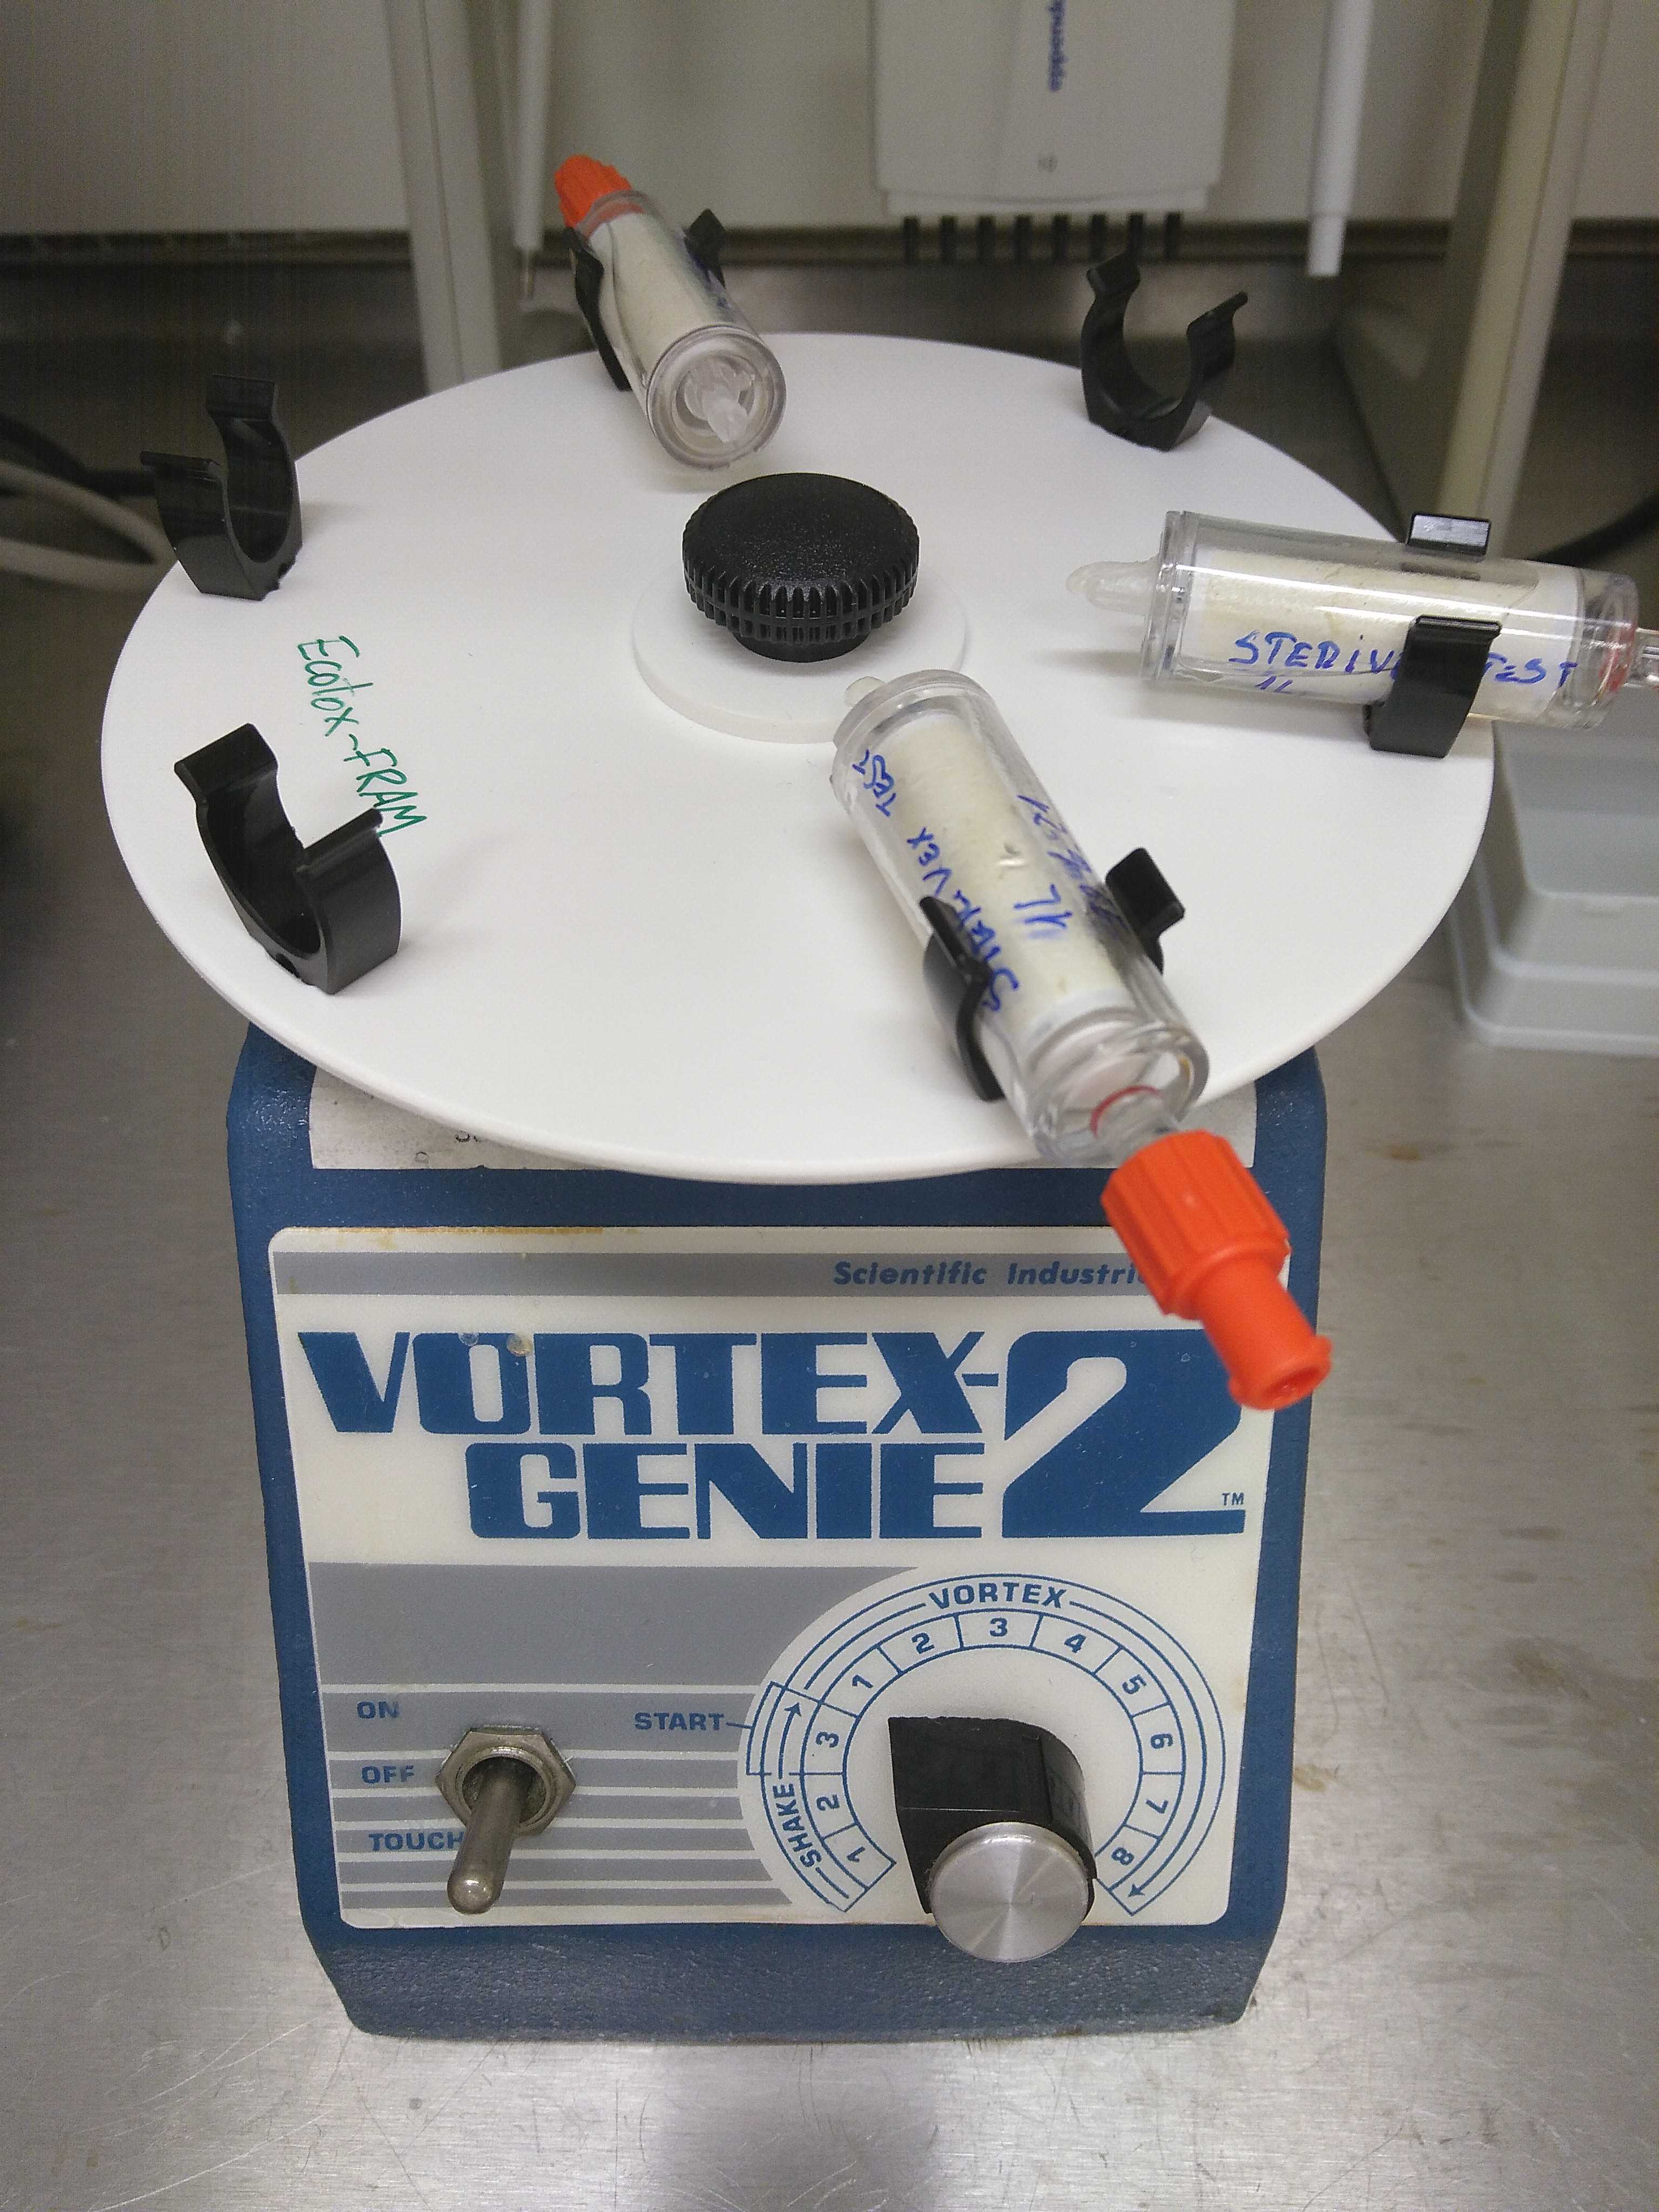
Rotate the Sterivex in 90 degrees and vortex for 0h 5m 0s at the minimum speed. Repeat the previous step 2 more times (4 times x 0h 5m 0s each filter).
Add 900µL of solution MBL. Dispense slowly; a fraction of the volume can be lost.
Before use, heat the MBL solution at 65°C for 0h 10m 0sas is suggested by the manufacturer.
Incubate the filter units vertically with the inlet upward at 90°Cfor 0h 5m 0sin an oven. Before and after the incubation, check for any leakage in the Parafilm; replace it if needed.
Let the filters cool down at room temperature for 0h 2m 0s, and re-tight the caps and check the Parafilm. Then, vortex at maximum speed for 0h 5m 0s. While mixing, check that the filters stay in place. If not, lower the speed.
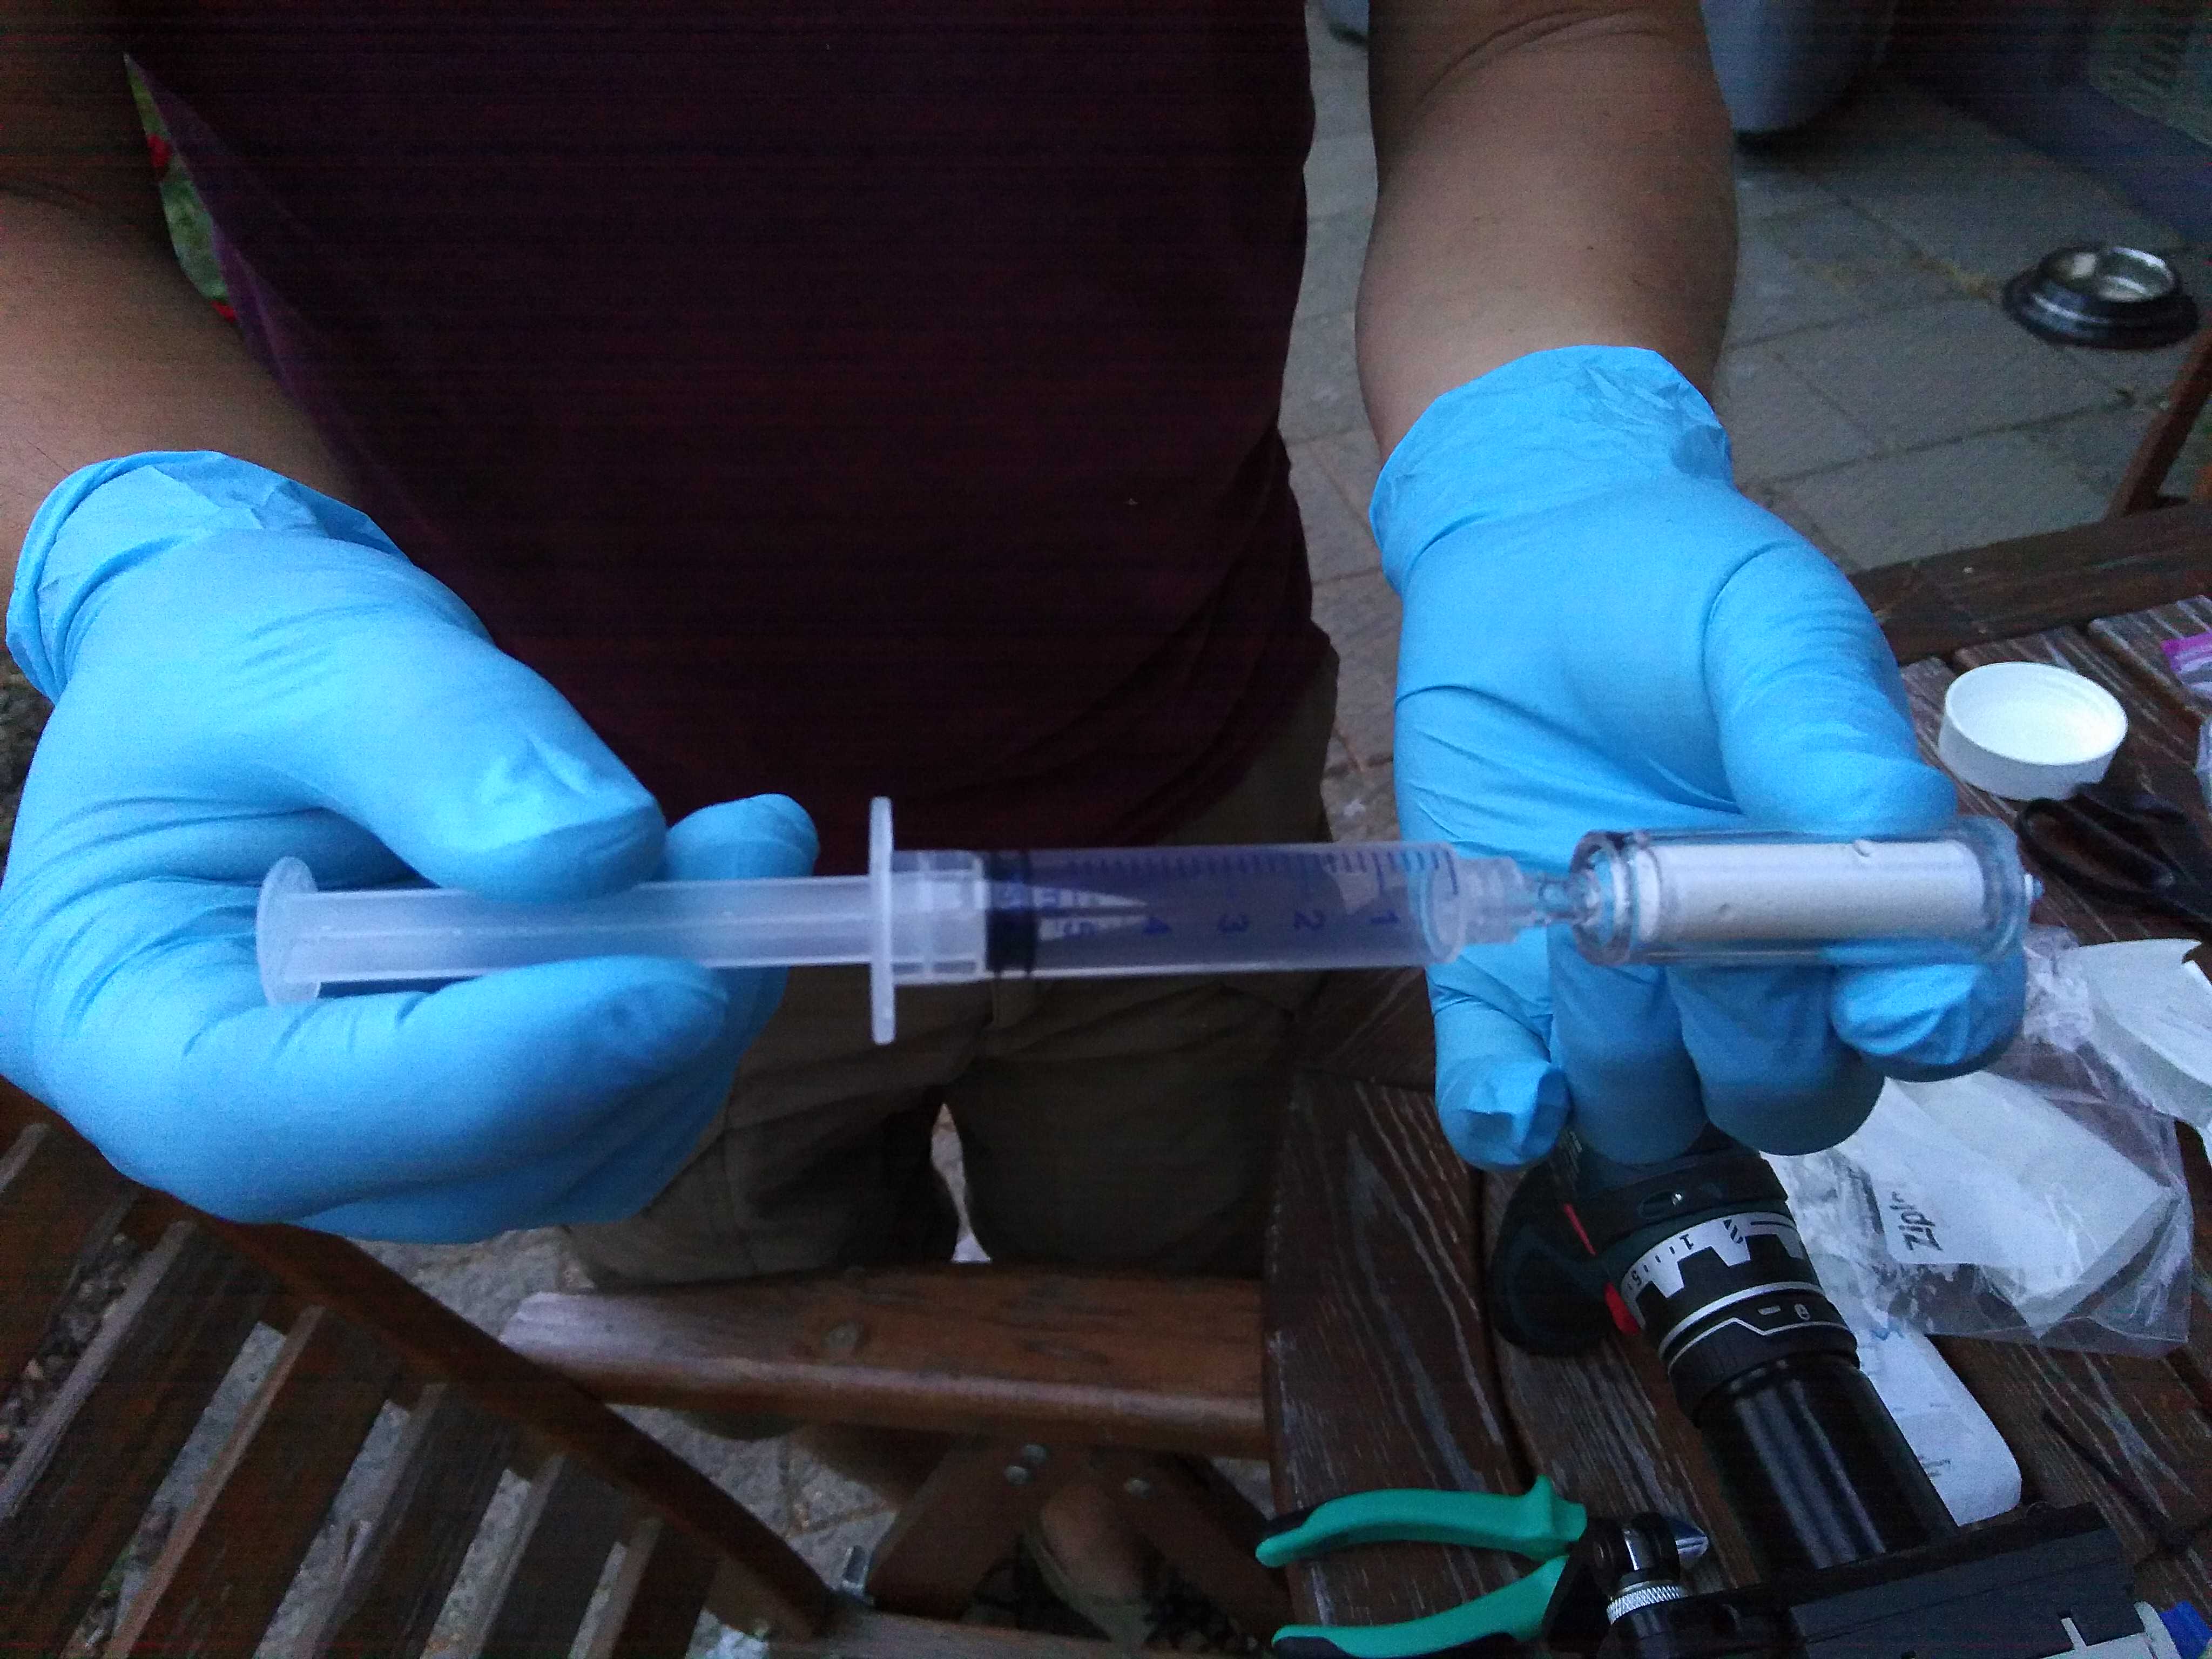
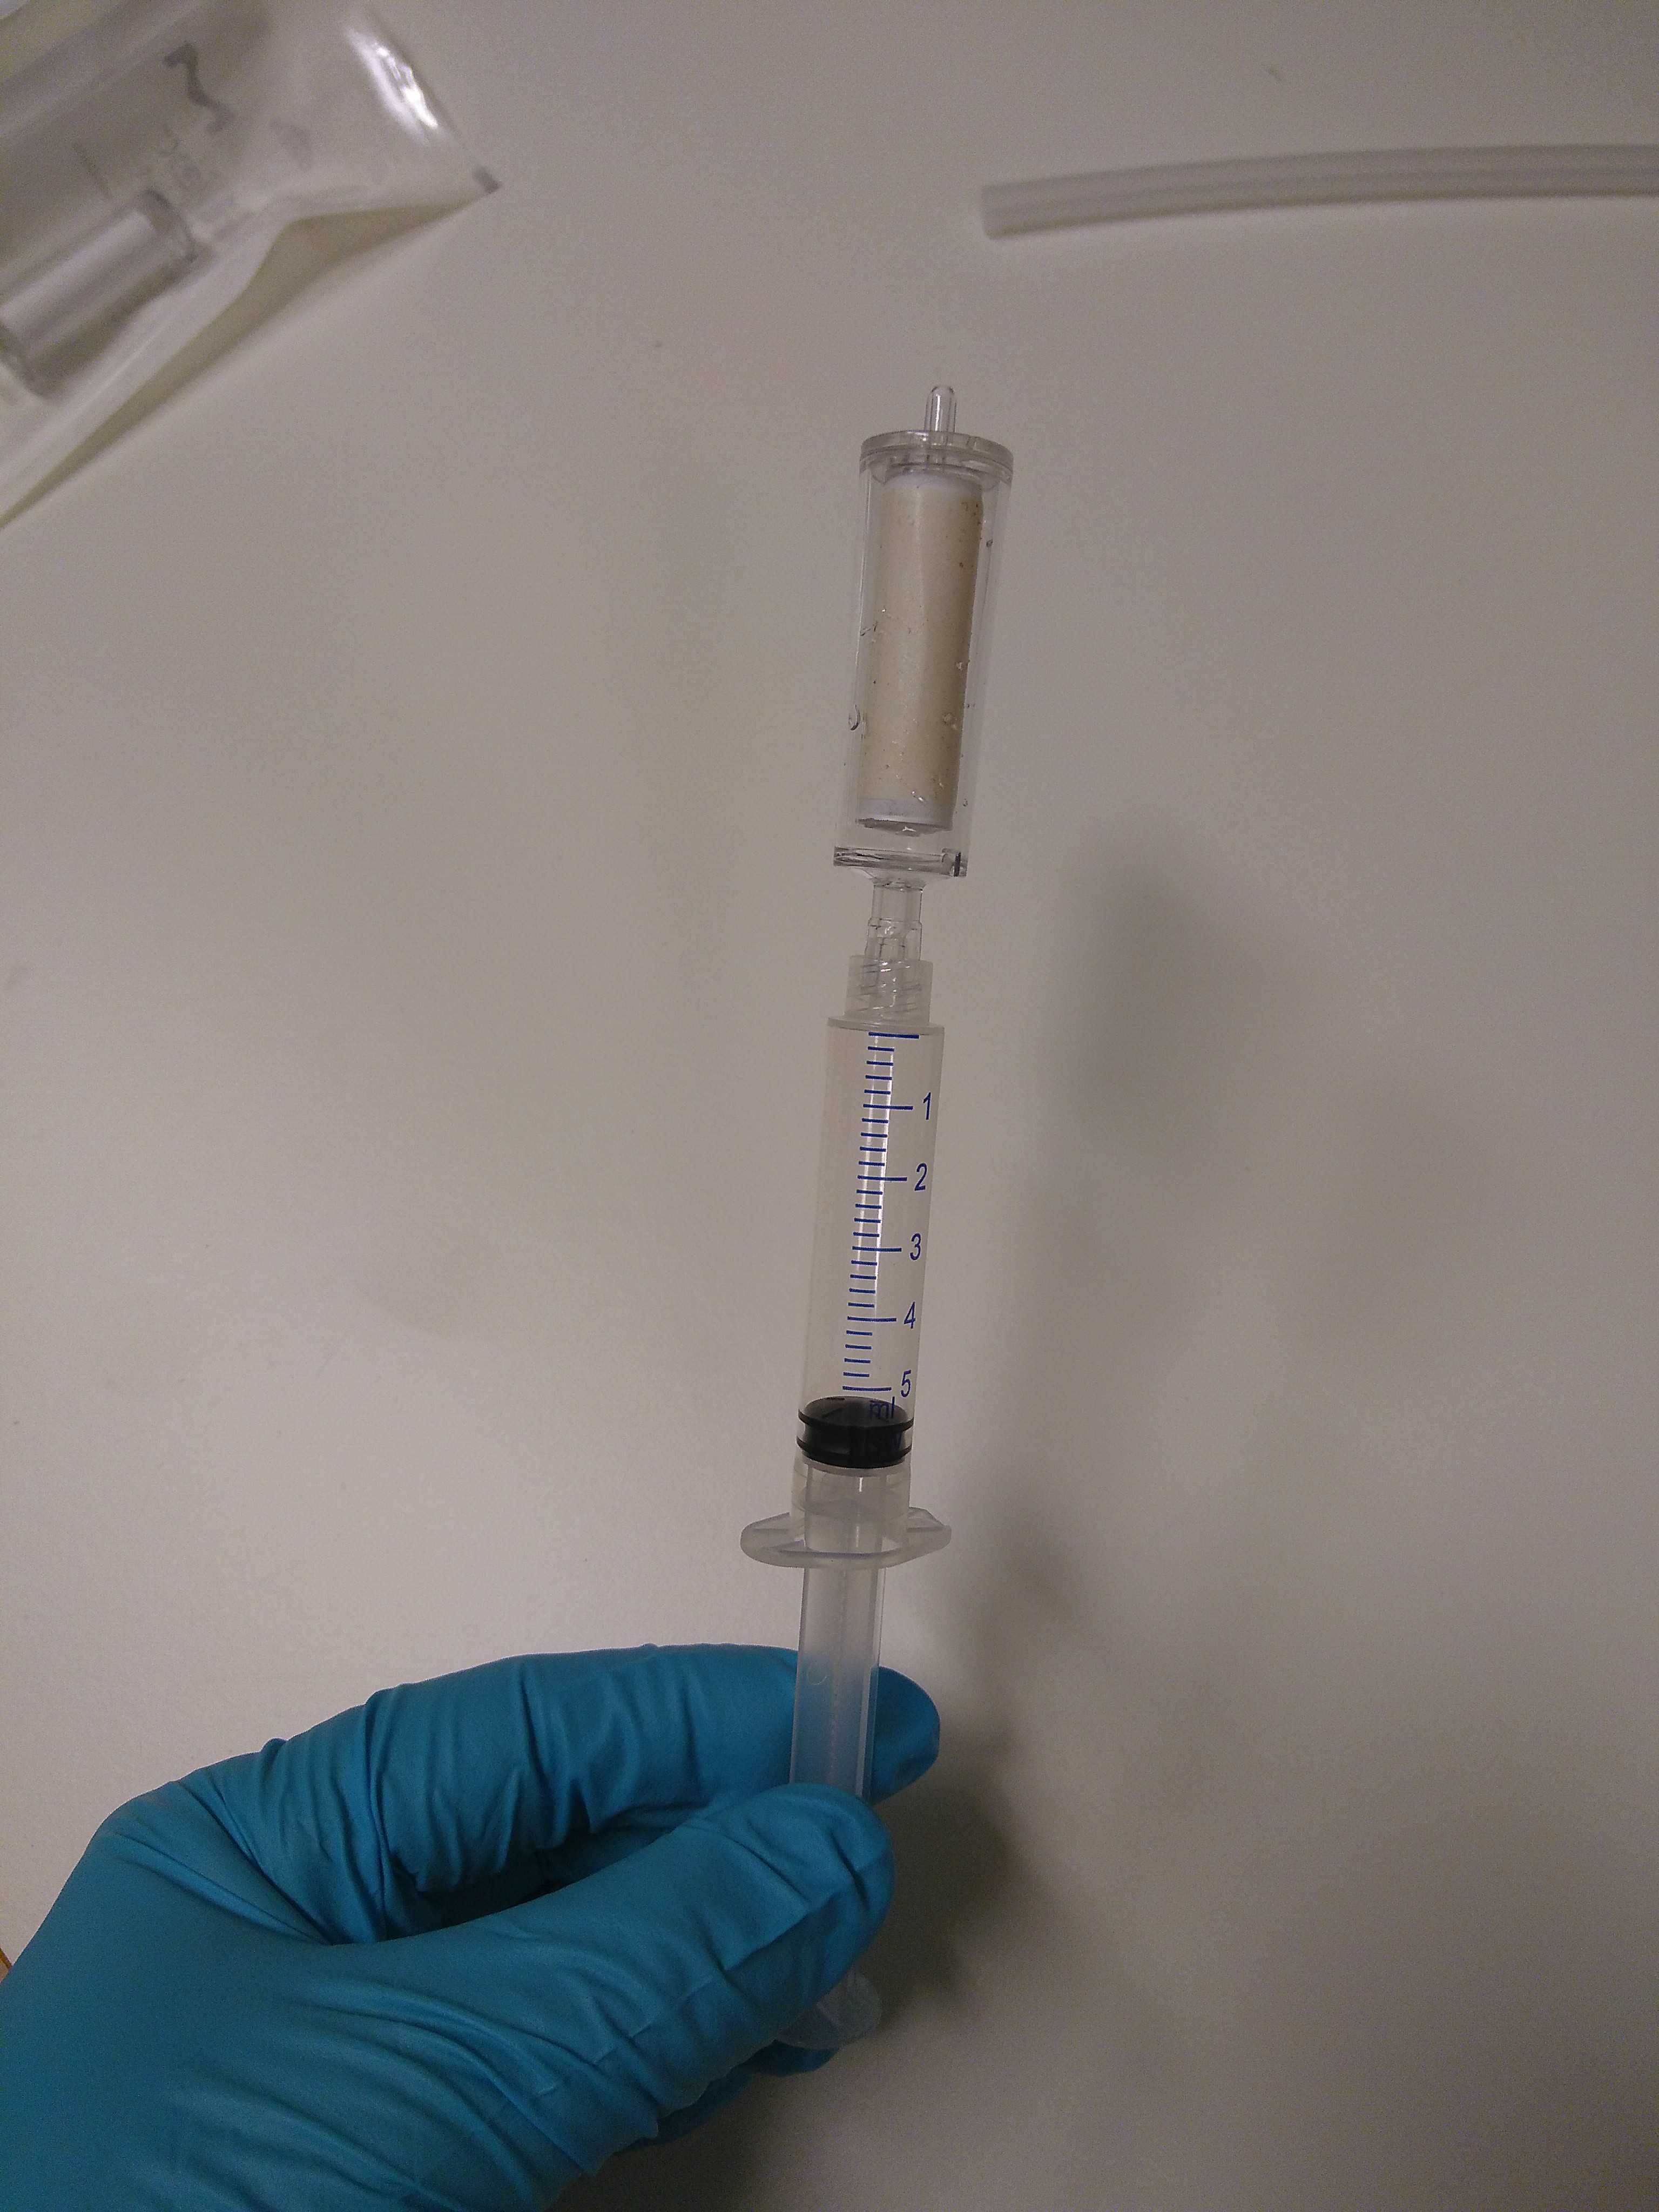
Transfer the lysate from the filter unit to a 3-5mLsyringe; push 1 mL of air into the filter while it is vertical, and then release the plunger. Continue pulling back until the lysate is recovered in the syringe.
Pour the lysate into a 5mLPowerbeat tube and vortex horizontally for 0h 5m 0s at maximum speed.

Centrifuge the tube at 4000x g,0h 0m 0sfor 0h 1m 0s.
Carefully transfer the lysate to a clean 2.2mL collection tube. Then, add 1,6µL of RNAse (final concentration 100mg/mL). Incubate the samples at 37°C x 0h 30m 0s in a heating block or a water bath.
While the samples are incubating, prepare the following:
-
Incubate MR solution in the waterbath at 65°C
-
Prepare the VacValve vacuum system and connect it to the vaccuum pump for later use
Add 300µL IRS solution to the tube and vortex. Then incubate at 4°C for 0h 5m 0s.
Centrifuge the tube at 13000x g,0h 0m 0sfor 0h 1m 0s
Transfer the supernatant to a 5mL collection tube, avoiding the pellet, and add 3mL of MR solution and vortex. Heat the MR solution at 65°Cfor 0h 10m 0s before using it.
A VacValve vacuum system and a vacuum pump are used for the following steps.
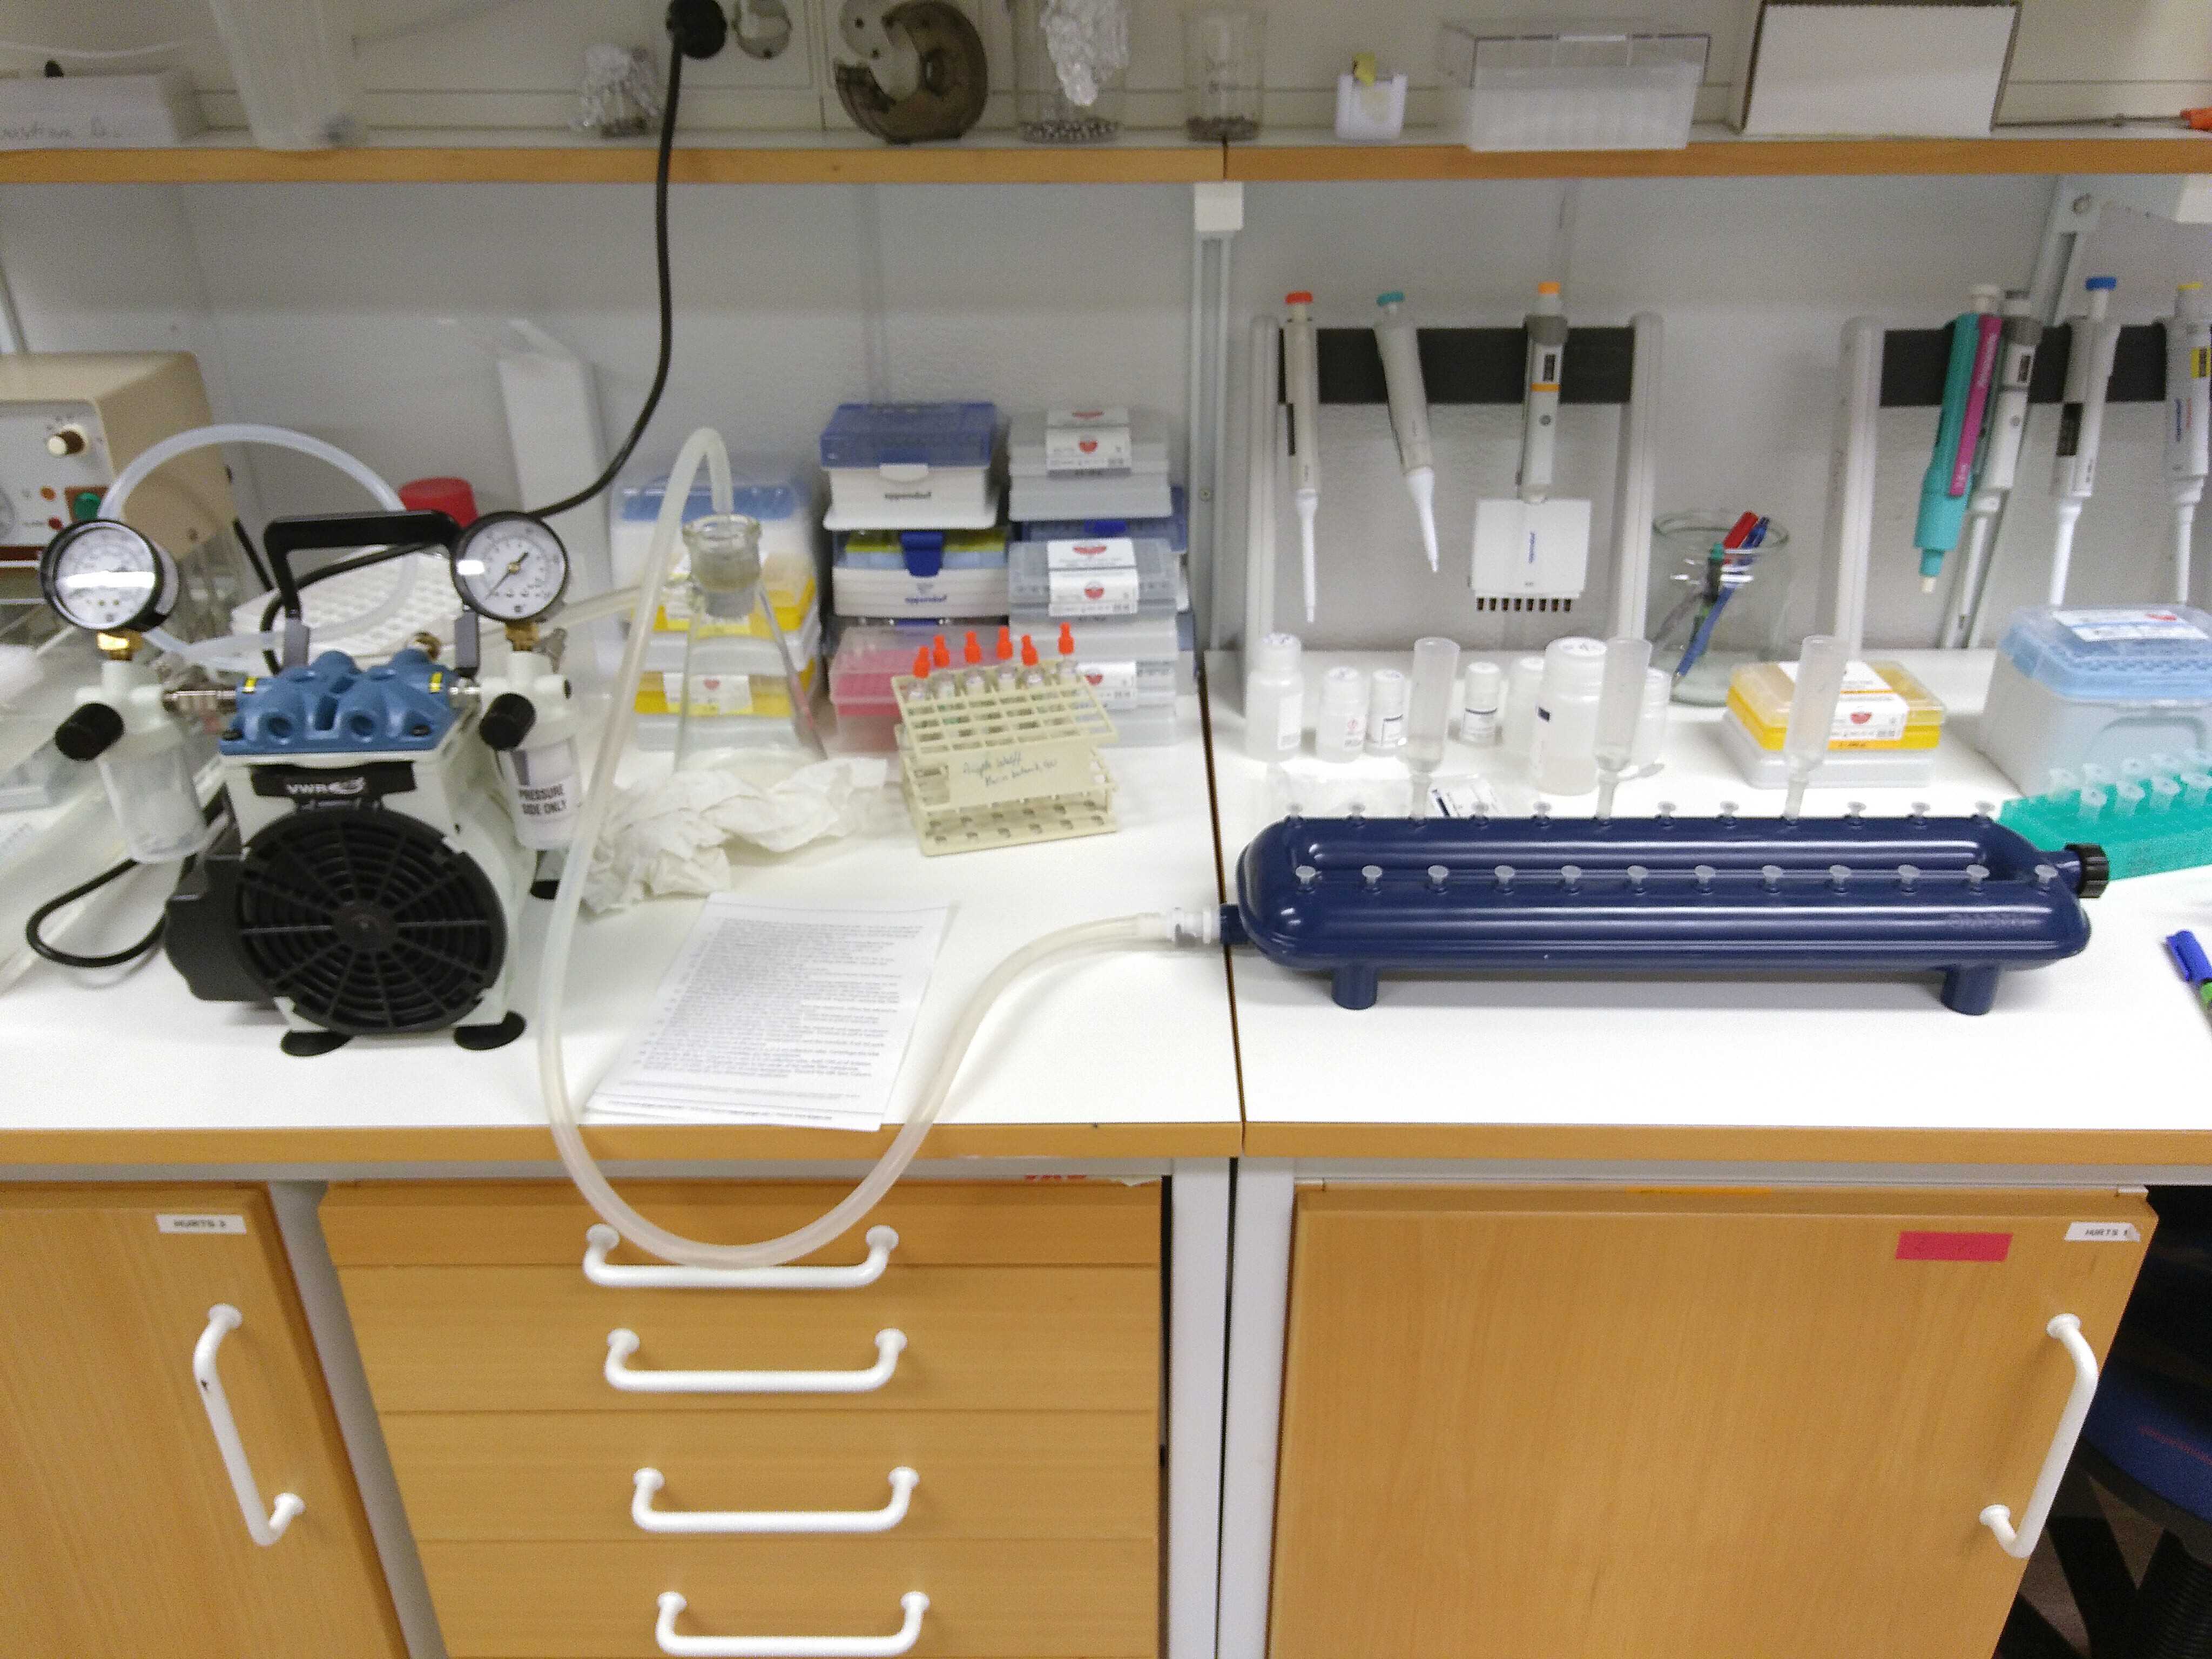
Load the supernatant (4,5mL) into a tube extender and MB spin column. Filtrate at low pressure. The column is attached to the VacValve vacuum system using an extra adapter to avoid contamination.
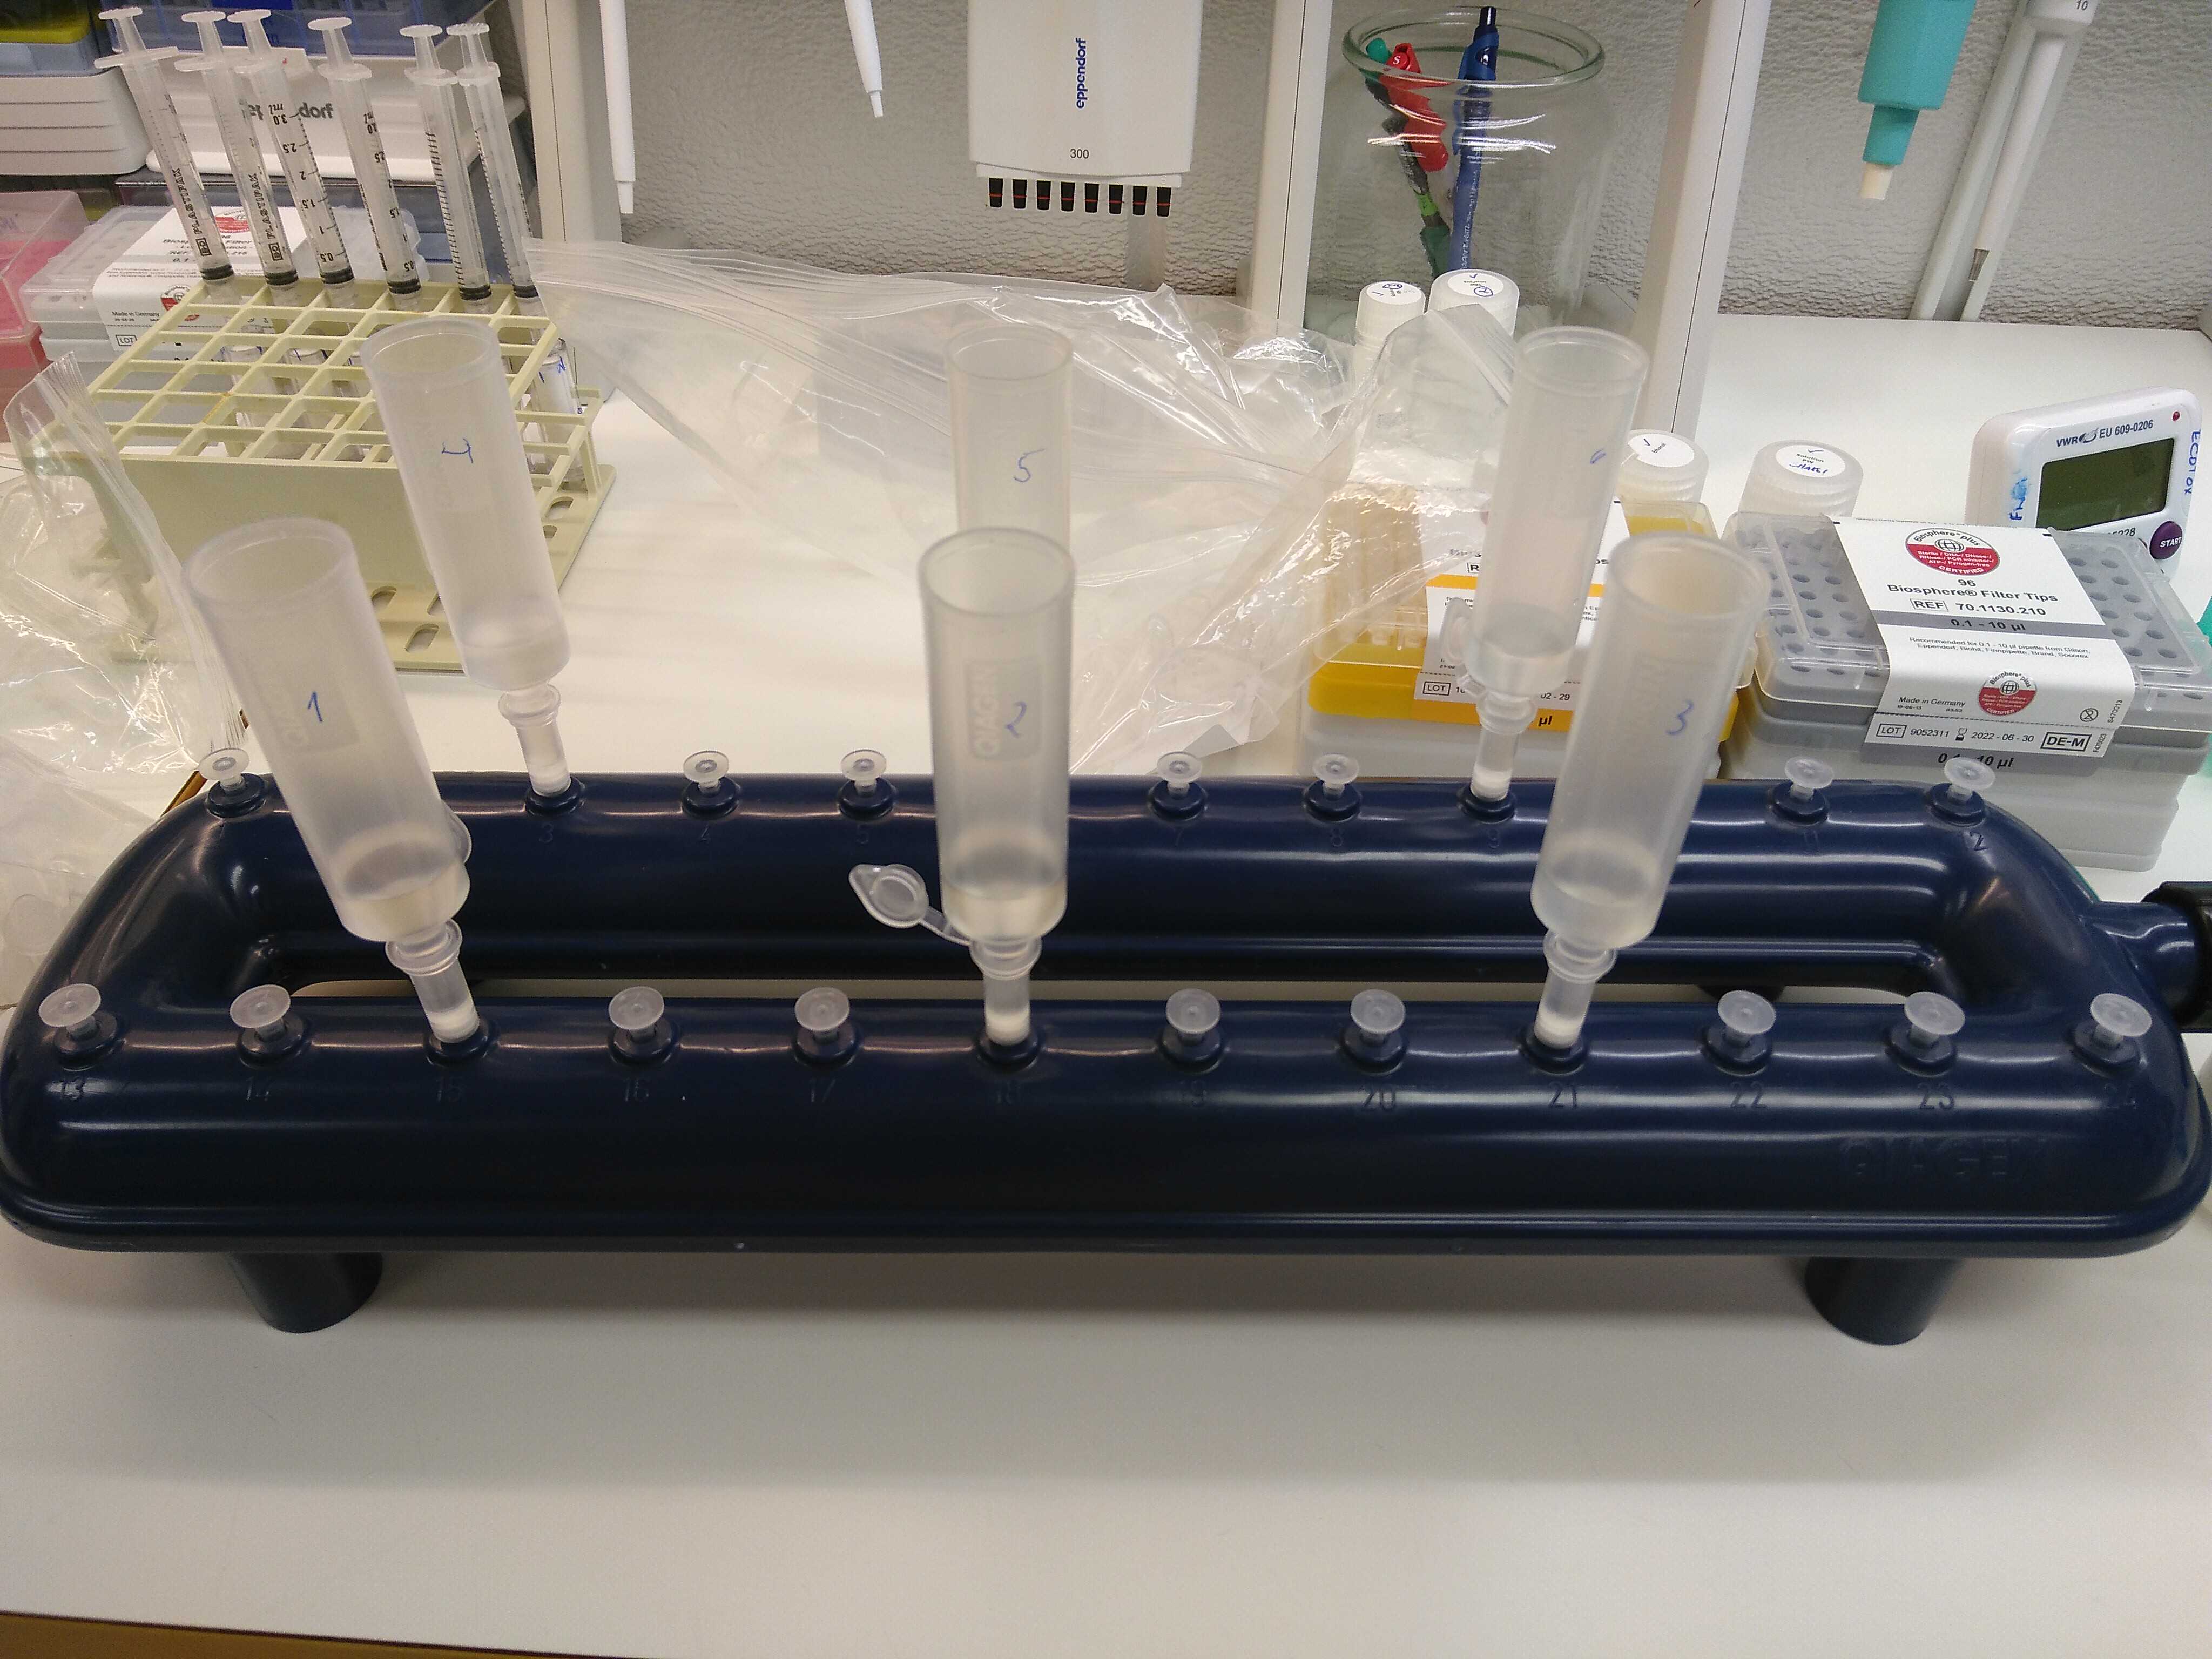
Once the lysate passes through, the column extender is carefully removed. Next, wash the spin column with 800µLof ethanol. Keep the columns open.
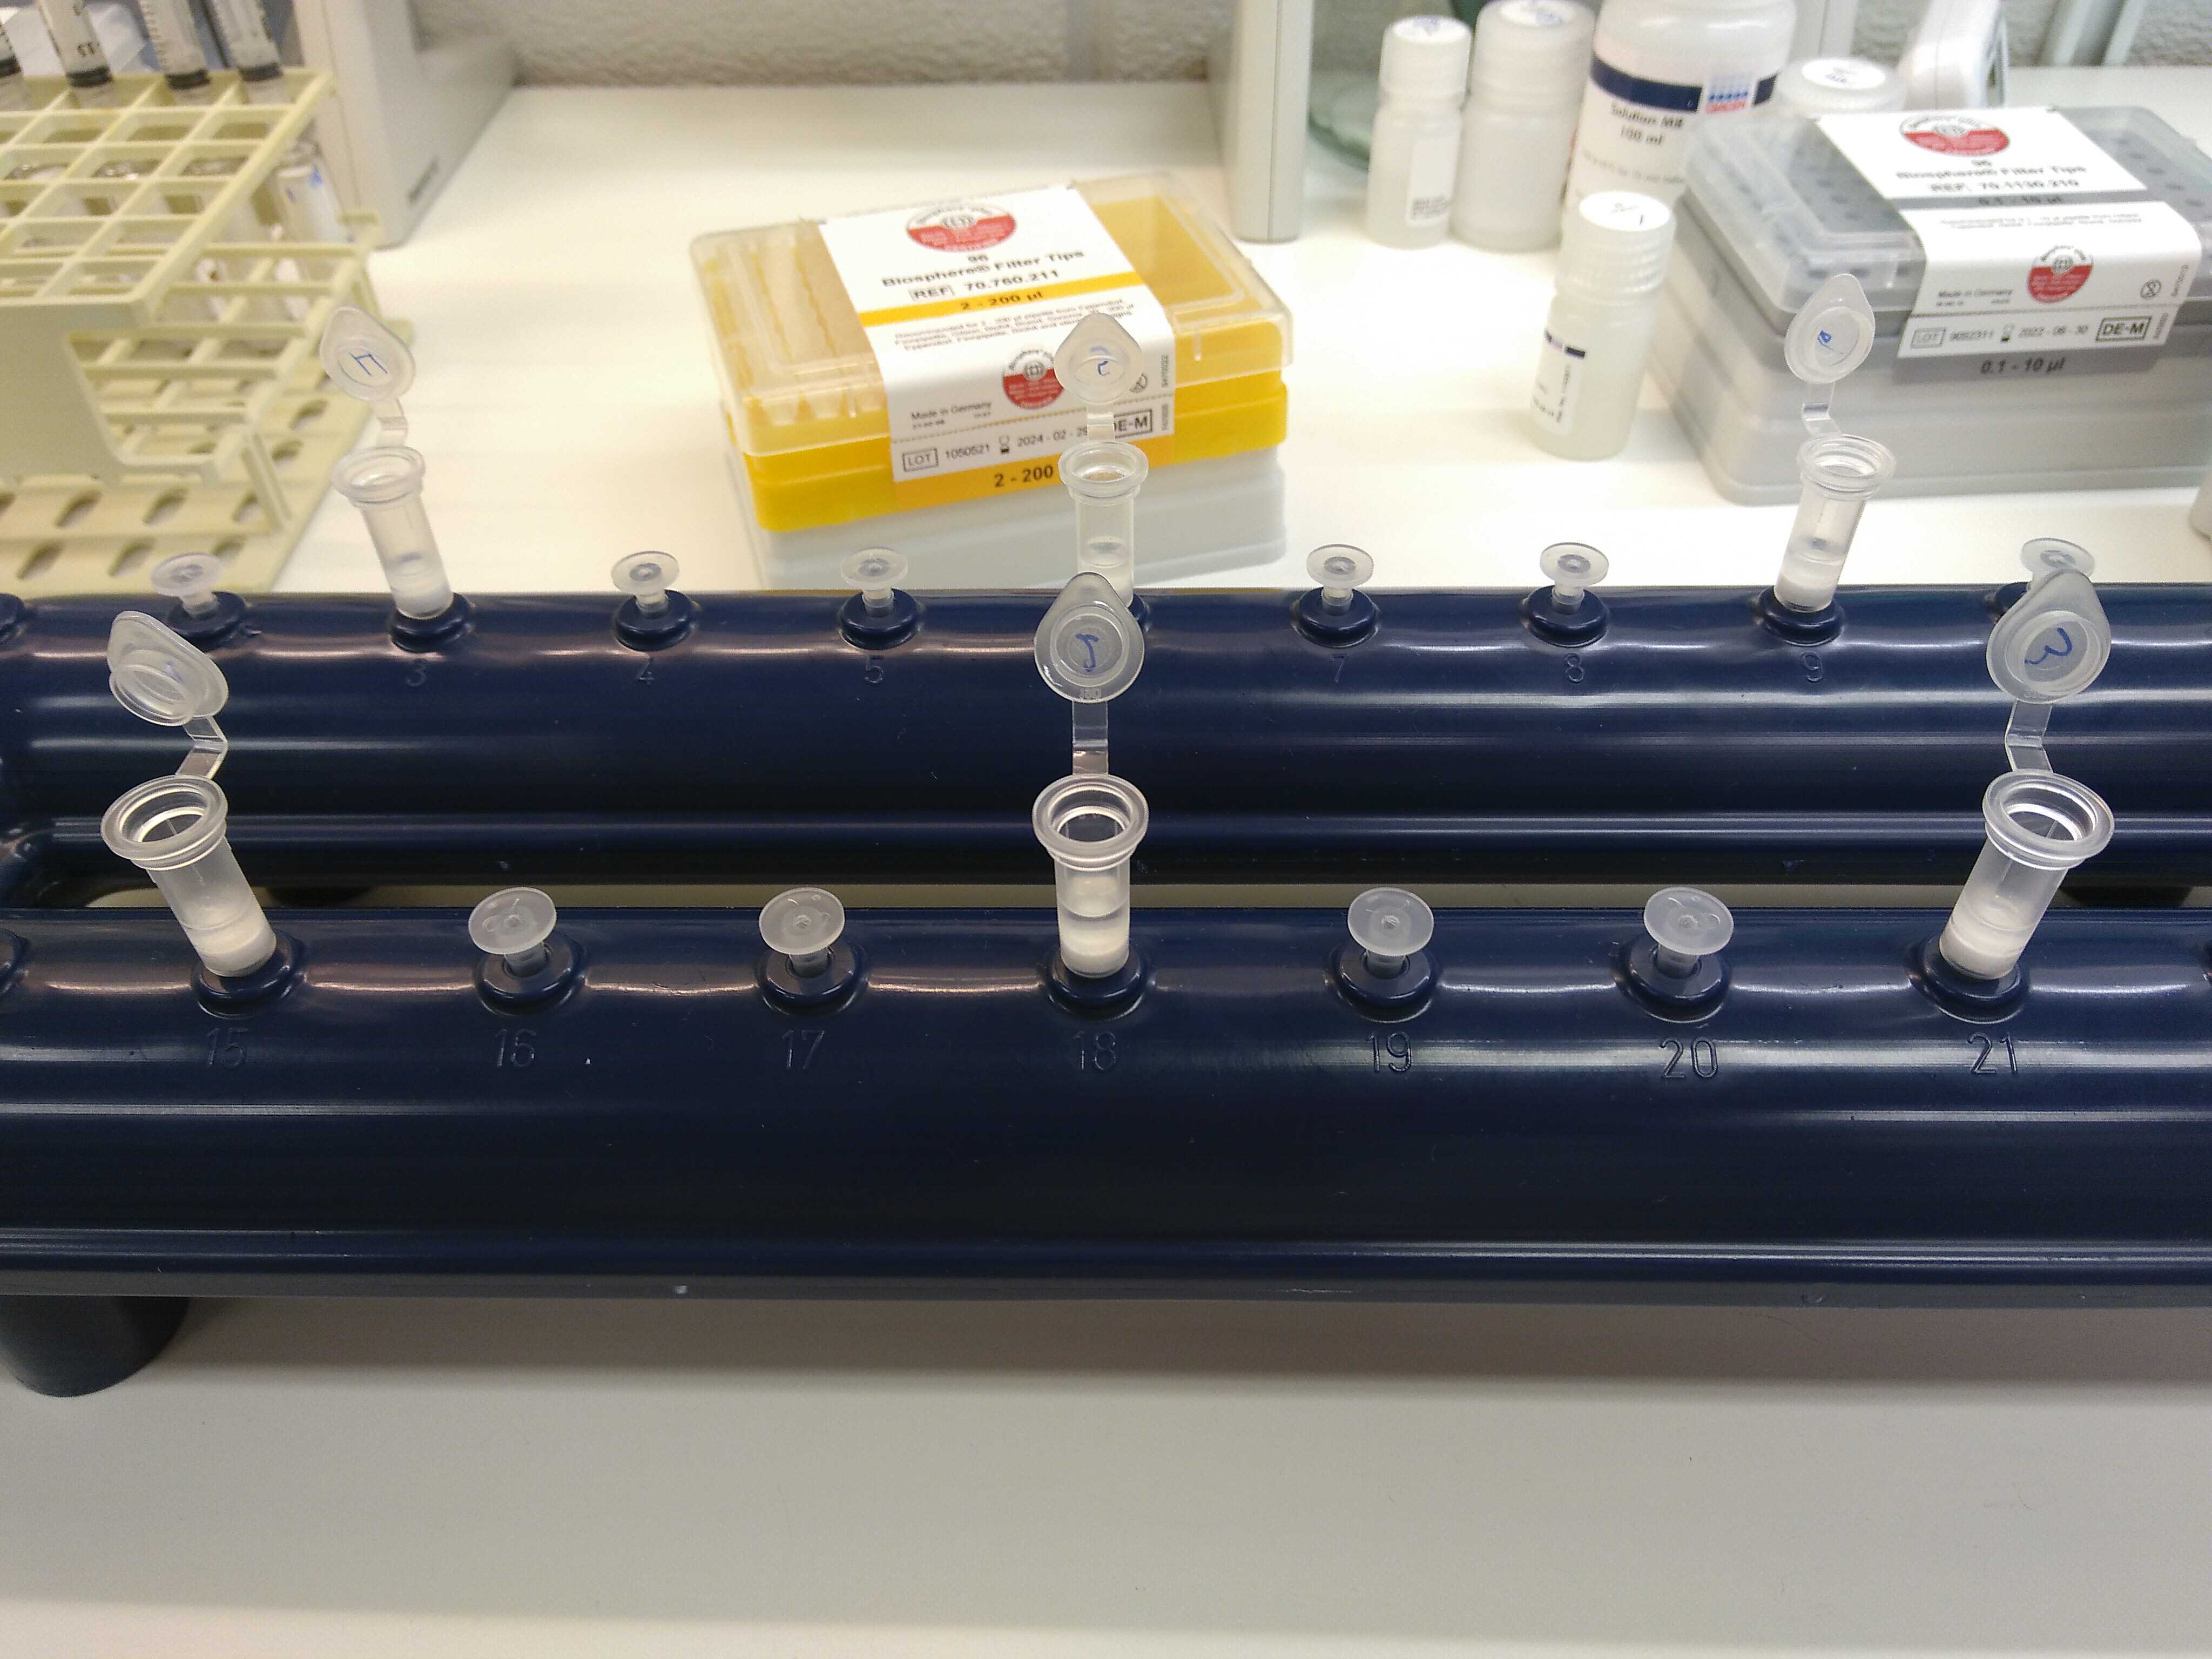
Shake the PW solution sufficiently prior to use. Then, wash the spin column with 800µLof PW solution. Keep the columns open.
Allow the membrane to dry by keeping the vacuum pump running for 1 min.
Wash the spin column again by adding 800µLof ethanol. Allow the membrane to dry as before.
Afterwards, close the lids, turn of the vaccum pump and open one port to get rid of the vaccum.
Place the spin column in a clean collection tube and dry it out by centrifugation at 13000x g,0h 0m 0s for
0h 2m 0s
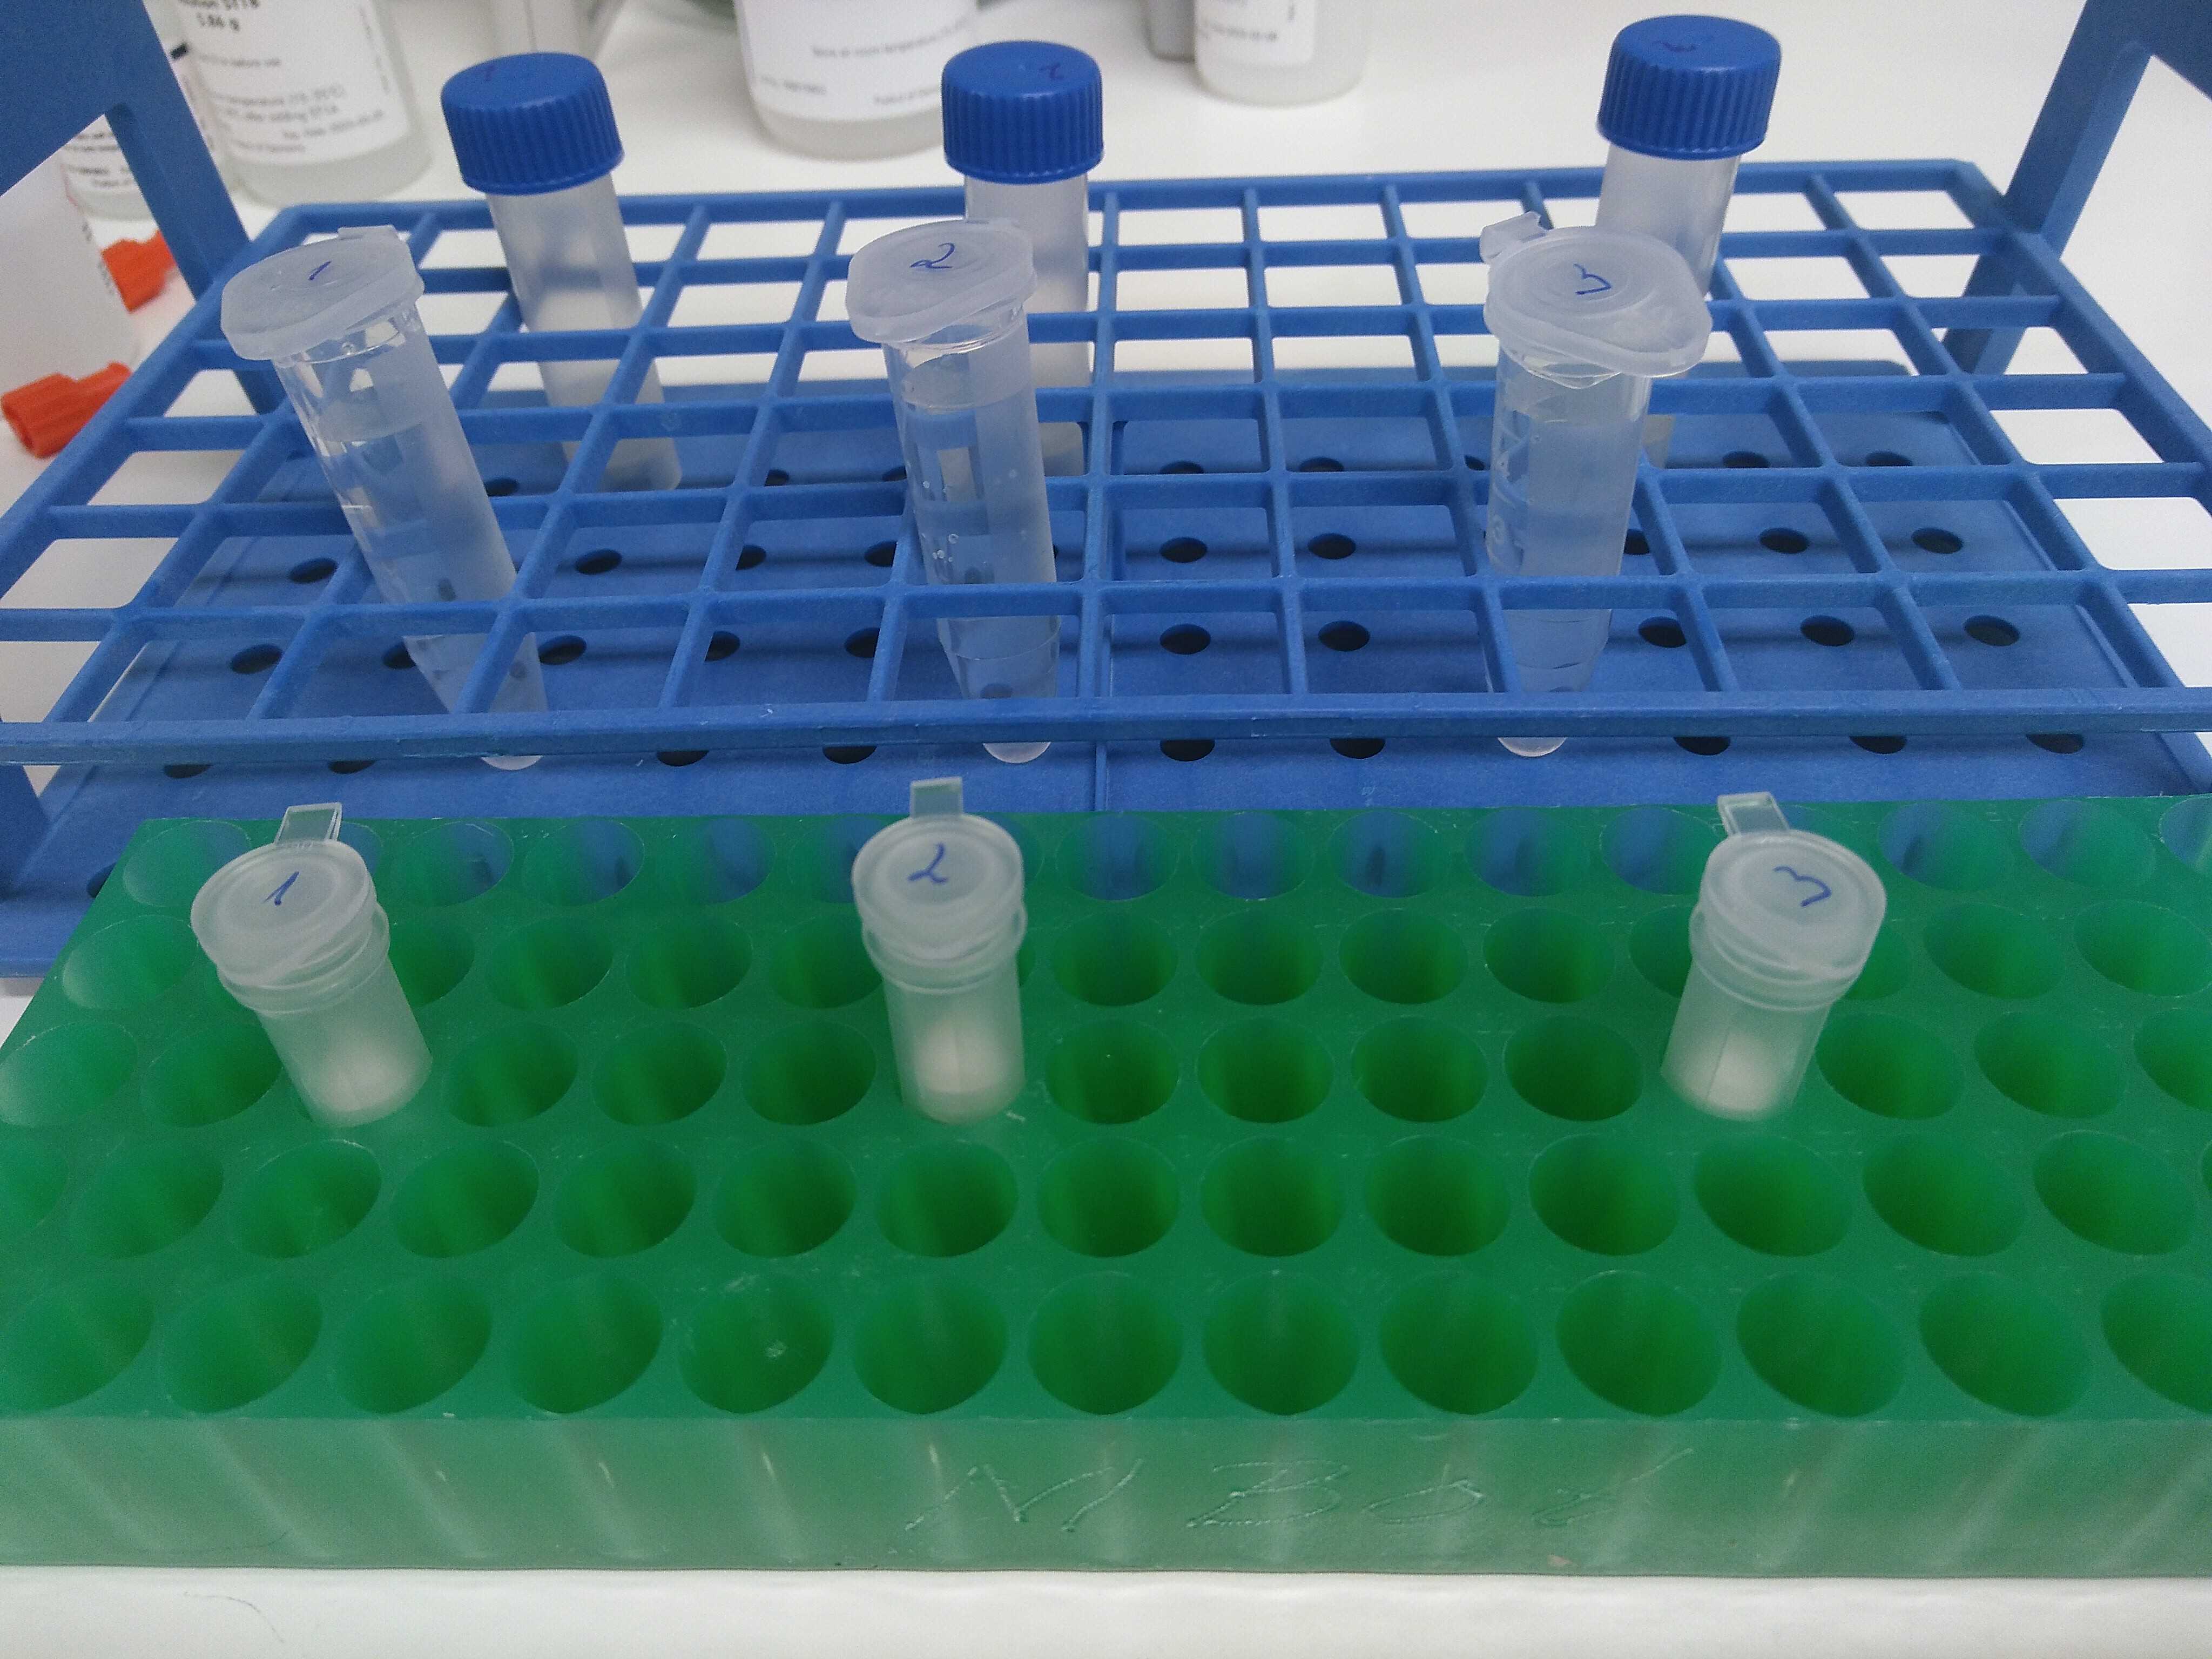
Transfer the spin column to a new clean tube (1.5 mL safe-lock collection tube), and add 50-100µLof solution EB (or DNA-free grade water). Centrifuge at 13000x g,0h 0m 0s for 0h 1m 0s.
Transfer the eluate back onto the column at centrifuge a second time at 13000x g,0h 0m 0s for 0h 1m 0s.
Voila! The DNA is in the collection tube, ready for further processing.
If DNA quality and yield is not checked immediately, store the samples at -20°C.
DNA quality check
The DNA purity is checked with a Nanodrop. 1µL of blank or sample is used for the measurement, respectively.
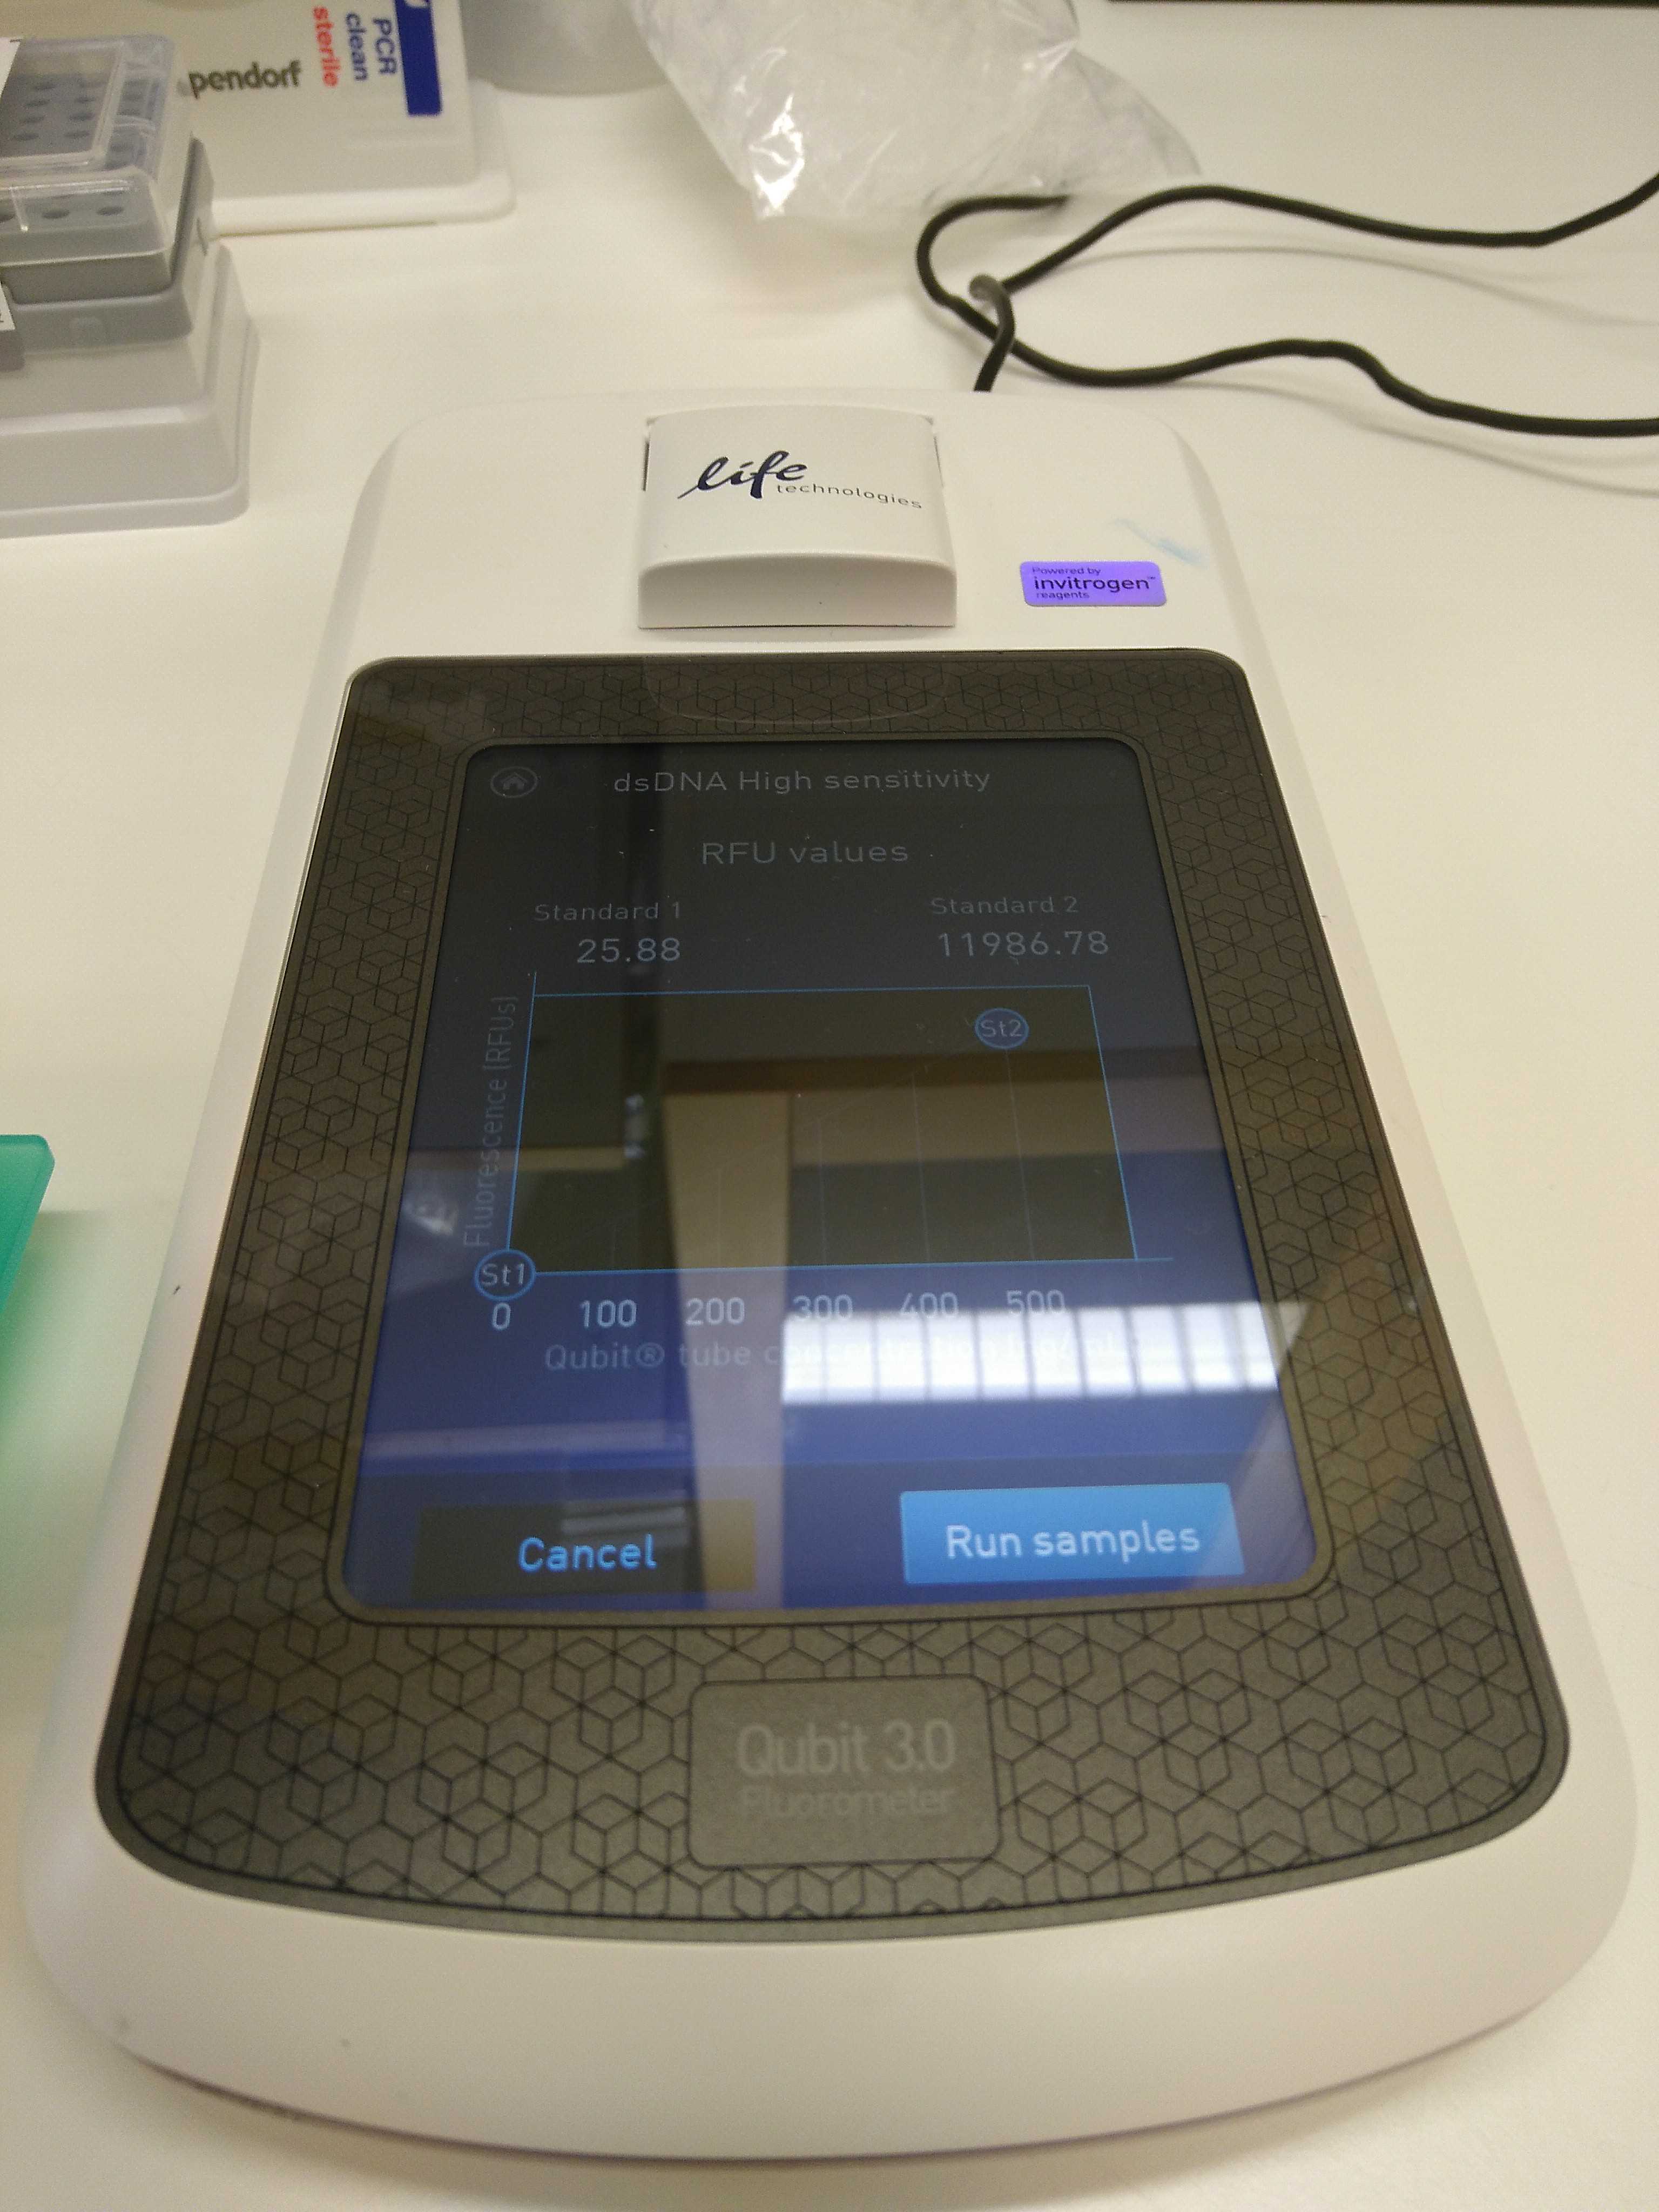
The DNA concentration is quantified by Qubit. The preparation of standards and samples is following the Qubit instructions.
After measuring DNA quality and yield, store the DNA samples at -20°C for later use.
