Protocol for Neuronal Live-imaging of primary cultures
Timothy A. Ryan, Camila Pulido
Abstract
Neurons stand out as remarkably intricate cells. The development of live-imaging techniques on primary neurons expressing genetically engineered biosensor has proven pivotal in advancing our comprehension of neuronal function at both cellular
and molecular level. This protocol introduces a concise method for live-imaging neuronal activity.
Before start
Turn on live-imaging setup: Lasers, microscope, mercury arc lamp, stimulus isolator, XYZ stage, imaging computer.* Open acquisition and controller programs (i.e. camera program, laser’s controller, ImageJ).
- Make sure the EMCCD camera has reach the working temperature (~ -80°C) before start imaging.
Attachments
Steps
Mounting the coverslip to recording chamber
Add2mL of ‘Imaging Solution’ into a P35 dish.
Take a DIV14 – DIV18 neuronal cultured dish from the incubator.
Assess for cell density, health and overall conditions using a basic light transmission microscope to ensure the suitability of the dish before starting the experiment.
Place the coverslip containing platted cells into the petri dish prepared at , and leave it for 0h 0m 10s to 0h 0m 20s to equilibrate with the ‘Imaging Solution’.
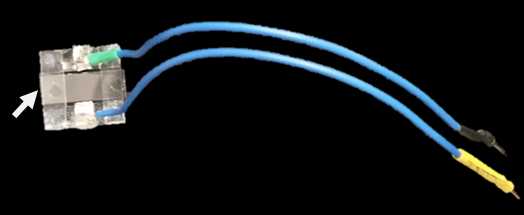
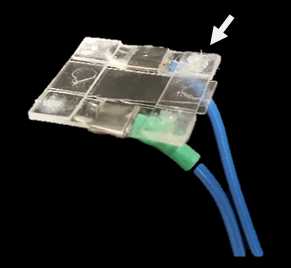
Attach the coverslip to the ‘Stimulator insert’; with the help of some tweezers make sure every corner of the ‘Stimulator insert’ is well attached to the coverslip by the grease.
Clean the bottom of the coverslip with a wipe with Sample, making it ready for imaging.
Checking for transfected neurons under the microscope
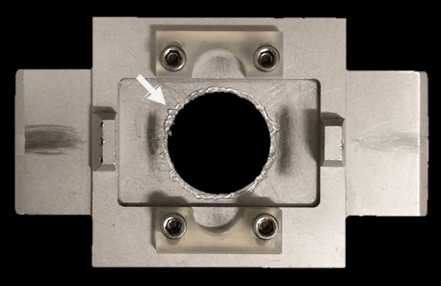
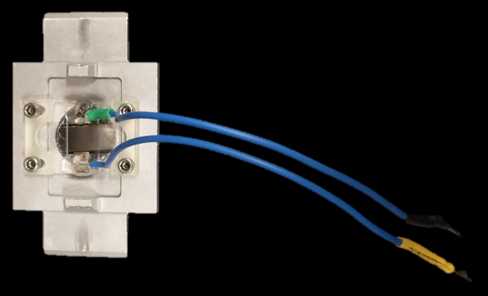
Place the ‘recording chamber’ into the microscope’s stage.
If electrically stimulating neurons, connect the ‘recording chamber’ to the stimulus isolator.
Start prefunding ‘Imaging Solution’ trough the coverslip at a speed of ~100uL min-1. Make sure all perfusion lines with additional test solutions are calibrated to run at the same speed.
Using transmission light find the focal plane where neurons are located.
Change microscope illumination to the mercury arc lamp, making sure the desire dichroic filter is in place. (i.e. GFP-filter cube).
Verify the presence of transfected neurons based on their baseline fluorescence emission. If the biosensor’s baseline fluorescence is insufficiently bright due to its inherent nature (i.e. vGLUT-pH), add a suitable solution (i.e. NH4Cl-Tyrode’s) into the chamber that may enhance the biosensor signal, facilitating the identification of transfected neurons.
Save all localizations where transfected neurons are found.
Proceed with the imaging protocol.
Neuronal Imaging Protocol
Flip the microscope mirror from the mercury arc lamp towards the laser path.
Make sure the following programs are open at the ‘Imaging-setup computer’: EMCCD camera control software (like Andor-Solis program), laser control software (like Coherent connection), master control program (like a custom-designed Arduino controller program) and image analysis program (like ImageJ with Time-Analyzer plugin).
Load the desired acquisition settings protocol for imaging in the EMCCD camera control software.
Select one of the previously saved stage localizations, re-focus and move the neuron/boutons to a desire field of view, ready to be imaged.
If electrically stimulating, make sure that the correct settings are selected (i.e. number of pulses, stimulation frequency, time to first pulse) and ready to Go when triggered by camera action.
When ready for imaging, proceed to record.
Additional notes
This live-imaging protocol can be adapted to be used with ratiometric biosensors (i.e. iATPSnFR2-HALO), by using the appropriate dual filter cube corresponding to the different fluorescent emissions and, by switching lasers between frames when image acquisition is performed.


