How to grow wheat in controlled and semi-controlled environment
Isabel Faci, Cristobal Uauy, James Simmonds, Valentina Buffagni
Disclaimer
This is one of many ways to germinate and grow wheat plants. We hope this protocol provides a starting point which can then be adapted as needed by individual labs.
Abstract
This protocol explains how to germinate and grow wheat, as well as how to harvest and store the grain. This is one of many ways of doing this, but we provide this protocol with the aim to assist users with a prove and tried method.
Steps
Germinating Wheat Grains
Grains are usually germinated on filter paper before transferring them into soil as this provides a more uniform and successful germination than sowing them directly in the soil (which can be done by placing the grain 3-5 cm under the surface of the soil and ensure it is well watered).
If the grains have been stored at room temperature, a cold stratification (4 °C for 48-72 h) can aid with the breakdown of dormancy and germination.
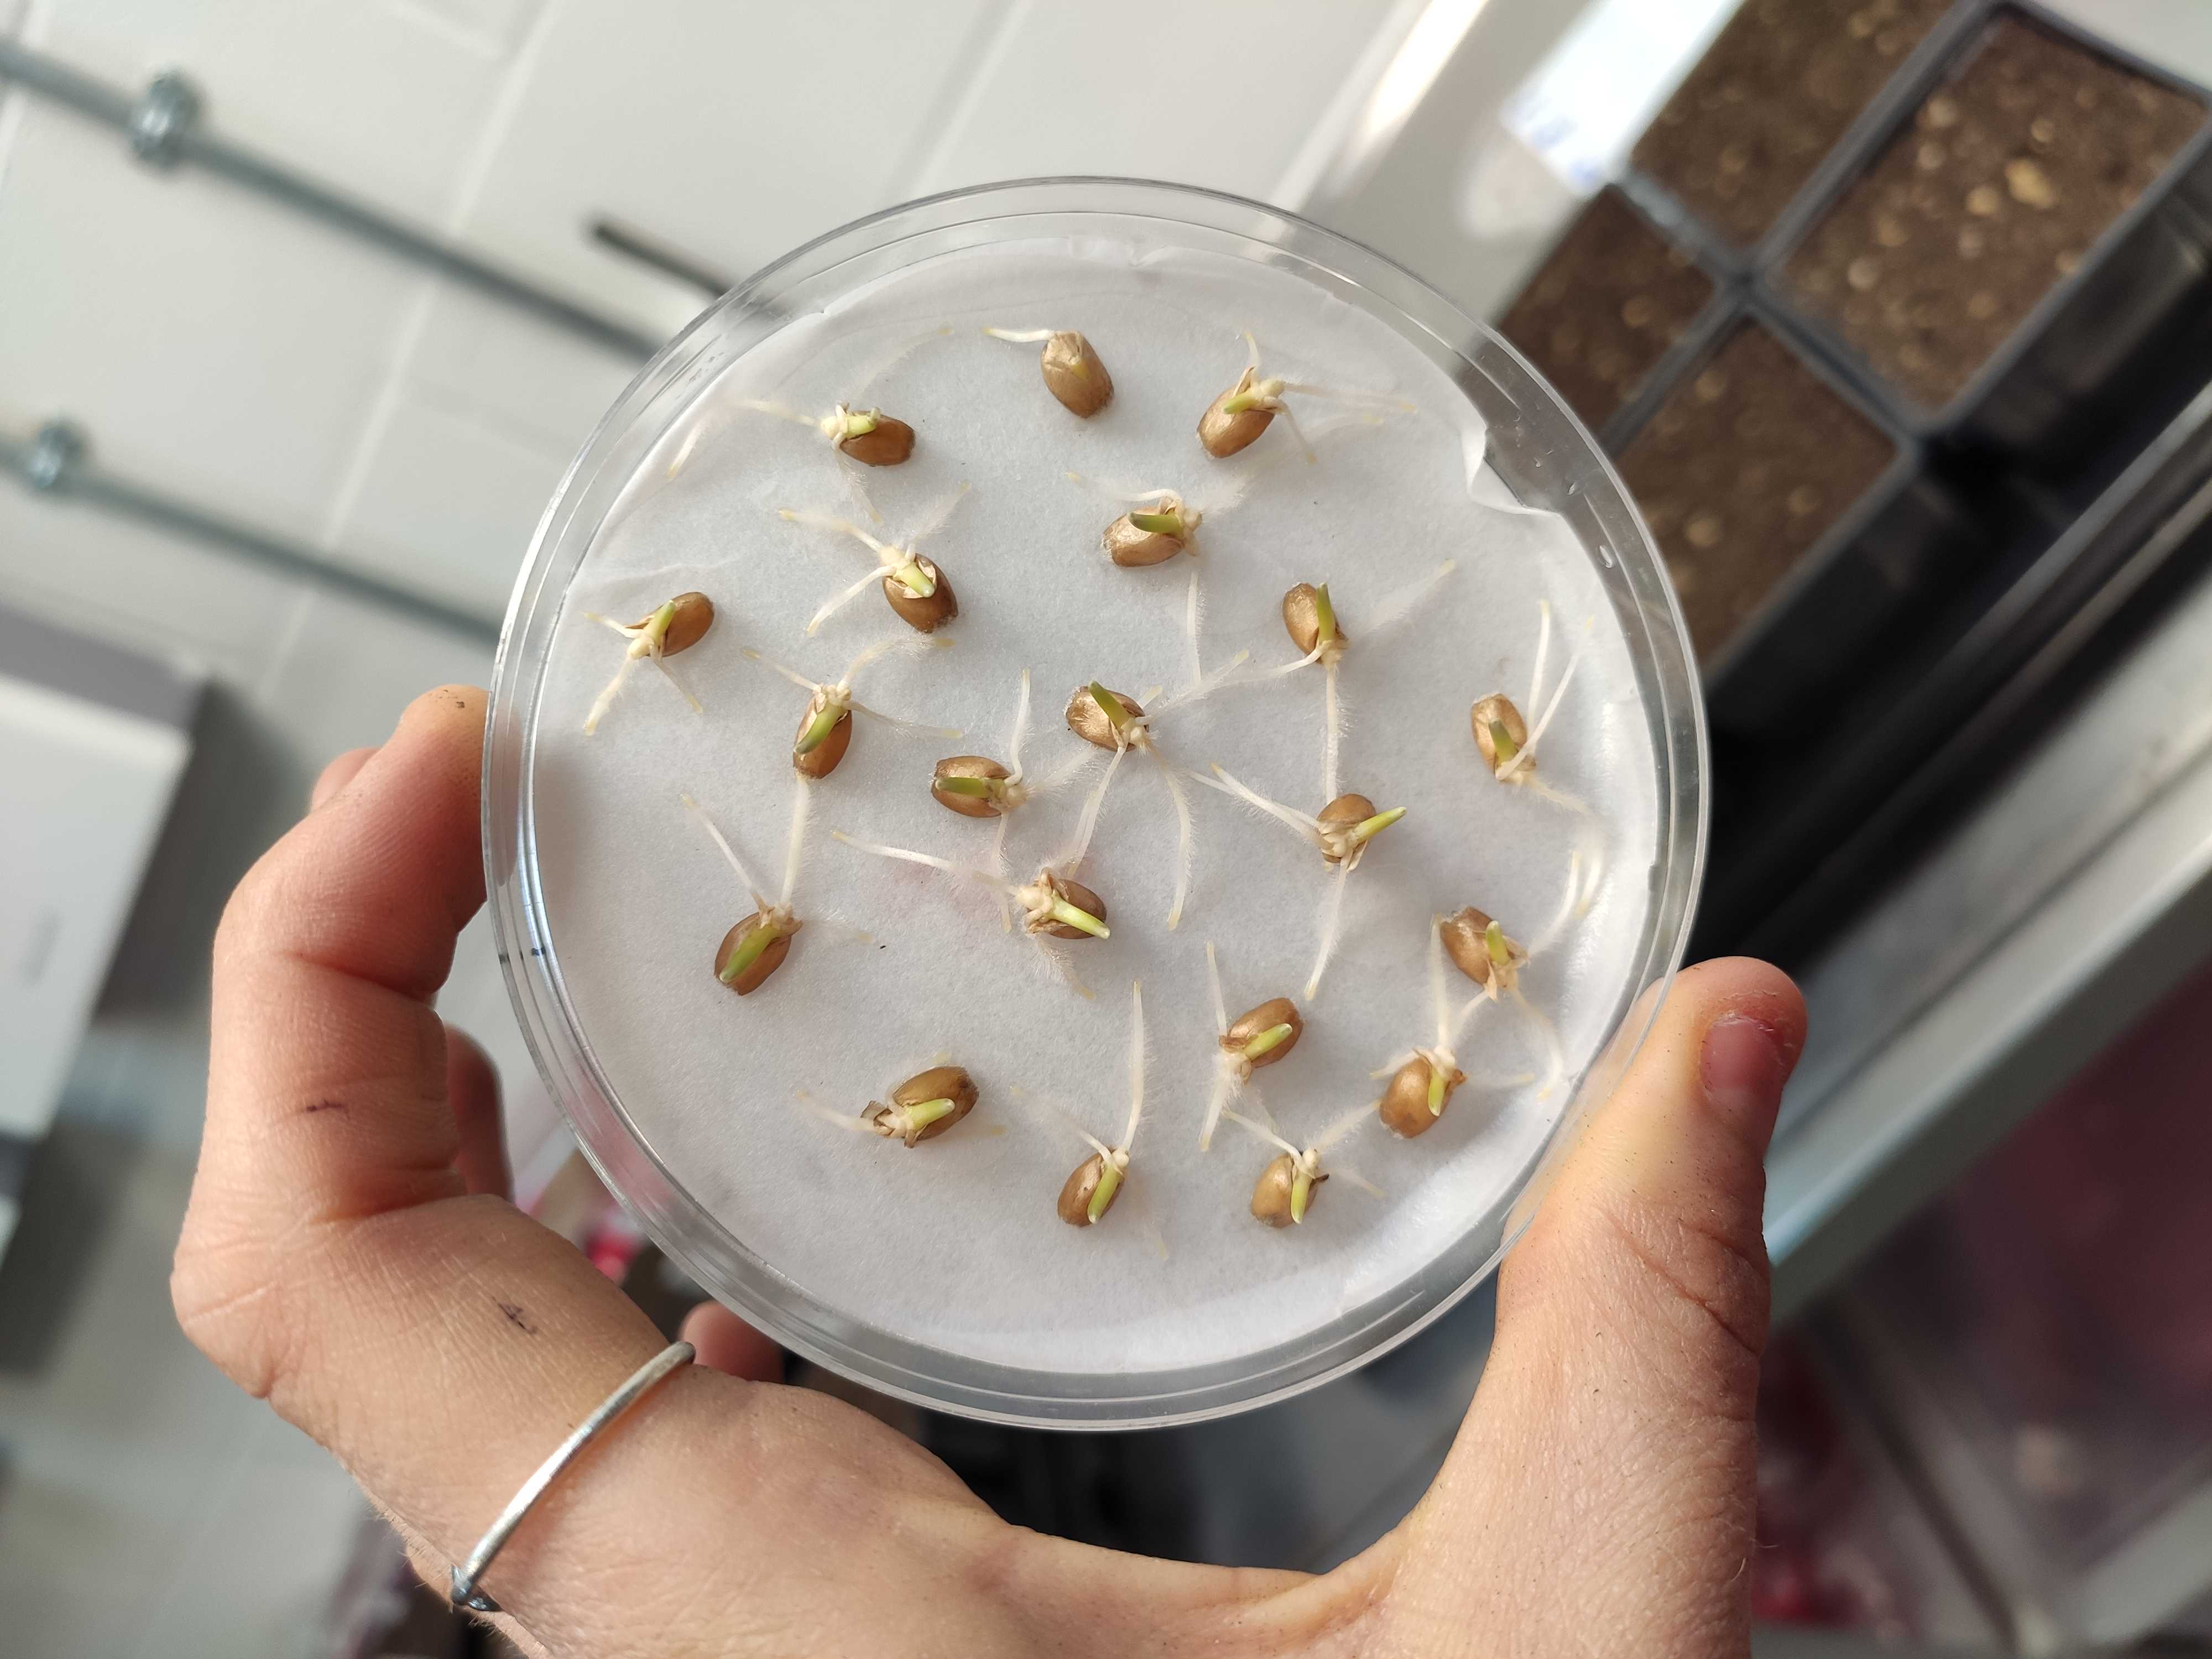
Place a circle of filter paper in a Petri dish (Figure 1) and put grains on top, in small Petri dishes (60 mm diameter) use about 15 grains, in large Petri dishes (100 mm diameter) about 40 grains, in very large Petri dishes (150 mm diameter) use about 150 grains.
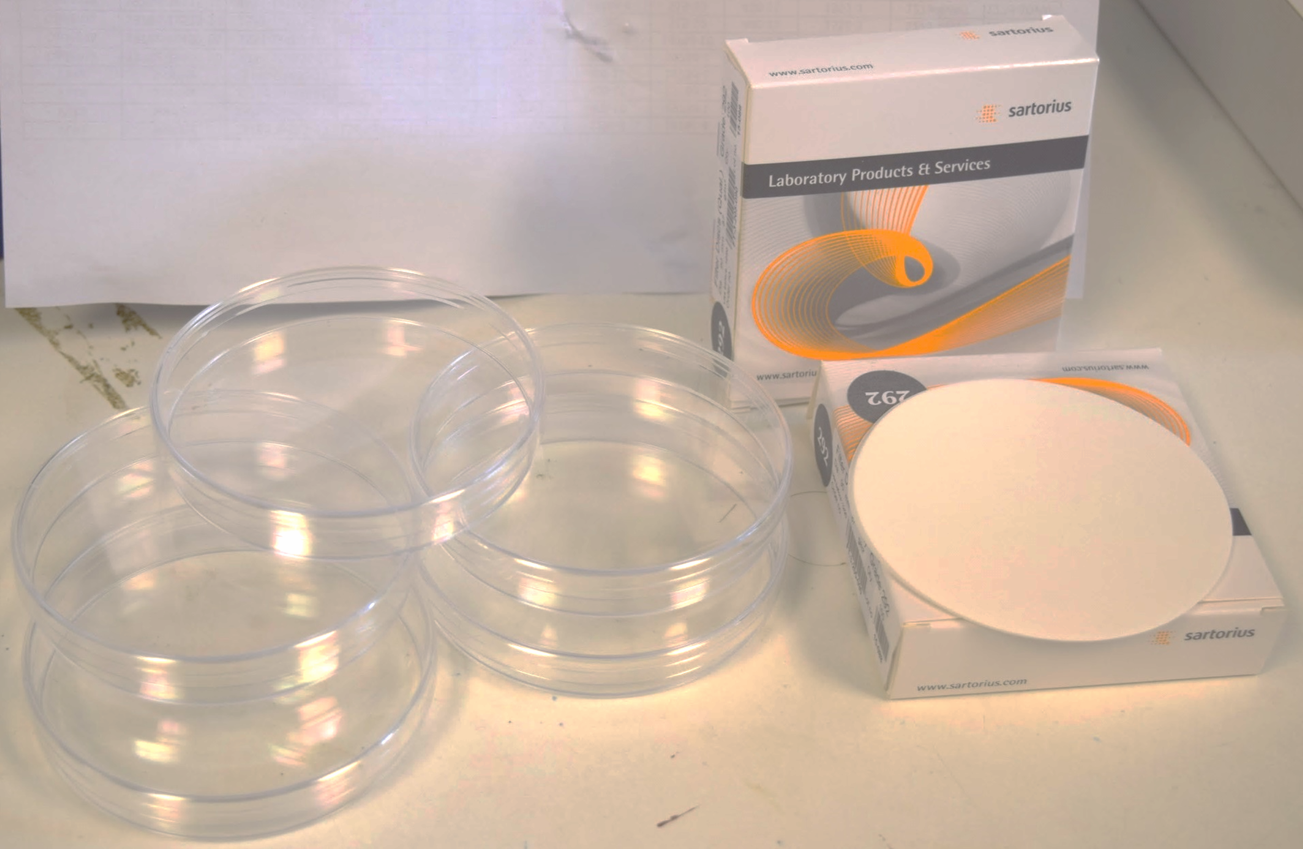
Label dishes carefully, preferably not only the lids. You can also label the filter paper with pencil for additional thoroughness.
Add enough water to dampen the filter paper completely, but make sure the grains are not floating in water. We recommend to place all the seeds with the crease facing downwards, as seen in Figure 2. This will facilitate growth and more even growth between the seeds. We use forceps to help place the seeds.
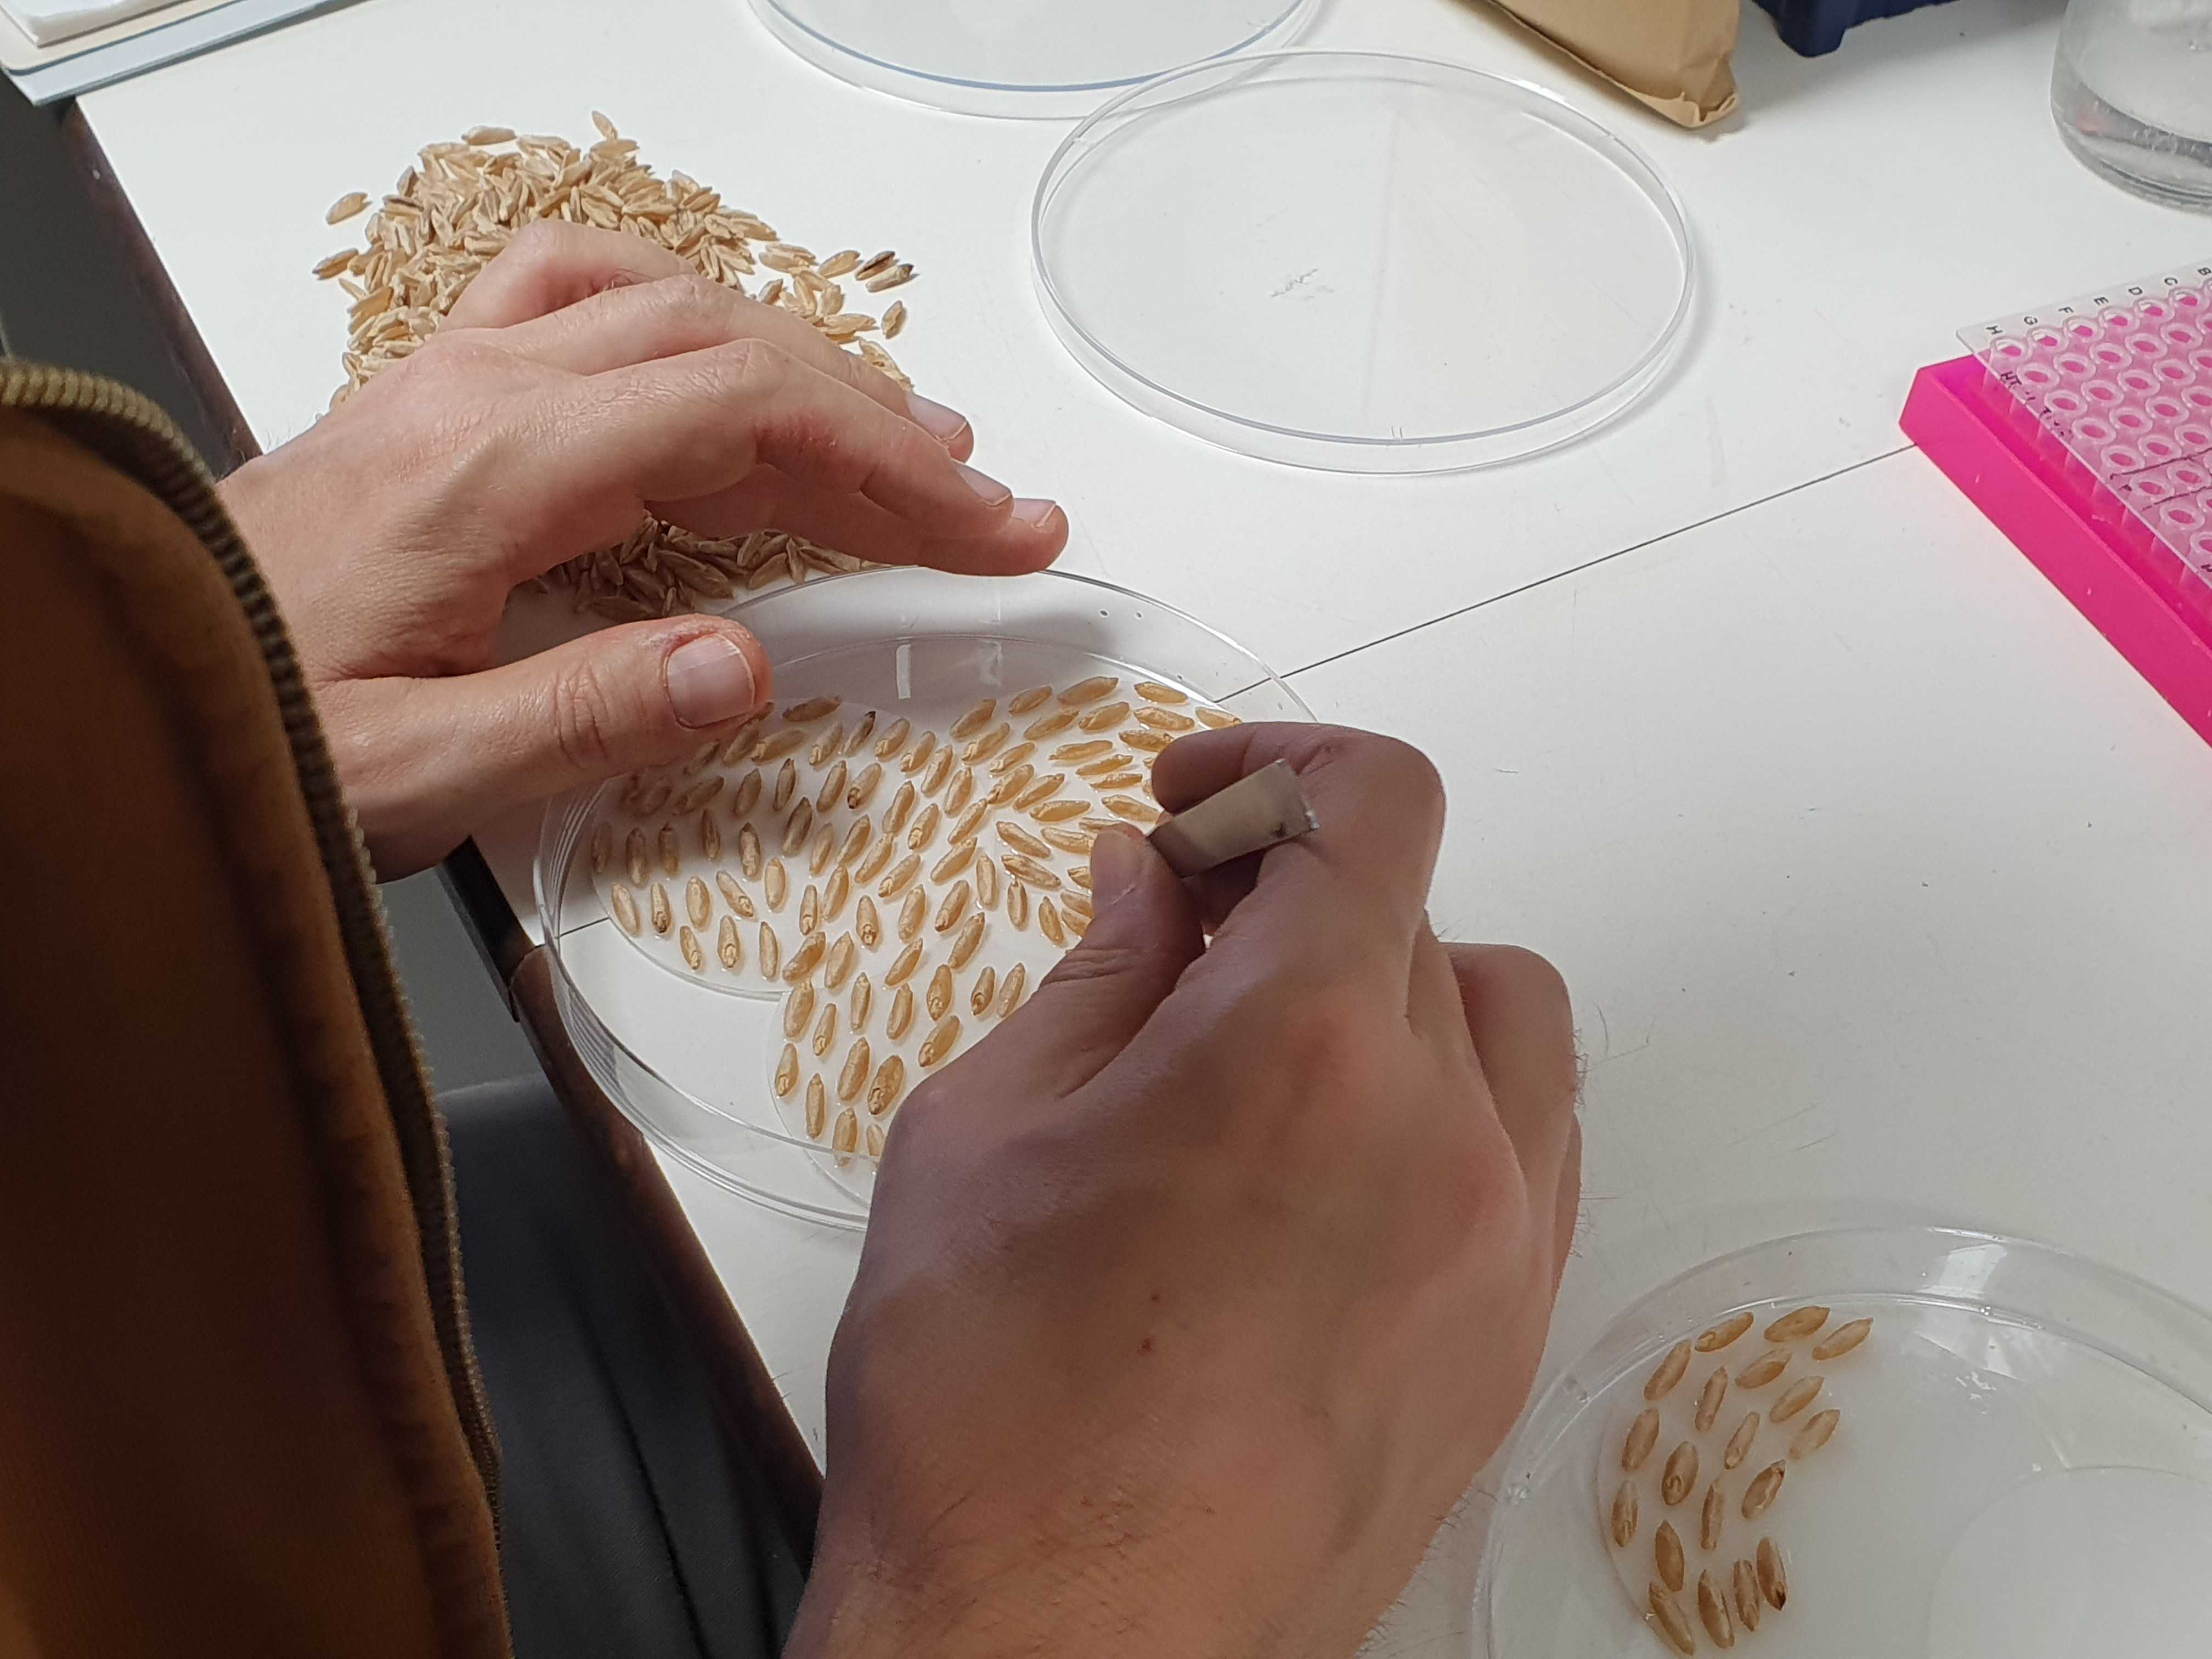
You can seal the lid closed (with sticky or masking tape) to prevent the emerging coleoptiles from pushing the lid off, which can lead to the filter paper (and thus the grains) drying out. This is however not necessary.
Leave at room temperature for 1-3 days until germinated (i.e. the coleoptile has clearly emerged), but check periodically that the filter paper is not drying out. Some varieties germinate better if left at 4 °C rather than room temperature. Germination can be sped up by placing in a germinator (under constant light).
If left in the dark, we usually observe less disease growth.
In general, the older the grains the longer they should be left at 4 °C before moving them back to room temperature. This drastically increases the germination rate of old grains.
Transferring germinated grain to soil
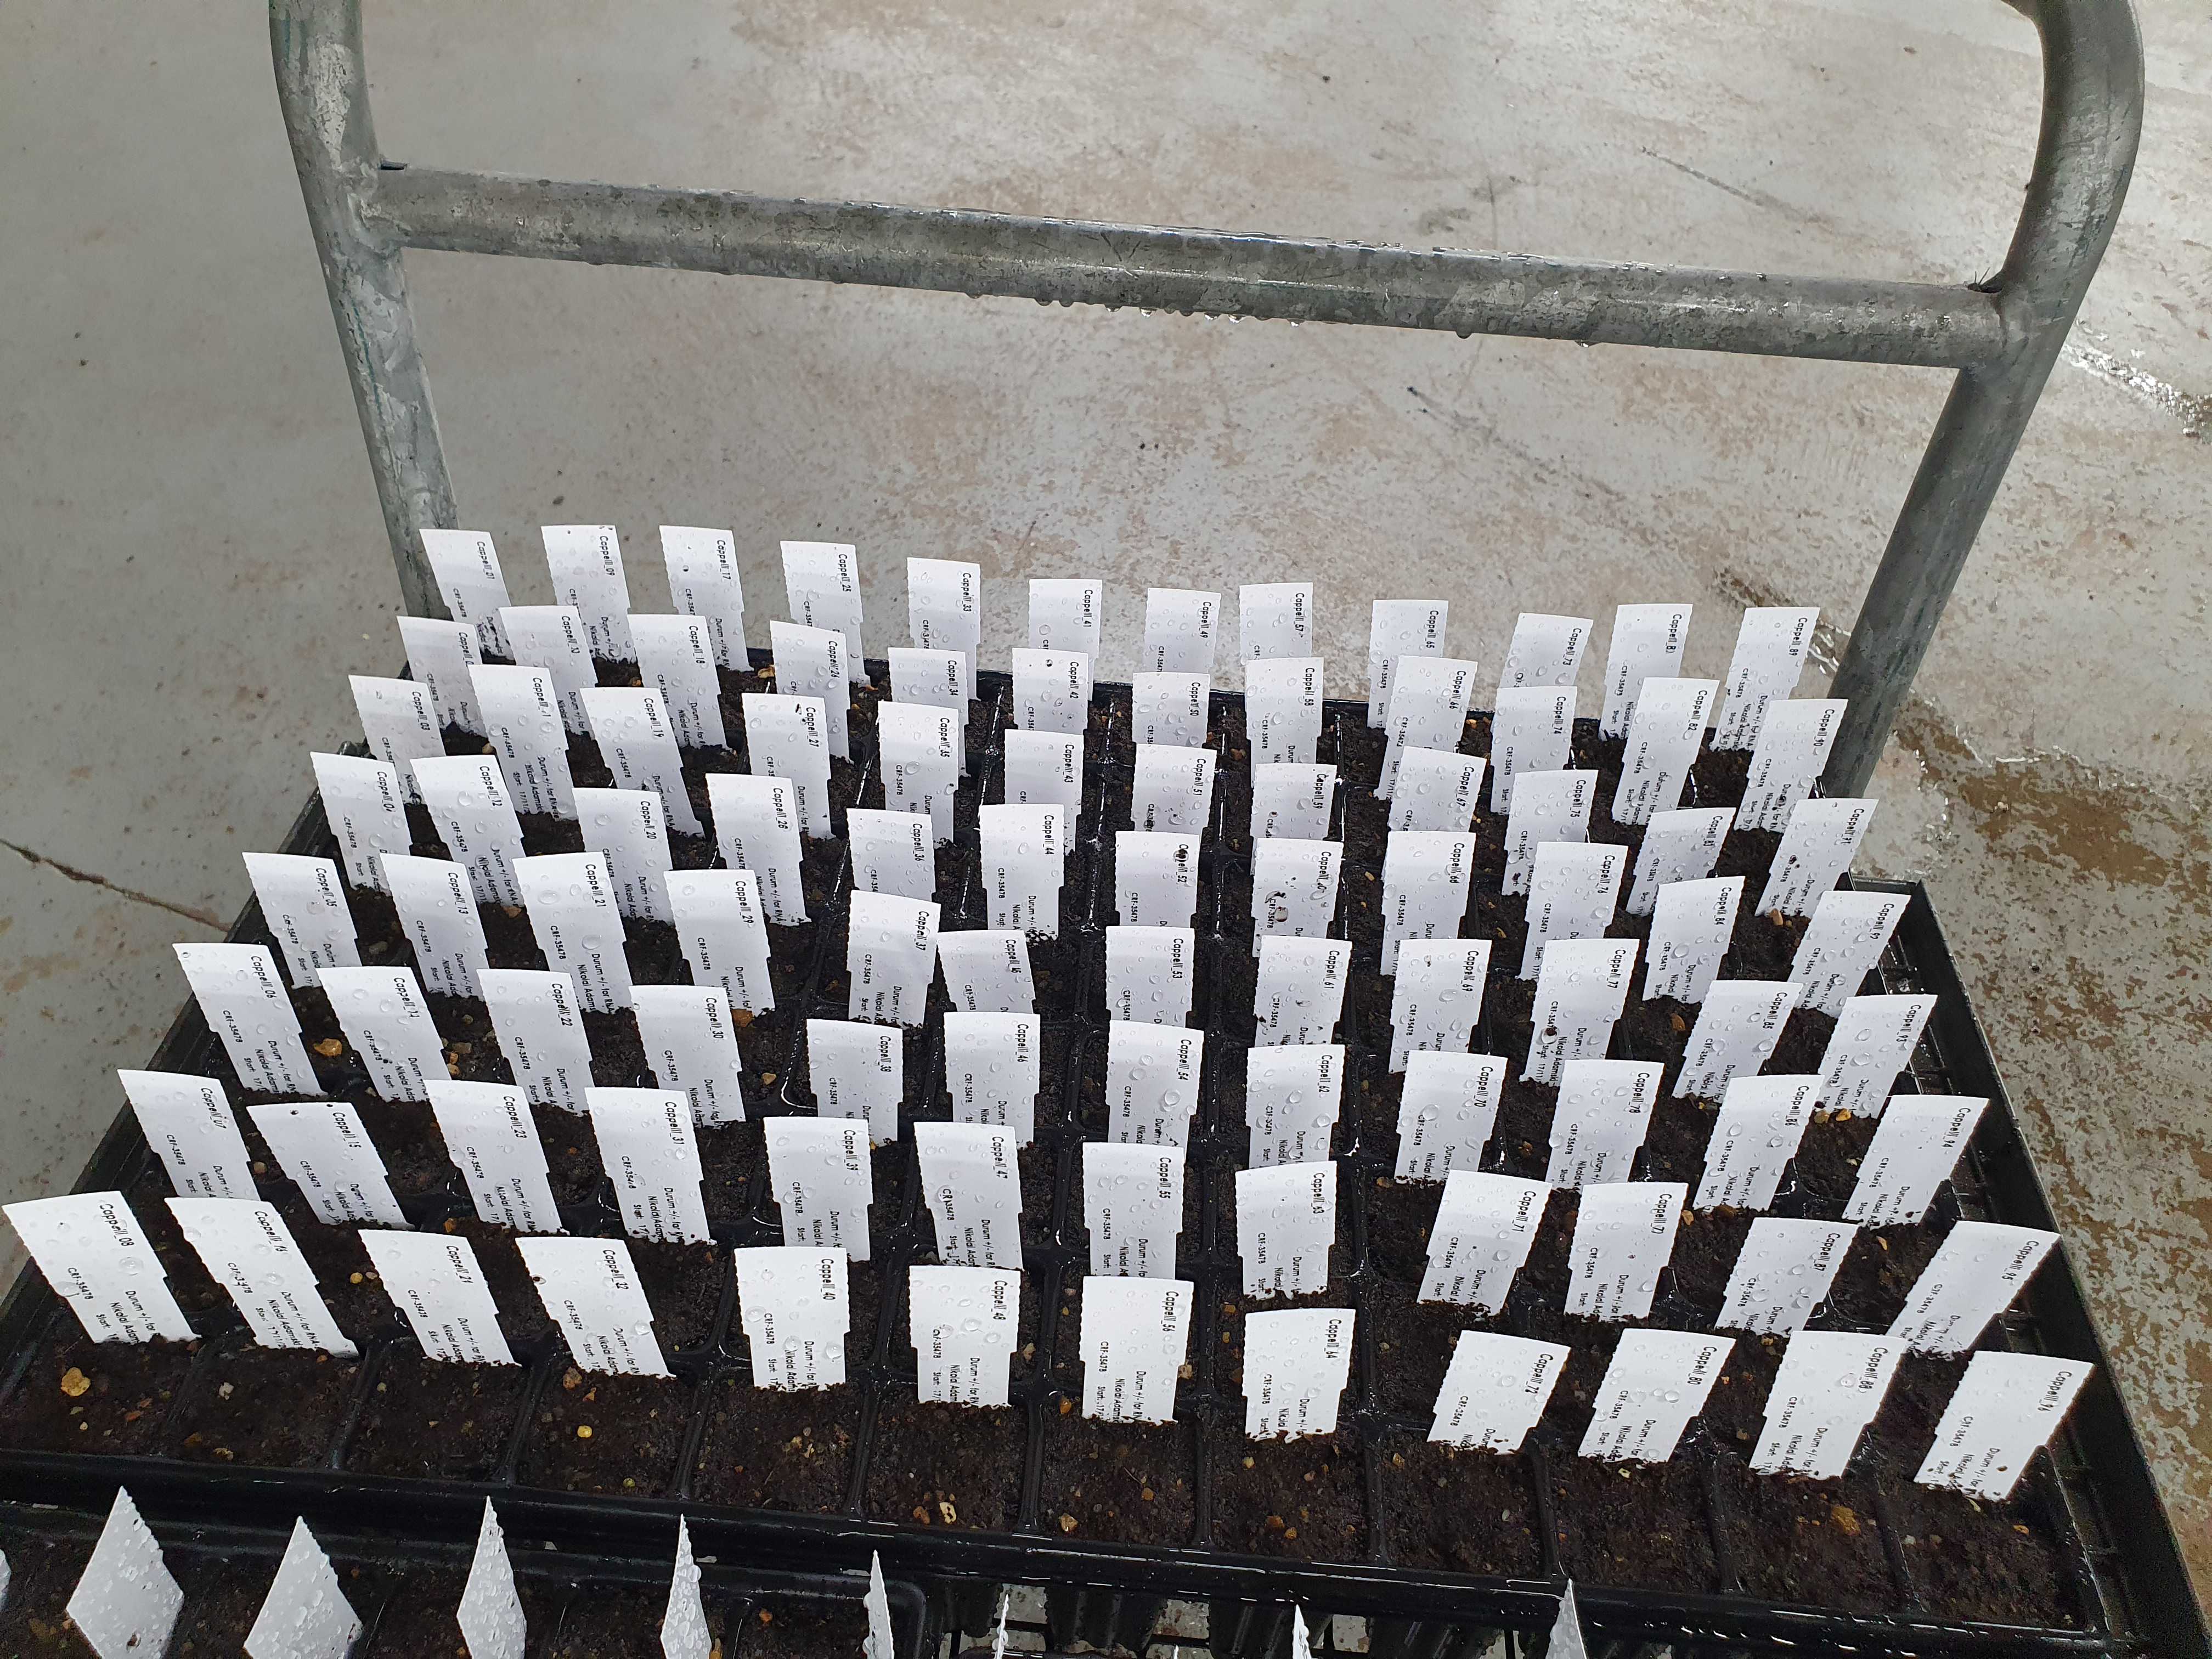
Fill a multi-cell seed tray with John Innes Cereal mix soil. If the aim is to perform DNA extraction and genotyping, the germinated seeds can first be planted into 96-cell trays (Figure 4) for convenience. Use a levelling tool (or your hands) to pat down the soil and then add more until the tray is almost full.
Place the germinated grain in the well and push the small mound of soil over it, so that the grain is covered but the coleoptile is not buried.
Water the soil thoroughly without flooding.
Place the tray in an appropriate growth chamber or glass house for two weeks.
Once the first true leaves have fully emerged it is a good time to take samples for genomic DNA extractions. We usually put leaf samples in a 96-well plate in the same order as the plants in the seed tray. At this stage the plants are easy to sample and the leaf material is easy to disrupt.
For more detailed description of wheat growth stages see the Wheat Growth Stages document Wheat Growth Stages.docx . Additional files include:
- The conversion between the Zadoks and Feekes scale Zadok-scale_and_feekes-01.tif
- Waddington scale Waddington-scale.tif
Vernalisation requirements (Winter wheat varieties only)
Wheat varieties can be categorized into two main groups according to their requirement for cold before flowering (vernalisation requirement). This is also used to classify wheat lines as winter (requires vernalisation) or spring (does not require vernalisation).
Winter wheat varieties will require between 6 to 12 weeks of vernalisation, the exact time depending on the specific variety. Plants are usually vernalized in a controlled environment room at 4 °C and 8h/16h of light/dark and are placed there straight after having germinated or once the first true leaf has emerged. This allows for DNA sampling before putting them into vernalisation. The required temperature and time period for vernalisation is closely related to the winter hardiness and maturity rating of the variety.
Transplanting from trays to pots
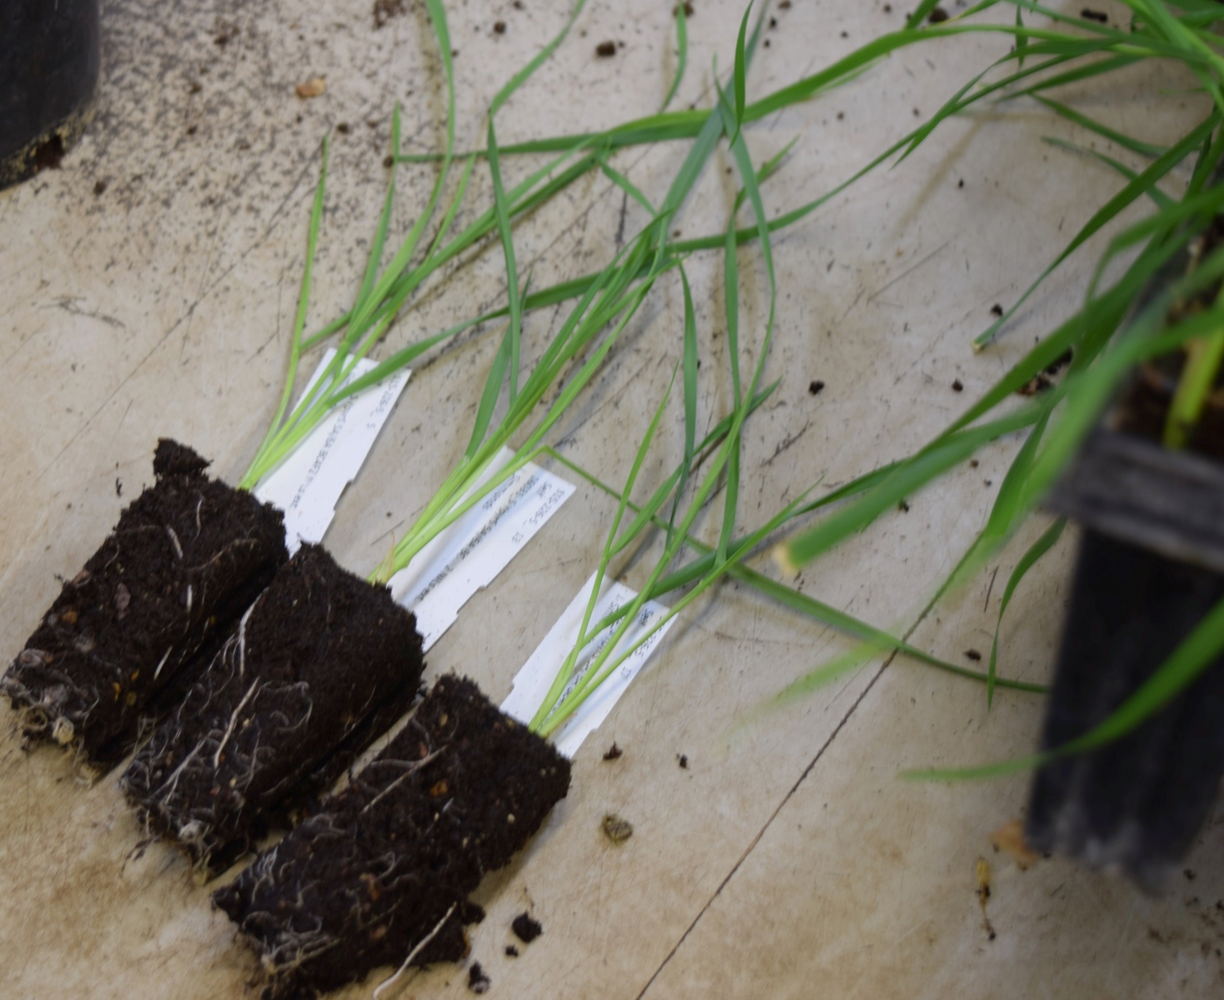
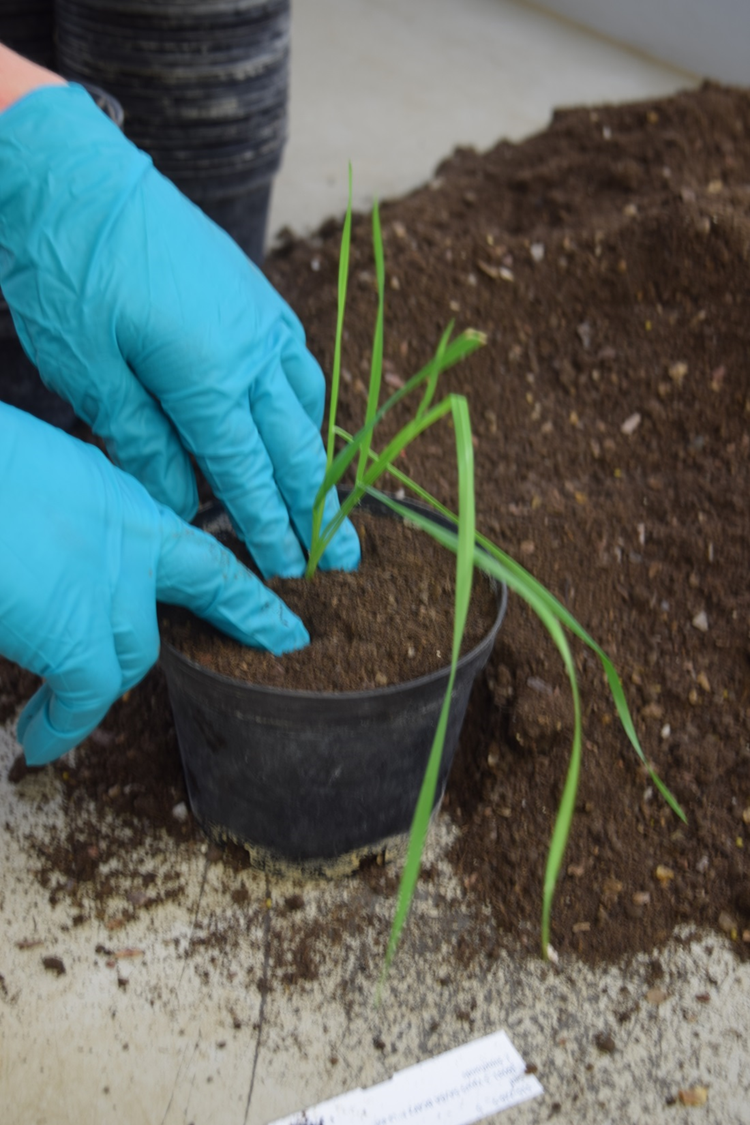
Once the plants are big enough we transfer them to pots (usually 3 weeks once plants have ~ 3 leaves and the roots are protruding from the base on the 96-well tray). They will remain in these pots until they set seed.
Depending on your experiment and your available space, you can also leave your plants in 96-cell trays. This might be suitable for advancing generations in the case of a single seed descent population. These plants should produce at least one or two healthy spikes. In this case you should be sure to use nutrient rich soil mix, e.g. John Innes Cereal mix.
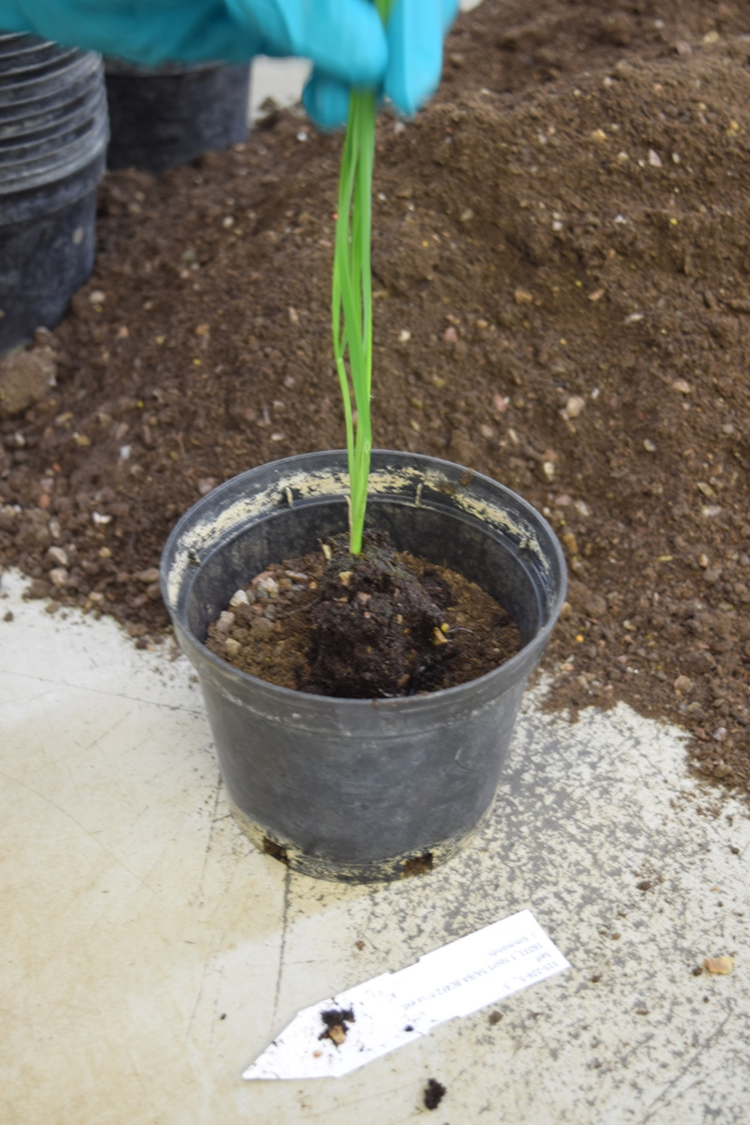
Fill a 1 L pot (or 11 cm diameter pot) to approximately ¾ full.
Make sure that all pots are clearly labelled (Figure 8).
Growth conditions
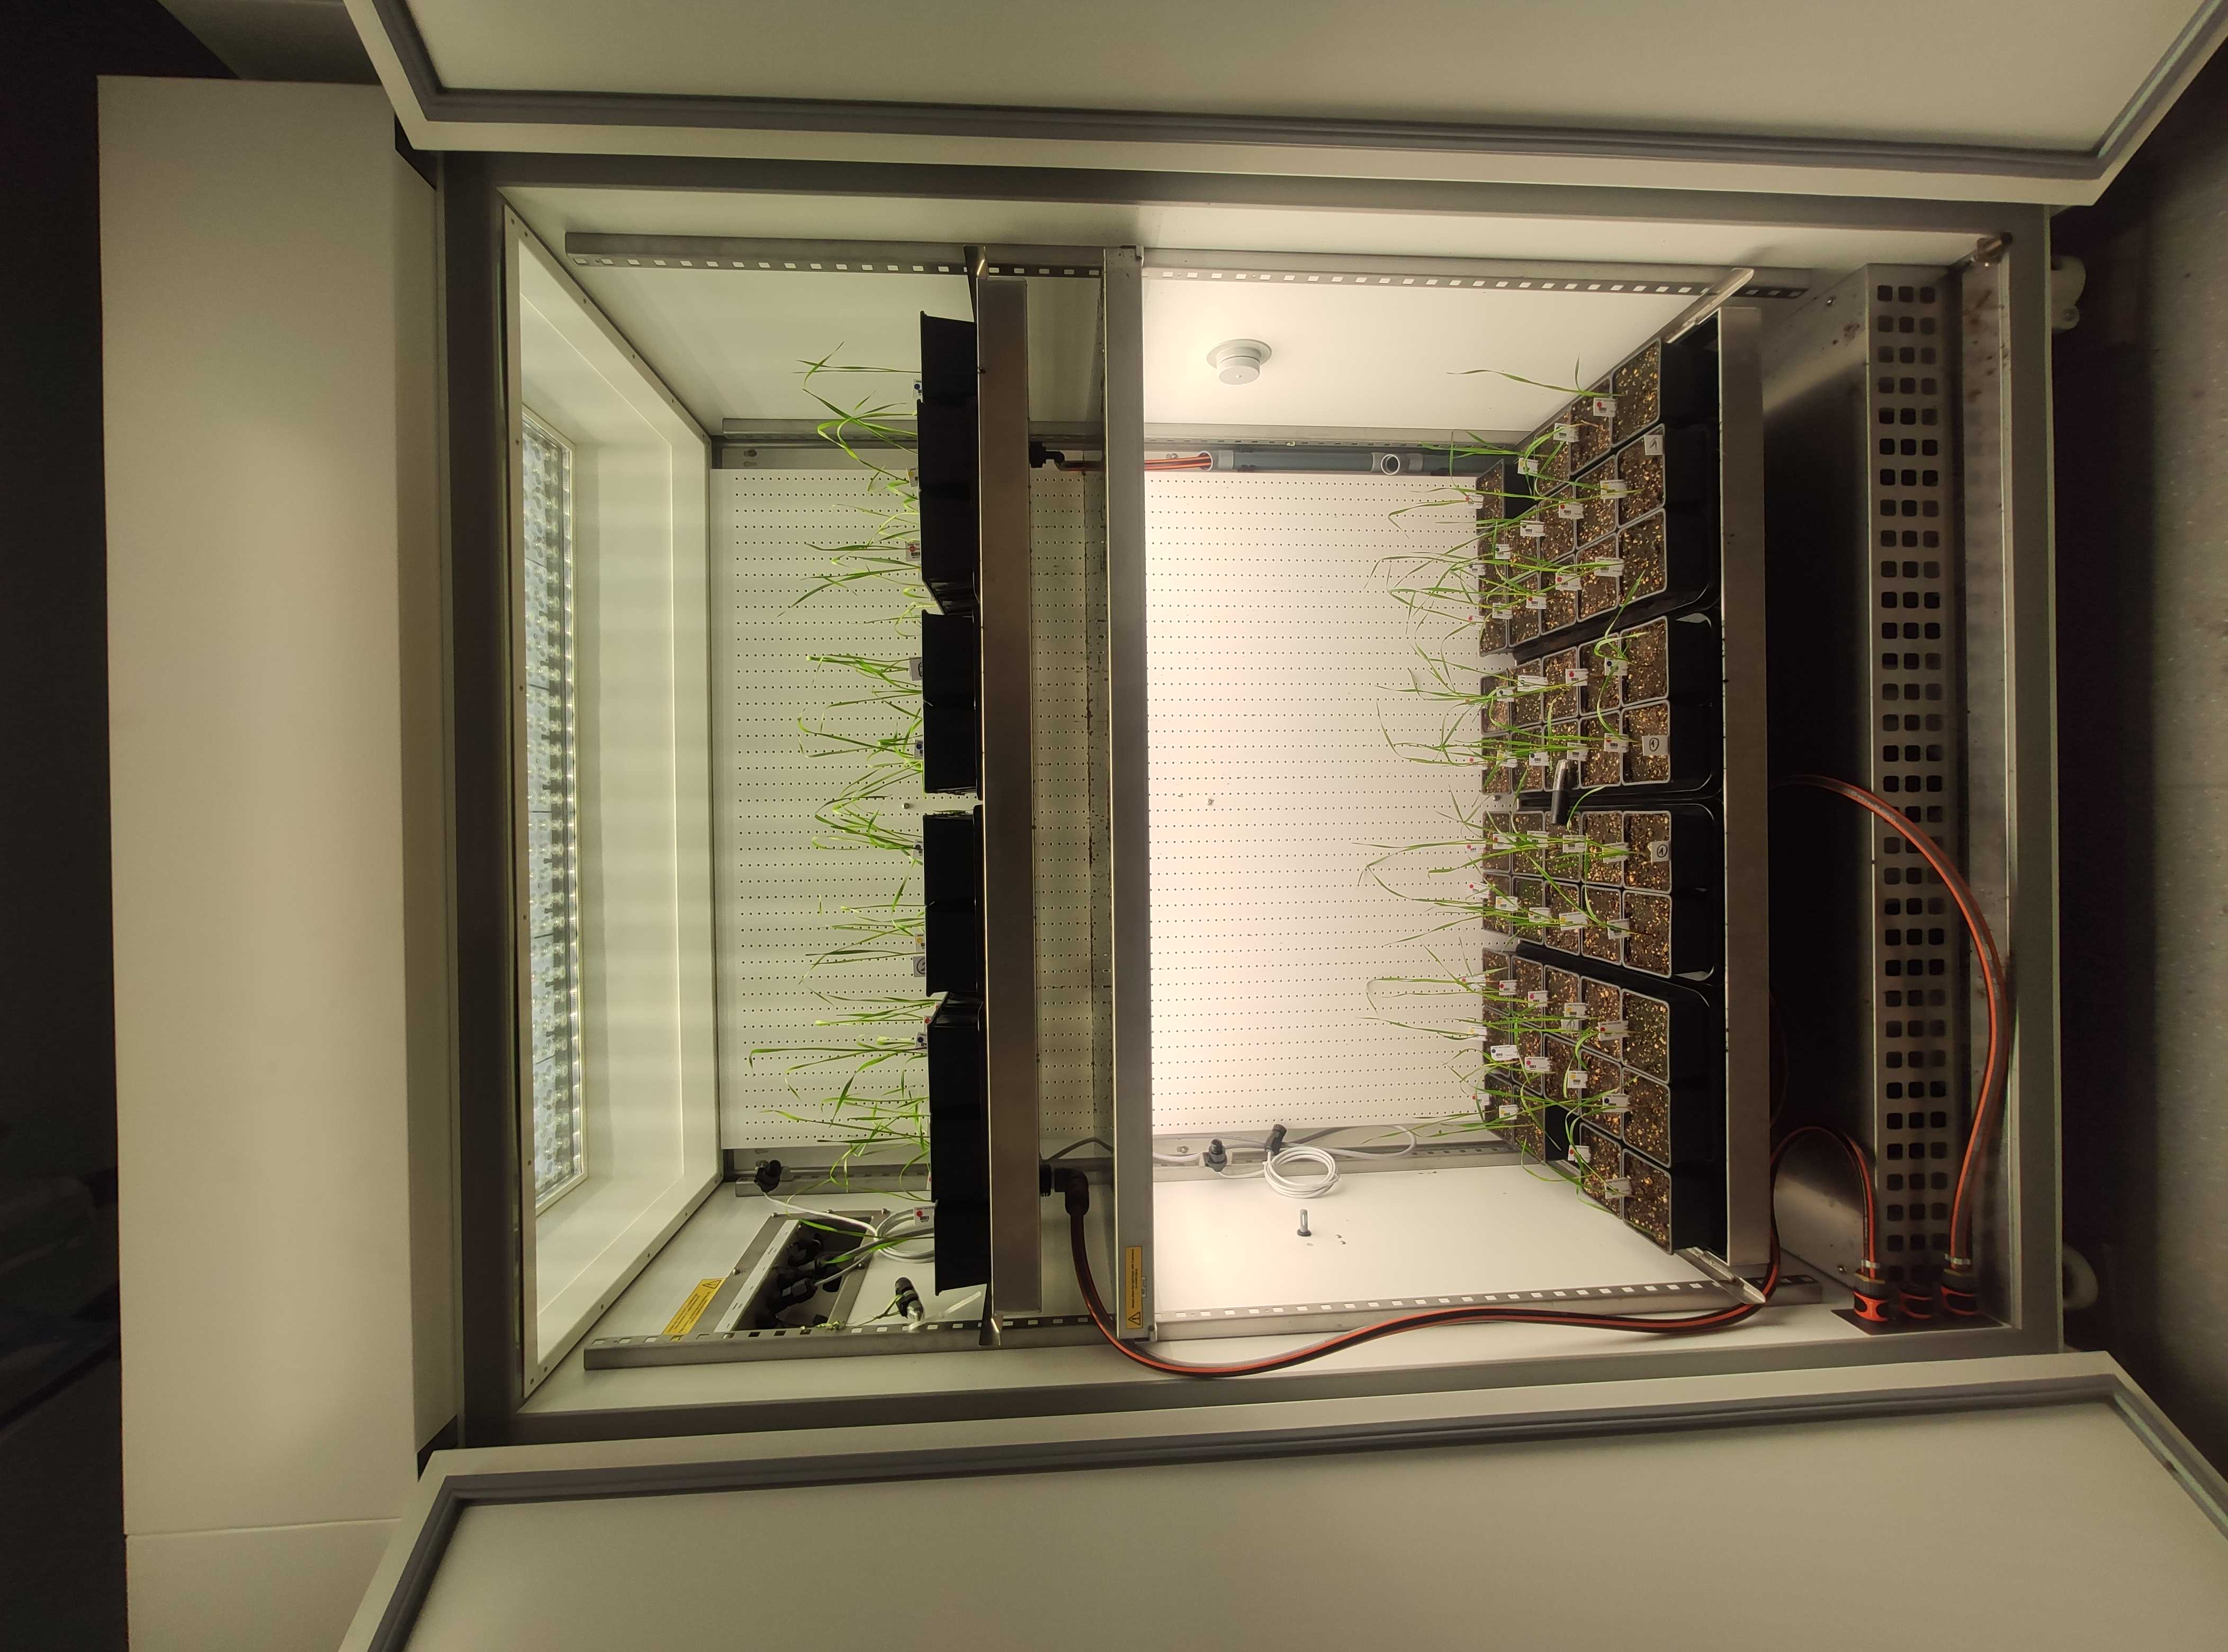
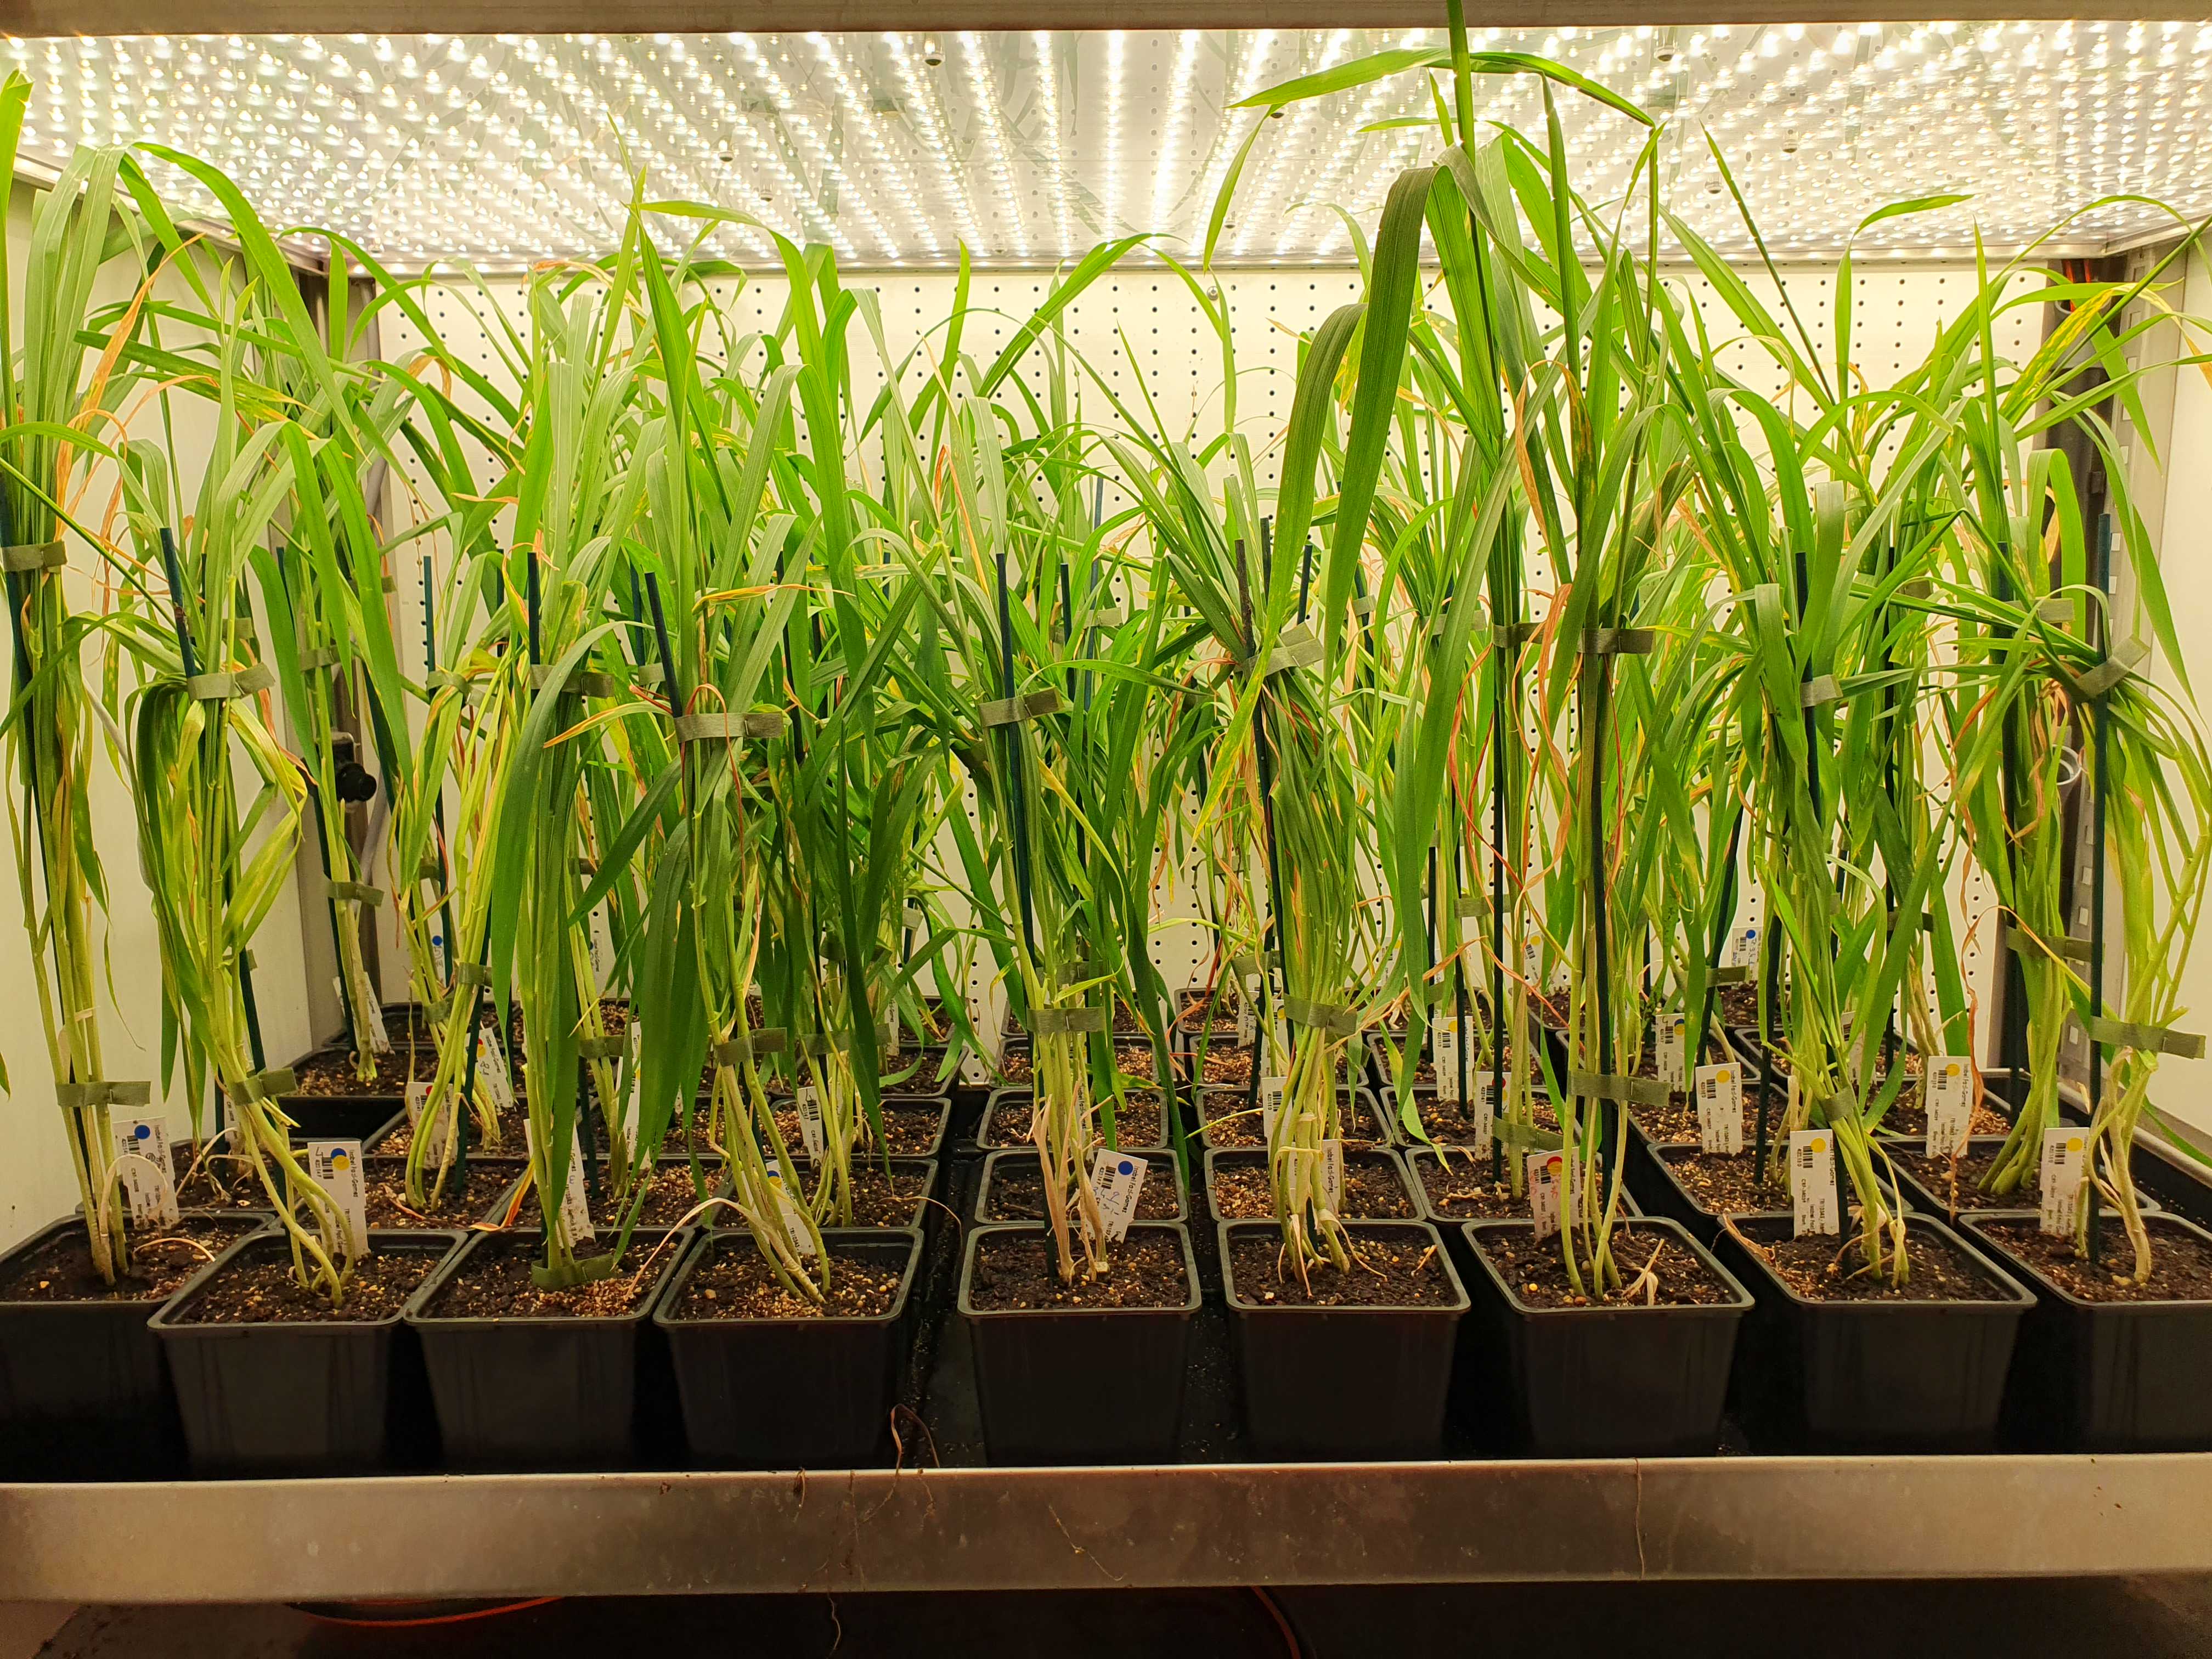
Plants can be grown in controlled environment rooms on a 16 h light (300 μmol m-2 s-1) 20 °C / 8 h dark 15 °C cycle with constant 70% humidity.
We generally grow the plants in a glasshouse. During the winter these are augmented with lights and heaters, to give conditions similar to those described for the controlled environment rooms.
Plants are watered daily , the frequency within a day depends on the growth stage and environmental conditions: it is suggested to assess frequently and make sure the soil is not dry or overwatered.
Suggestions on watering technique (top/bottom) depending on developmental stage:
- Top watering to promote germination and to newly germinated seeds
- Once roots are starting to protrude, bottom watering to avoid lodging.
- Once transplanted to bigger pots, top watering to help establishment.
- Once roots are established, bottom watering.
As a general rule, we however water 2 times per day (between 1 min and 10 min flood time, then it drains).
Watering is reduced when the grains mature and stopped altogether once the plant has senesced.
Appropriate integrated pest management practices are essential to ensure plant health throughout growth.
Harvesting and storing of grain
After anthesis the grain begins to form quite rapidly for about ten days (the “pre-milk” stage). After its formation the grain is gradually filled (grain filling stage), which takes approximately 20 days (each variety will be somewhat different). Towards the end of this period the grain turns from green to a golden colour. After this period the grain begins to dry out and its colour becomes brownish.
Grain can be harvested when completely dry or collected earlier and dried in the oven (30-35 °C; do not kill your seed by using very high temperatures!). Before storage, the grains must be “threshed”, i.e. separated from the rest of the spike. This can be done in a number of ways but we use a cricket bat grip (made of rubber). Figure 10 and 11 illustrate the required tools and the procedure.
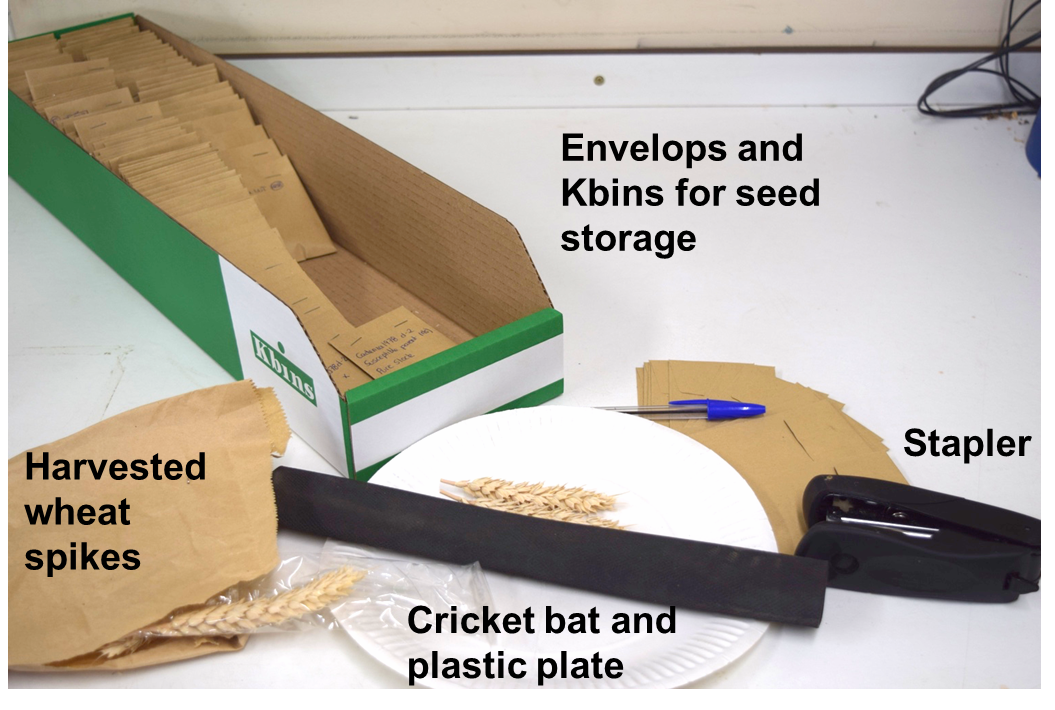
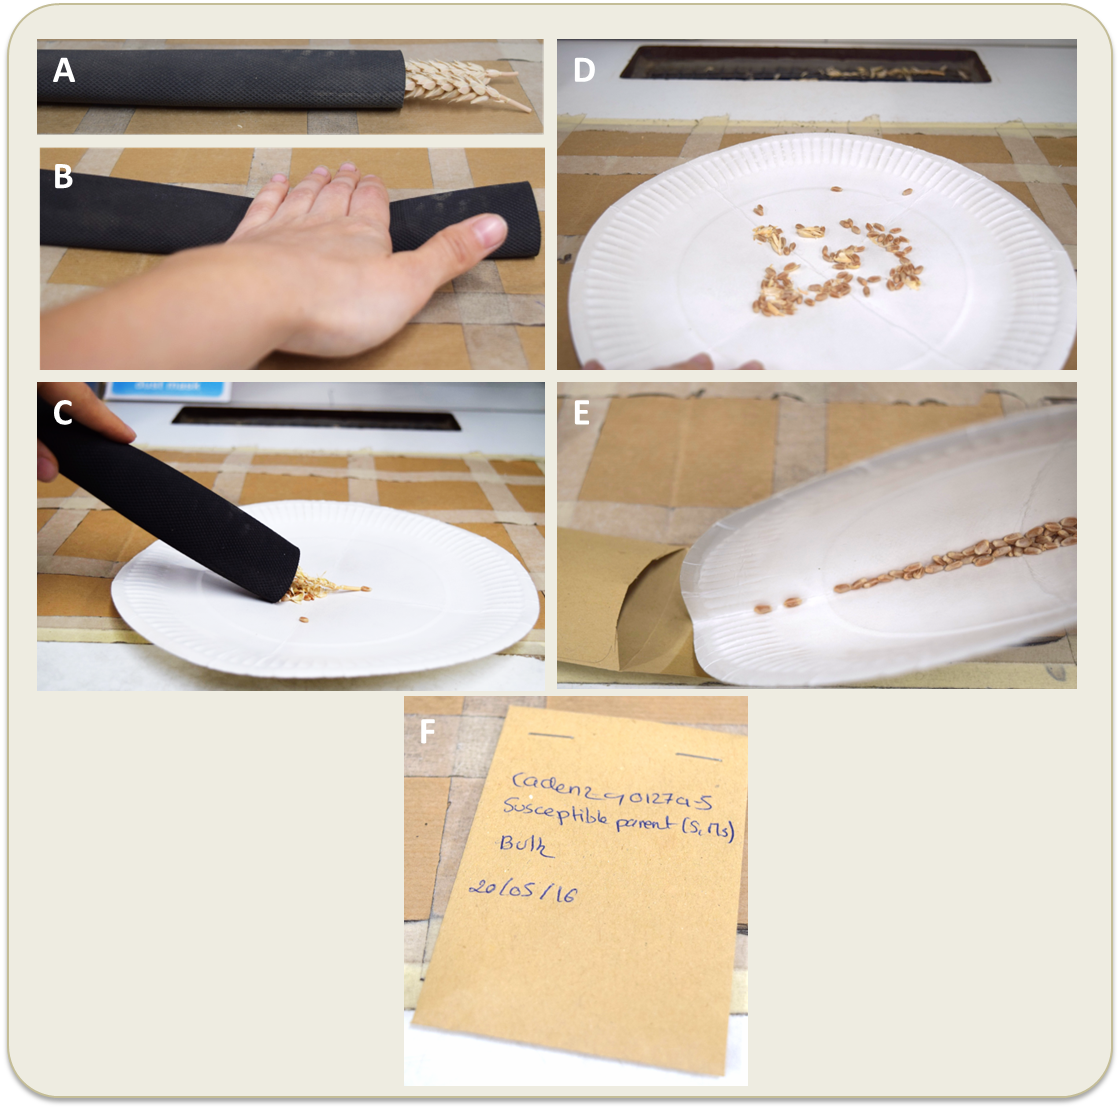
After threshing we store the grain in envelopes (clearly labelled, including date, and fastened with staples or a paperclip). Envelopes are better than tubes because tubes can trap moisture which can cause the grain to go mouldy. In the short term, grain can be stored at room temperature but for long term storage place the seeds at 4 °C.
If you are interested in utilising Speed Breeding to accelerate plant growth, we recommend following the published protocols:
Spring wheat (Ghosh, Watson et al 2018): https://www.nature.com/articles/s41596-018-0072-z
Winter wheat (Cha, O'Connor et al 2022): https://www.sciencedirect.com/science/article/pii/S1674205222001940

