Spin column TNA extraction from plants - GITC method
James JN Kitson
Abstract
This protocol is designed for extracting total nucleic acids (TNA) from plant material. In reality the drying step probably means that you won't isolate plant mRNA but viral RNA (and probably plant ribosomal RNA) are recovered. This protocol is based on the plant tissue TNA extraction method from bomb.bio but modified to use inexpensive 96 well spin column plates. The reasons for this are three-fold:
- SPRI bead protocols are complicated to perform for multiple plates simultaneously. Using this protocol, up to four plates of extractions can be performed simultaneously in a deep well plate centrifuge such as the Heraeus Megafuge 40R.
- SPRI beads require very clean supernatant after grinding to prevent plant particles binding within the bead pellet and causing downstream contamination whereas the spin columns and filter plates mechanically filter the lysate.
- Spin columns allow a larger amount of input material than the bomb.bio protocol.
This protocol is significantly improved through the use of high volume multichannel electronic repeaters (e.g. a Gilson PIPETMAN M P8X1200M) or a 96 well pipette (e.g. the Gilson Platemaster) but can be performed using manual multichannel pipettes.
Attachments
Steps
Initial digestion of OPM larvae
When ready to begin tissue digestion, defrost the tubes containing dead larvae in Lysis Buffer 1 .
Preparation of plant material
Source steel beads (ball bearings) for tissue grinding (Tungsten beads are not usually necessary). We use hardened carbon steel or stainless steel bearings from simplybearings.co.uk. This protocol requires three beads per sample tube.
Grind the larvae is a tissue homogeniser until homogenised.
Beads are usually shipped coated in manufacturing oil (especially the carbon steel beads). To remove this, place beads in a borosilicate glass beaker or Duran bottle with the pouring lip and lid removed then bake for at least 12 hours at 250 oC. 
Centrifuge at 4,000 x g for 2 min.
Prepare TNES buffer:
| A | B | C | D |
|---|---|---|---|
| 1 | Reagent | Required concentration in buffer | Amount per 100 ml |
| 2 | Sodium Chloride | 25 mM | 0.701 g |
| 3 | 1M Tris-HCl | 100 mM | 5 ml |
| 4 | 0.5M EDTA | 10 mM | 4 ml |
| 5 | SDS | 10% | 10g |
To the lysate, add 1 mL of freshly-prepared Proteinase Buffer , a master mix of Lysis Buffer 2 and Proteinase K (detailed in the sub-steps below) and vortex to mix.
Prepare 5 ml screwcap collection tubes (e.g. Eppendorf Cat. No. 0030122305) containing three 3 mm hardened steel beads in batches of 92 tubes.
Lysis Buffer 2 should be pH 9 and comprised of the following reagents:
| A | B | C | D |
|---|---|---|---|
| Reagent | Required concentration in buffer | Chemical molarity | Amount per 100 mL |
| Sodium chloride | 120 mM | 58.44 | 0.701 g |
| 1 M Tris-Hcl | 50 mM | - | 5 mL |
| 0.5 M EDTA | 20 mM | - | 4 mL |
| SDS | 3 % | - | 3 g |
| H2O | - | - | 91 mL |
Per sample, the Proteinase Buffer master mix should comprise:
| A | B |
|---|---|
| Reagent | Amount per sample |
| Lysis solution 2 | 970 μL |
| Proteinase K (10 mg/mL) | 30 μL |
Incubate at 37 °C overnight (12-16 hours)
37°C
Using forceps (either disposable forceps or ethanol and flame steel forceps between samples), place ~ 50 - 100 mg of wet plant material into the pre-prepared tubes containing the hardened steel ball bearings.
Centrifuge at 4000 x g for 4 minutes.
Place plates in a -80 freezer for at least 30 min before grinding. Or alternatively snap freeze in liquid nitrogen.
Transfer 1.5 mL of the supernatant to a clean 2 mL screw-cap tube for archiving/backup.
Everything from this point forward needs to be performed in pairs of plates so that your centrifuge is balanced.
Centrifuge at 10,000 x g for 1 minute.
Place tubes while still cold in tissue homogeniser and grind the plant material in a tissue homogeniser until homogenised.
Transfer 200 μL of the supernatant to a clean 1.5 mL microcentrifuge tube.
To the plant material, add 500 μl of freshly-prepared TNES , and place in a tube shaker for 5 minutes or tissue homogeniser (at 1750 RPM for one minute) to mix.
DNA extraction: purification
Add 400 μL of master mix of Protein Denaturation Buffer and ethanol (detailed below) to each sample.
Protein Denaturation Buffer should be comprised of the following reagents:
| A | B | C | D |
|---|---|---|---|
| Reagent | Required concentration in buffer | Chemical molarity | Amount per 100 mL |
| Guanidine HCl | 5 M | 95.53 | 47.7 g |
| H2O | - | - | 100 mL |
Per 96-well plate, the Protein Denaturation Buffer and ethanol master mix should comprise:
| A | B | C |
|---|---|---|
| Reagent | Amount per sample | Amount per sample |
| Protein Denaturation Buffer | 220 μL | 220 μL |
| Ethanol (100 %) | 220 μL | 220 μL |
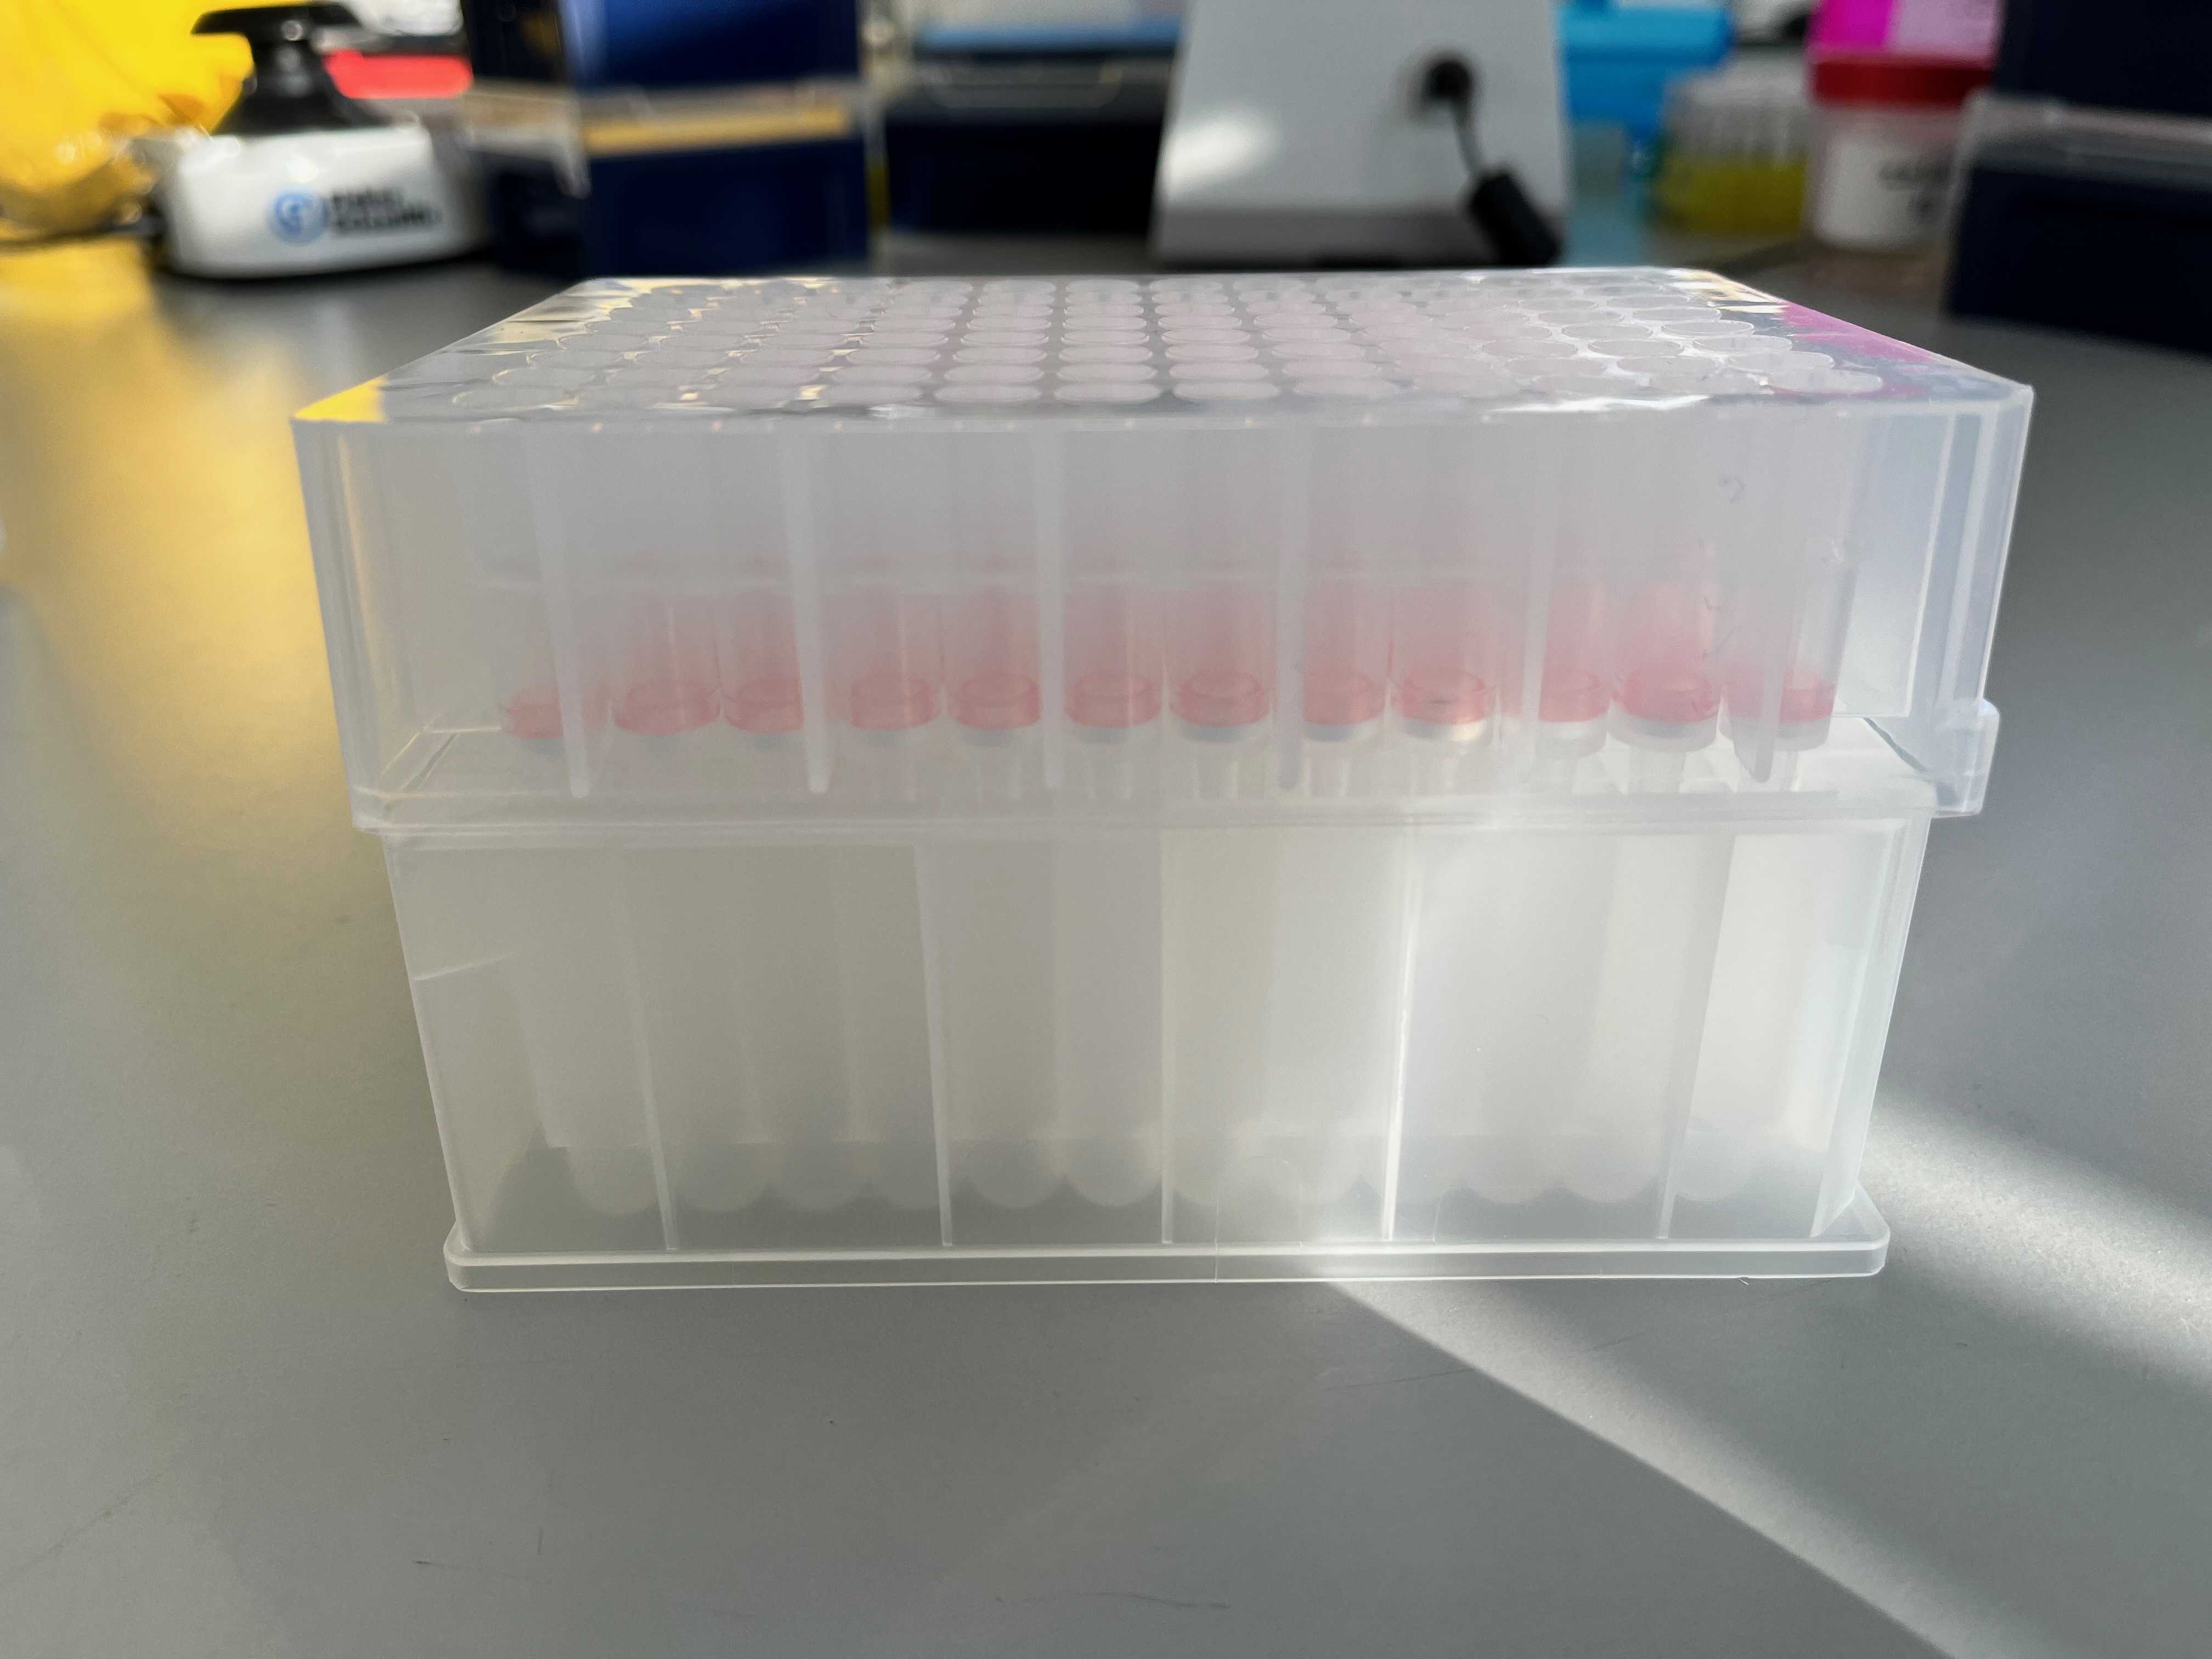
Add all of the sample solution (~ 600 μL) to a well in a 96-well silica membrane spin column (we use SD5005 from NBS Biologicals)
Centrifuge at maximum x g for 10 minutes to pellet plant debris.
Centrifuge at ≥ 6000 x g for 1 minute and discard the flow-through.
Arrange 5 ml tubes in a 96-well format according to a predefined sample order (or randomly and record tube order). Starlab 5ml tube racks are useful for this. 3D printed options exist as well.

Add 500 μL Wash Buffer 1 to each spin column.
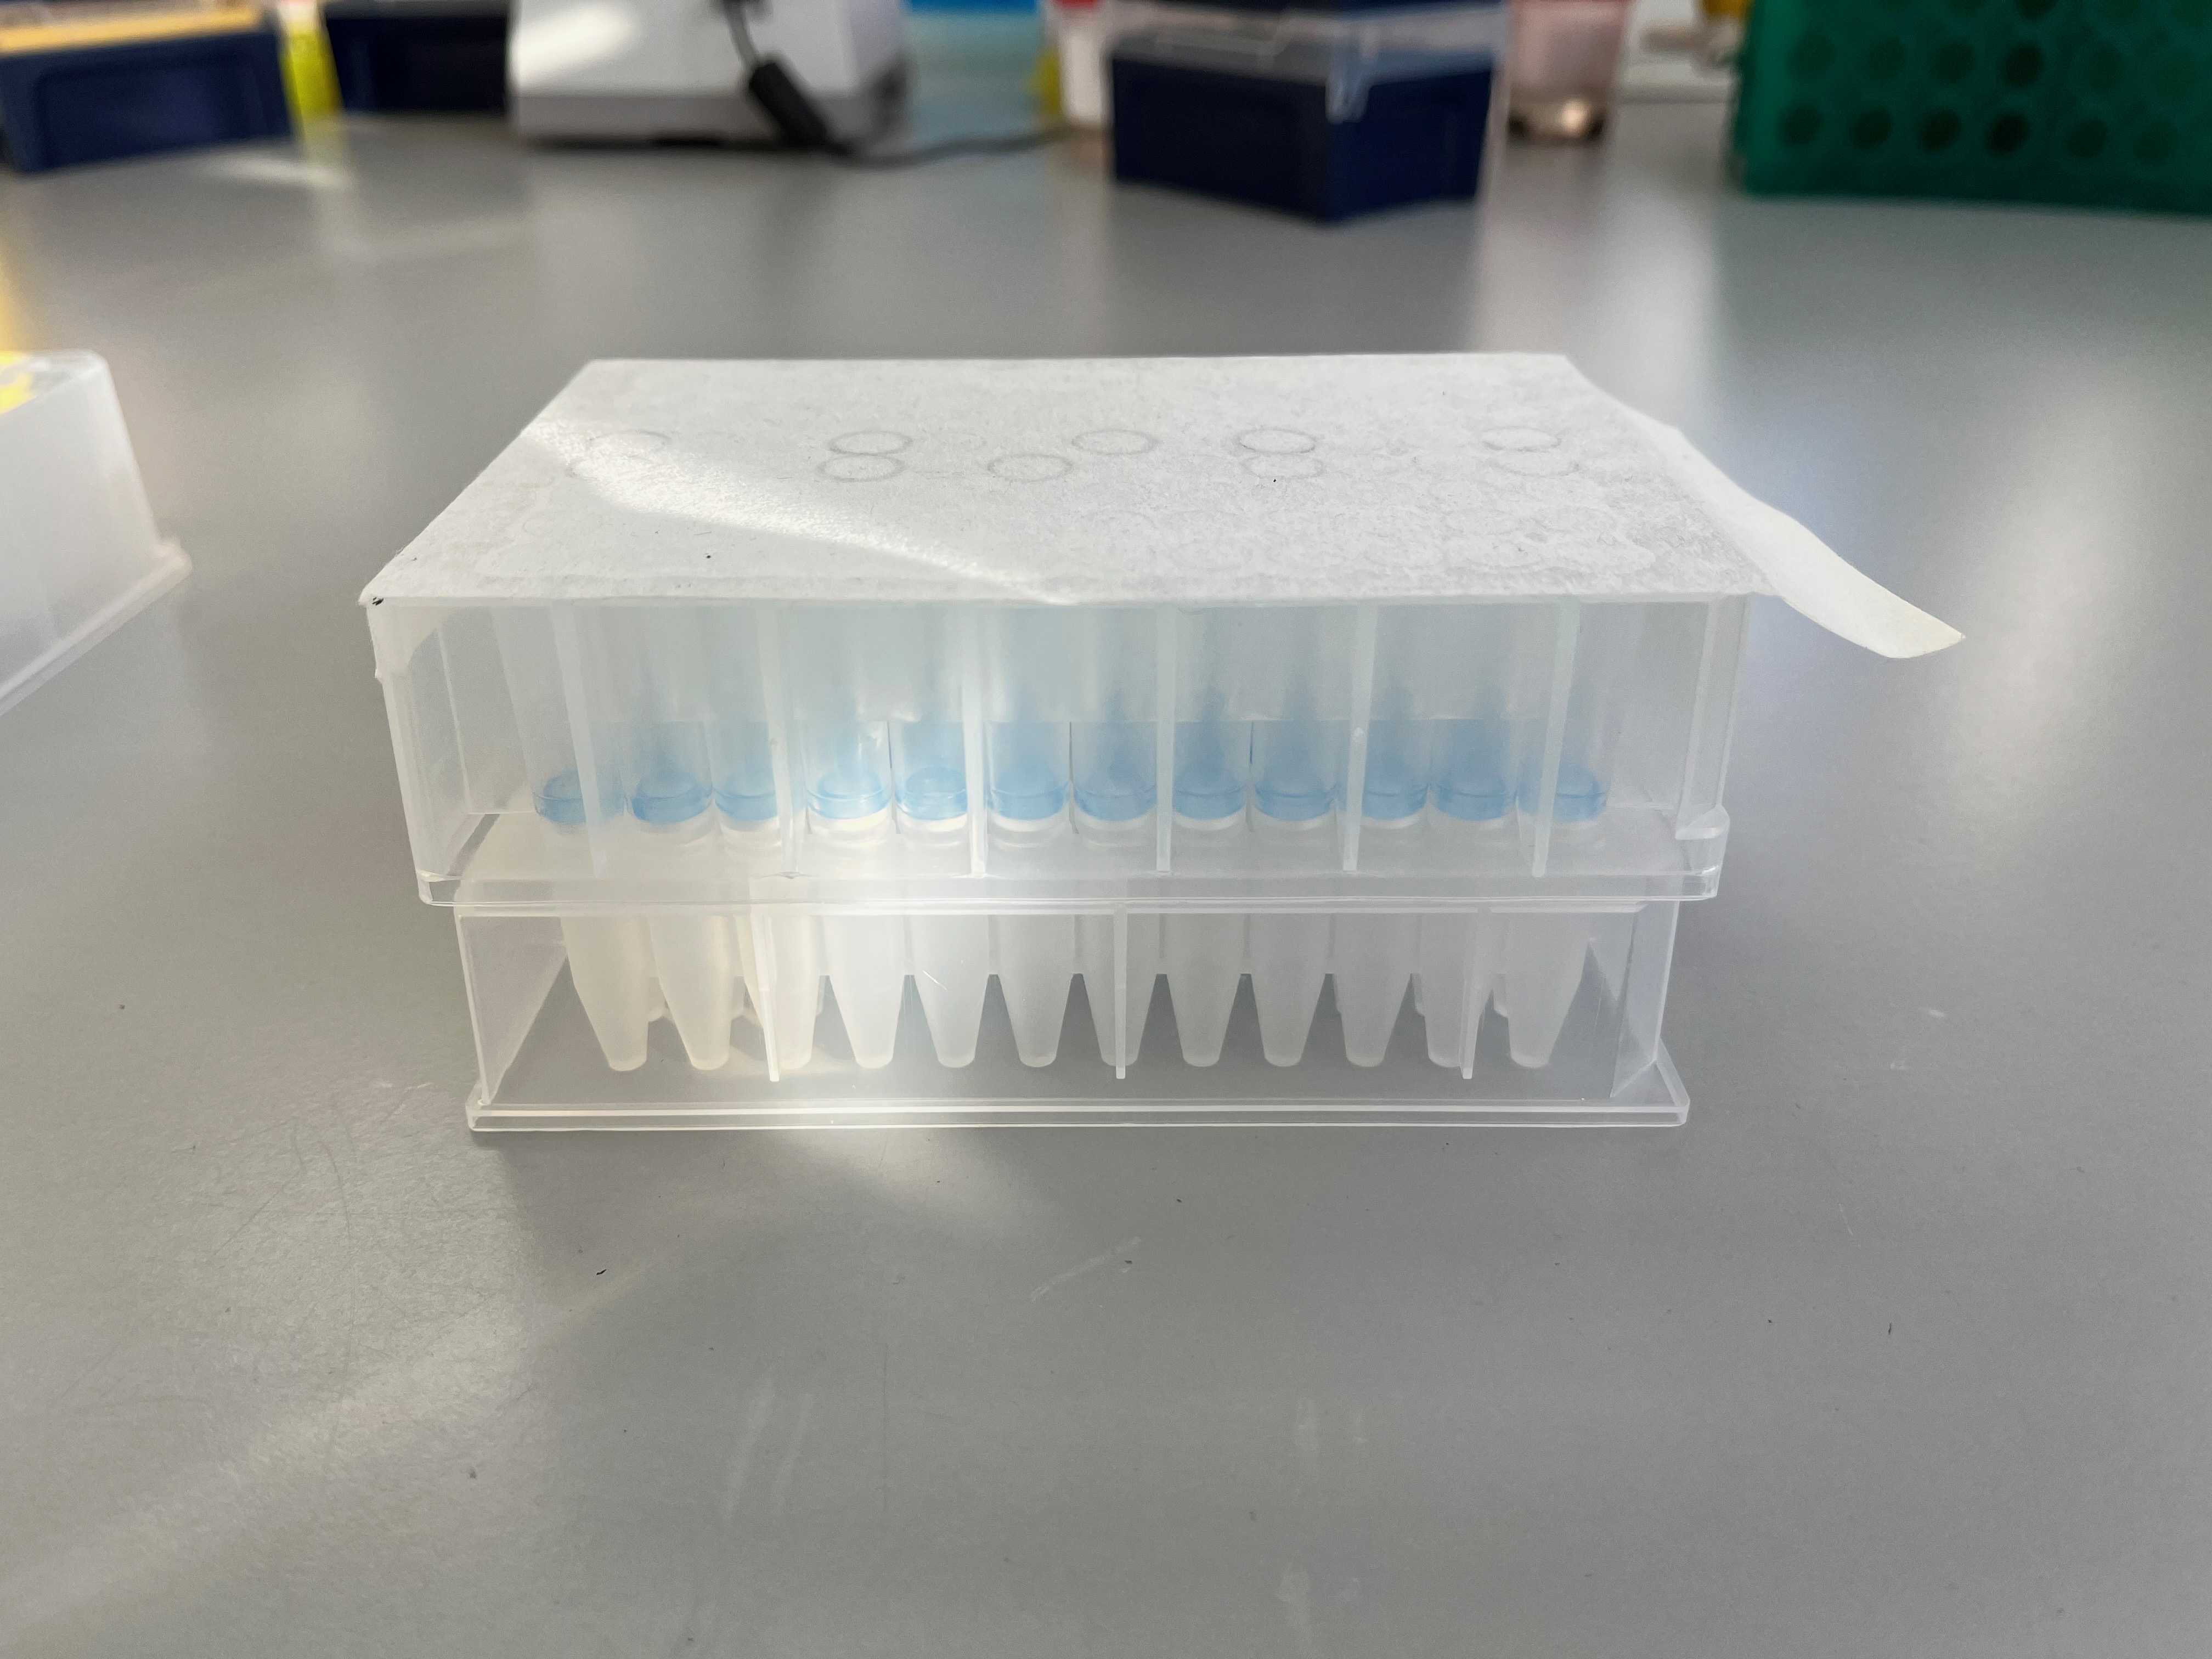
Transfer the supernatant (approximately 400 μl) to a new 96 well filter plate (NBS biologicals #SD5006) placed on top of a 0.5 ml deep well plate (Sarstedt #82.1969.002 or similar). Seal the filter plate with a breathable plate seal (Starlab #E2796-3005). Make sure you record the location of each sample on the plate.

Wash Buffer 1 should be comprised of the following reagents:
| A | B | C | D |
|---|---|---|---|
| Reagent | Required concentration in buffer | Chemical molarity | Amount per 100 mL |
| Guanidine HCl | 7 M | 95.53 | 29.4 g |
| Ethanol | 56 % | - | 56 mL |
| H2O | - | - | 44 mL |
Centrifuge at ≥ 6000 x g for 1 minute and discard the flow-through.
Place both filter plate and deepwell plate in centrifuge at maximum x g for 5 minutes.
Add 500 μL Wash Buffer 2 to each spin column.
Transfer 60 μL of the supernatant to a clean 1.2 mL deep-well 96-well plate. Seal the 0.5ml plate with a non-breathable plate seal or caps.
Wash Buffer 2 should be pH ~7 and comprised of the following reagents:
| A | B | C | D |
|---|---|---|---|
| Reagent | Required concentration in buffer | Chemical molarity | Amount per 100 mL |
| Ethanol (100 %) | 70 % | 58.44 | 70 mL |
| 1 M Tris-Hcl | 10 mM | - | 1 mL |
| H2O | - | - | 29 mL |
Centrifuge at 20,000 x g for 3 minutes.
Add 120 μL 1.5X GITC buffer (detailed in the sub-step below) and 240 μL of Isopropanol to each well of the 1.2 mL 96-well plate and mix by pipetting or seal and shake on a plate shaker.
1.5X GITC should be comprised of the following reagents:
| A | B | C |
|---|---|---|
| Reagent | Required concentration in buffer | Amount per 100 mL |
| Guanidine Isothiocyanate | 6 M | 70.9 g |
| 1M Tris HCl pH 7.6 - 8.0 | 75 mM | 7.5 mL |
| Sarkosyl | 3% | 3 g |
| 0.5 M EDTA | 30 mM | 6 mL |
| Antifoam 204 | 0.15 % | 150 μL |
Discard the collection tube and replace it with a new 1.5 mL microcentrifuge tube.
Add all of the sample solution (~ 420 μL) to a well in a 96-well silica membrane spin column (we use SD5007 from NBS Biologicals) and cover with a breathable seal.

Add 100 - 200 μL Elution Buffer directly to the silica membrane and leave it at room temperature for 5 minutes.
Leave for 5 min then centrifuge at maximum speed for 10 minutes.
Elution Buffer should be pH ~7 and comprised of the following reagents:
| A | B | C | D |
|---|---|---|---|
| Reagent | Required concentration in buffer | Chemical molarity | Amount per 100 mL |
| 1 M Tris-Hcl | 10 mM | - | 1 mL |
| H2O | - | - | 99 mL |
Centrifuge at ≥ 6000 x g for 1 minute. The DNA is now in the collection tube and can be taken forward to amplification.
Add 400 μL Isopropanol to each spin column, cover with a breathable seal and leave for two minutes.
Centrifuge at maximum speed for 5 minutes and discard the flow-through.
Wash spin columns three times as in substeps below with 80% Ethanol solution .
Add 300 μL of 80% Ethanol solution to each well and centrifuge at maximum speed for 10 minutes.
Centrifuge spin columns for two further minutes at full speed to remove any last traces of ethanol from the silica membranes.
Carefully move the spin column plate to a new 0.5 mL DNA collection plate.
Add 100 μL Elution Buffer or nuclease free water directly to the silica membrane and leave it at room temperature for 5 minutes, covering with a breathable seal.
Elution Buffer should be pH ~7 and comprised of the following reagents:
| A | B | C | D |
|---|---|---|---|
| Reagent | Required concentration in buffer | Chemical molarity | Amount per 100 mL |
| 1 M Tris-Hcl | 10 mM | - | 1 mL |
| H2O | - | - | 99 mL |
Centrifuge at ≥ 6000 x g for 2 minutes. The DNA is now in the collection plate and can be taken forward to amplification.

