Small Object and Artefact Photography - 'SOAP' Protocol
Jacopo Niccolo Cerasoni, Felipe Do Nascimento Rodrigues
Abstract
Photography is among one of the most widely used methods in scientific publications to efficiently and objectively communicate morphological, technological and aesthetic characteristics of any object. Particularly, in the fields of archaeology and anthropology, the study of small objects and artefacts is fundamental for the better understanding of past and present human activities. For these purposes, photography offers a method for researchers and alike to use photographs as objective evidence for their findings, results and interpretations. Here, the Small Object and Artefact Photography (SOAP) protocol is presented. This protocol aims to offer a standardised and full-encompassing method for the most objective and scientifically reproducible application of photography for academic purposes. The protocol follows an optimised step-by-step method, presenting the practice of small object and artefact photography from the initial set up of the equipment, the best methods for camera handling and functionality use, to the application of post-processing softwares. This method has been developed for anyone interested in producing clear and high quality photographs for a multitude of applications, from academic and scientific publications to public outreach.
Steps
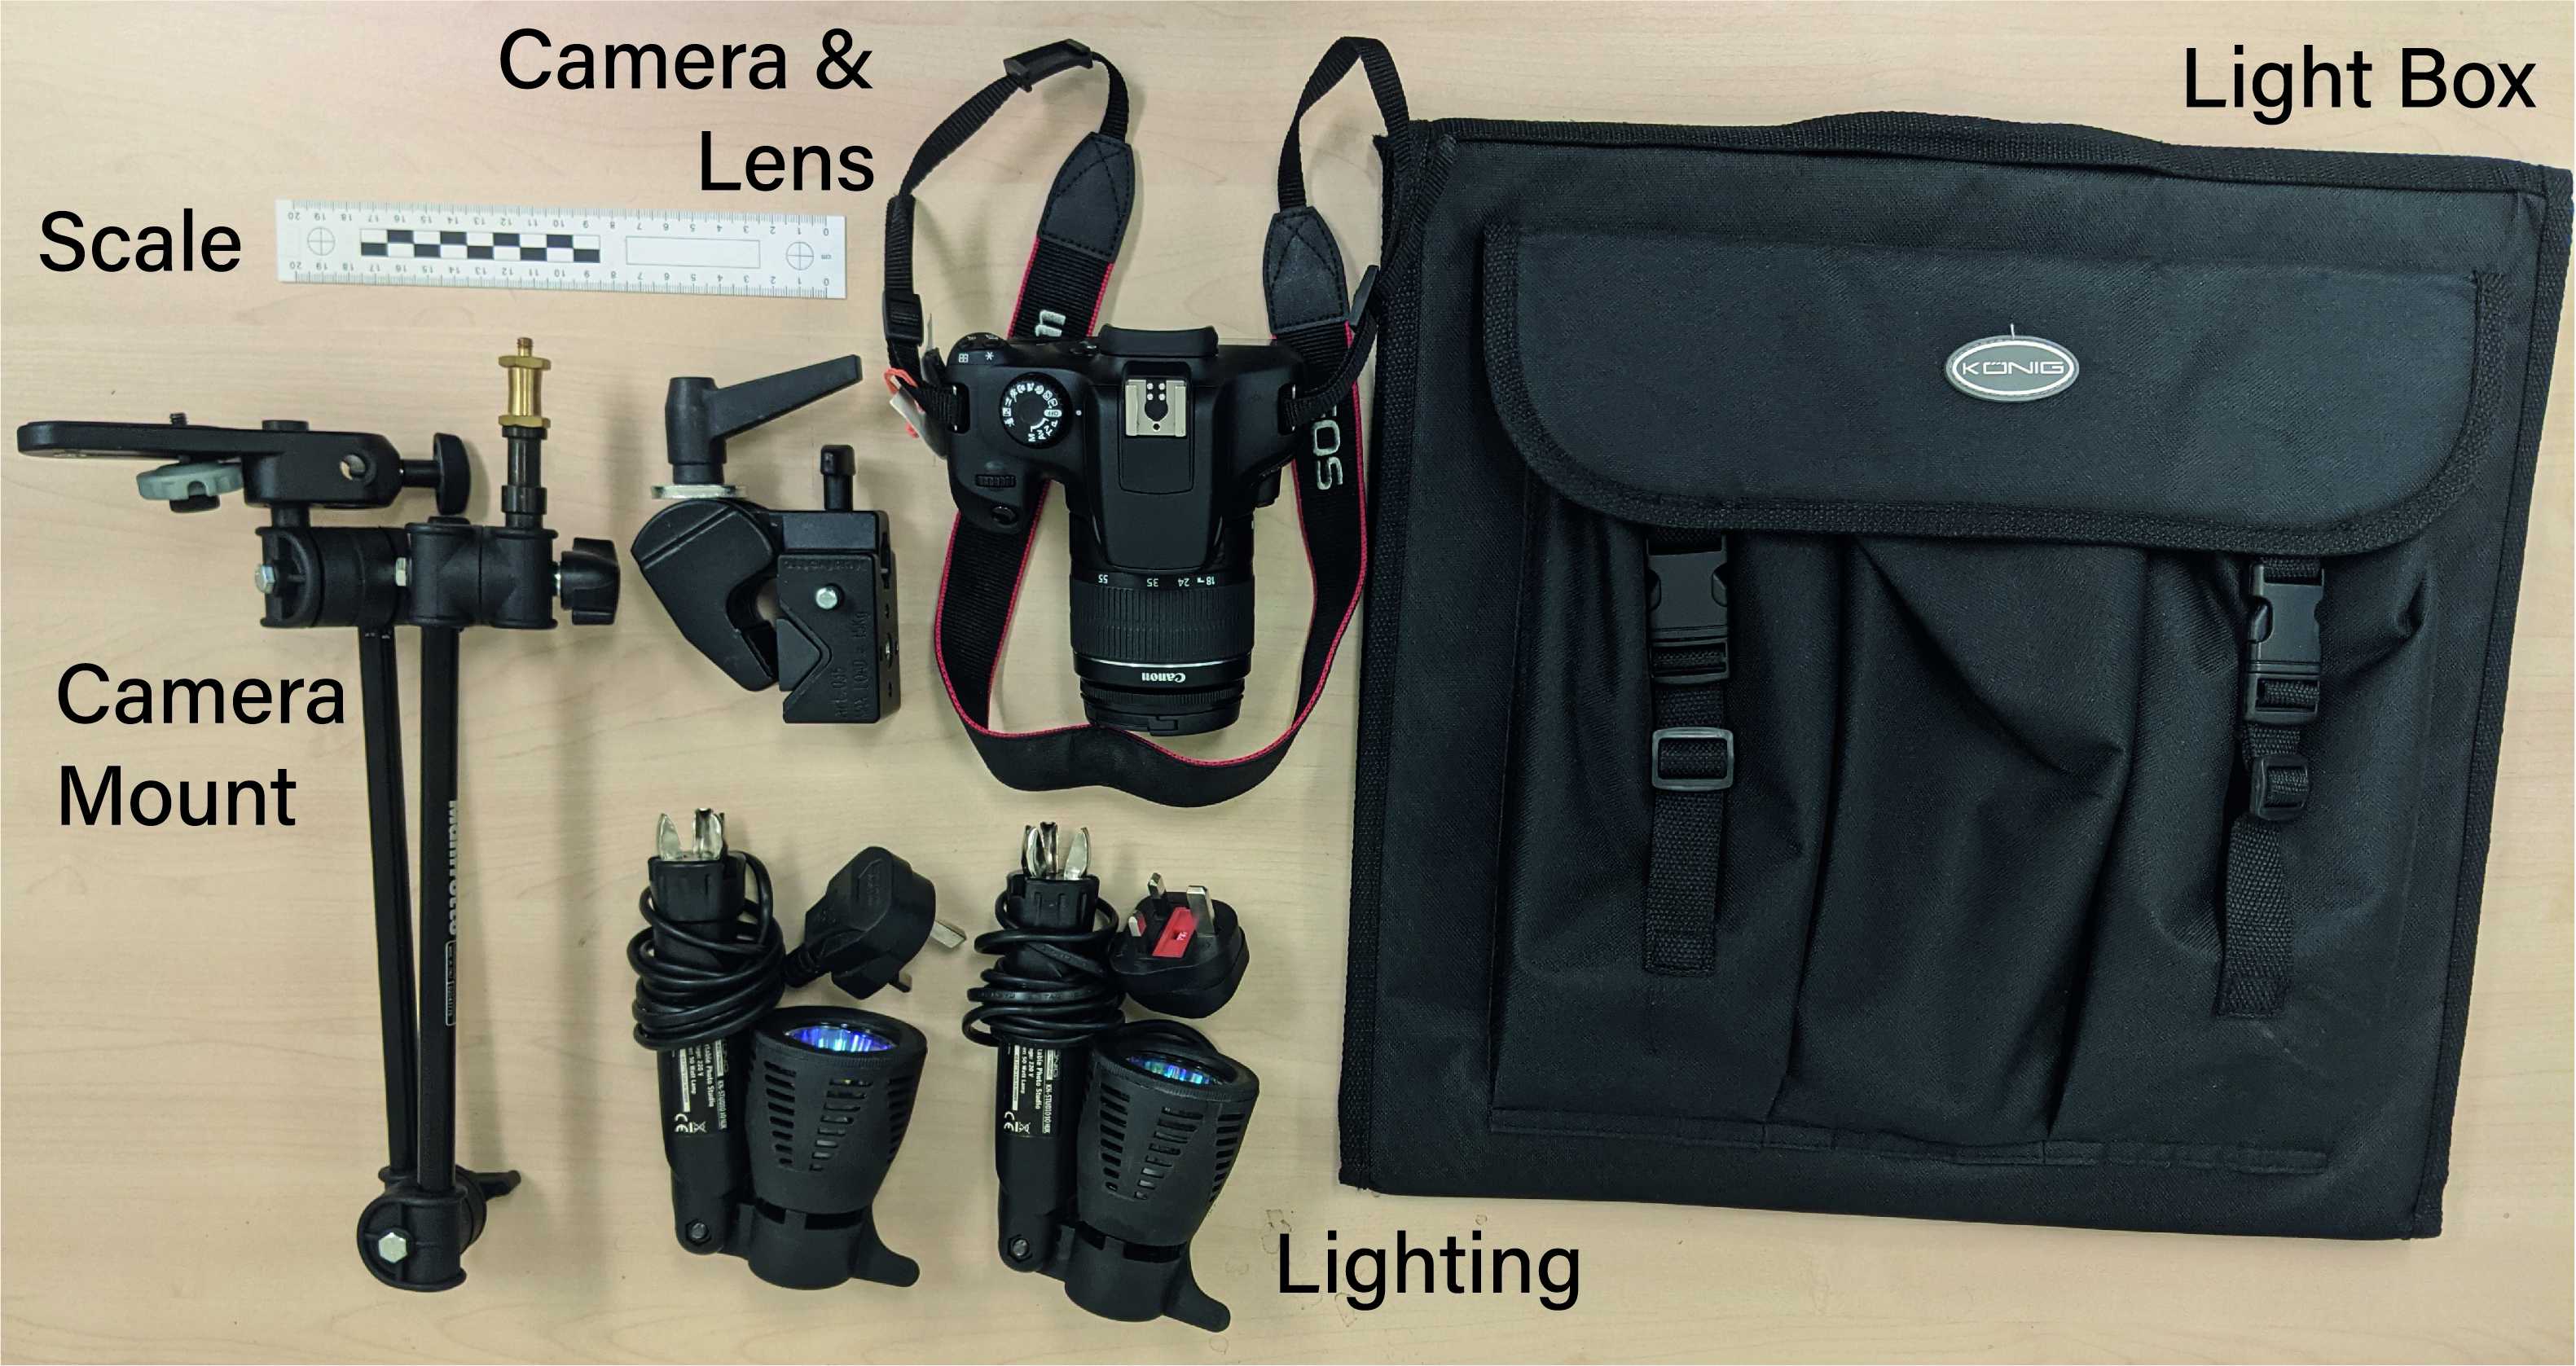
Collect Equipment
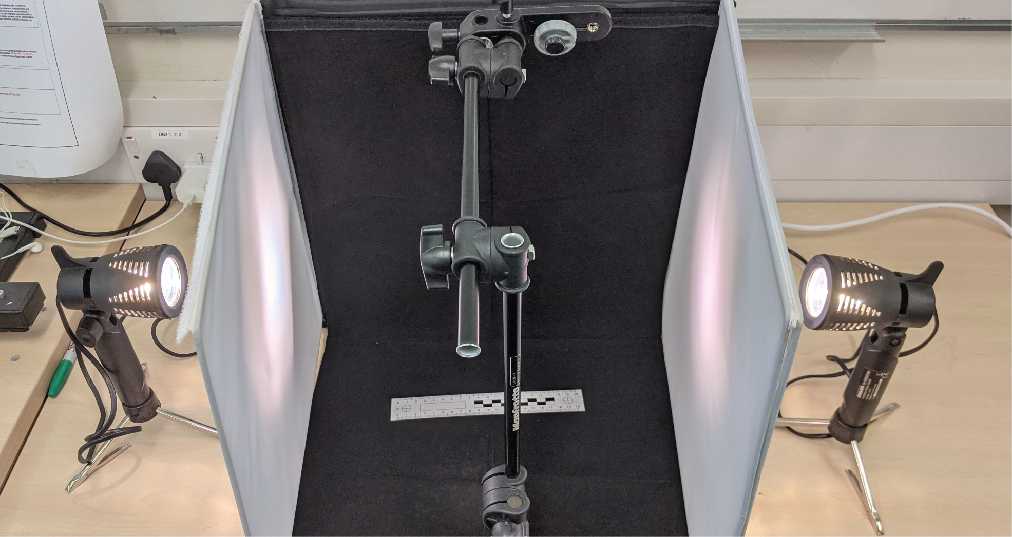
Setting Photographic Environment
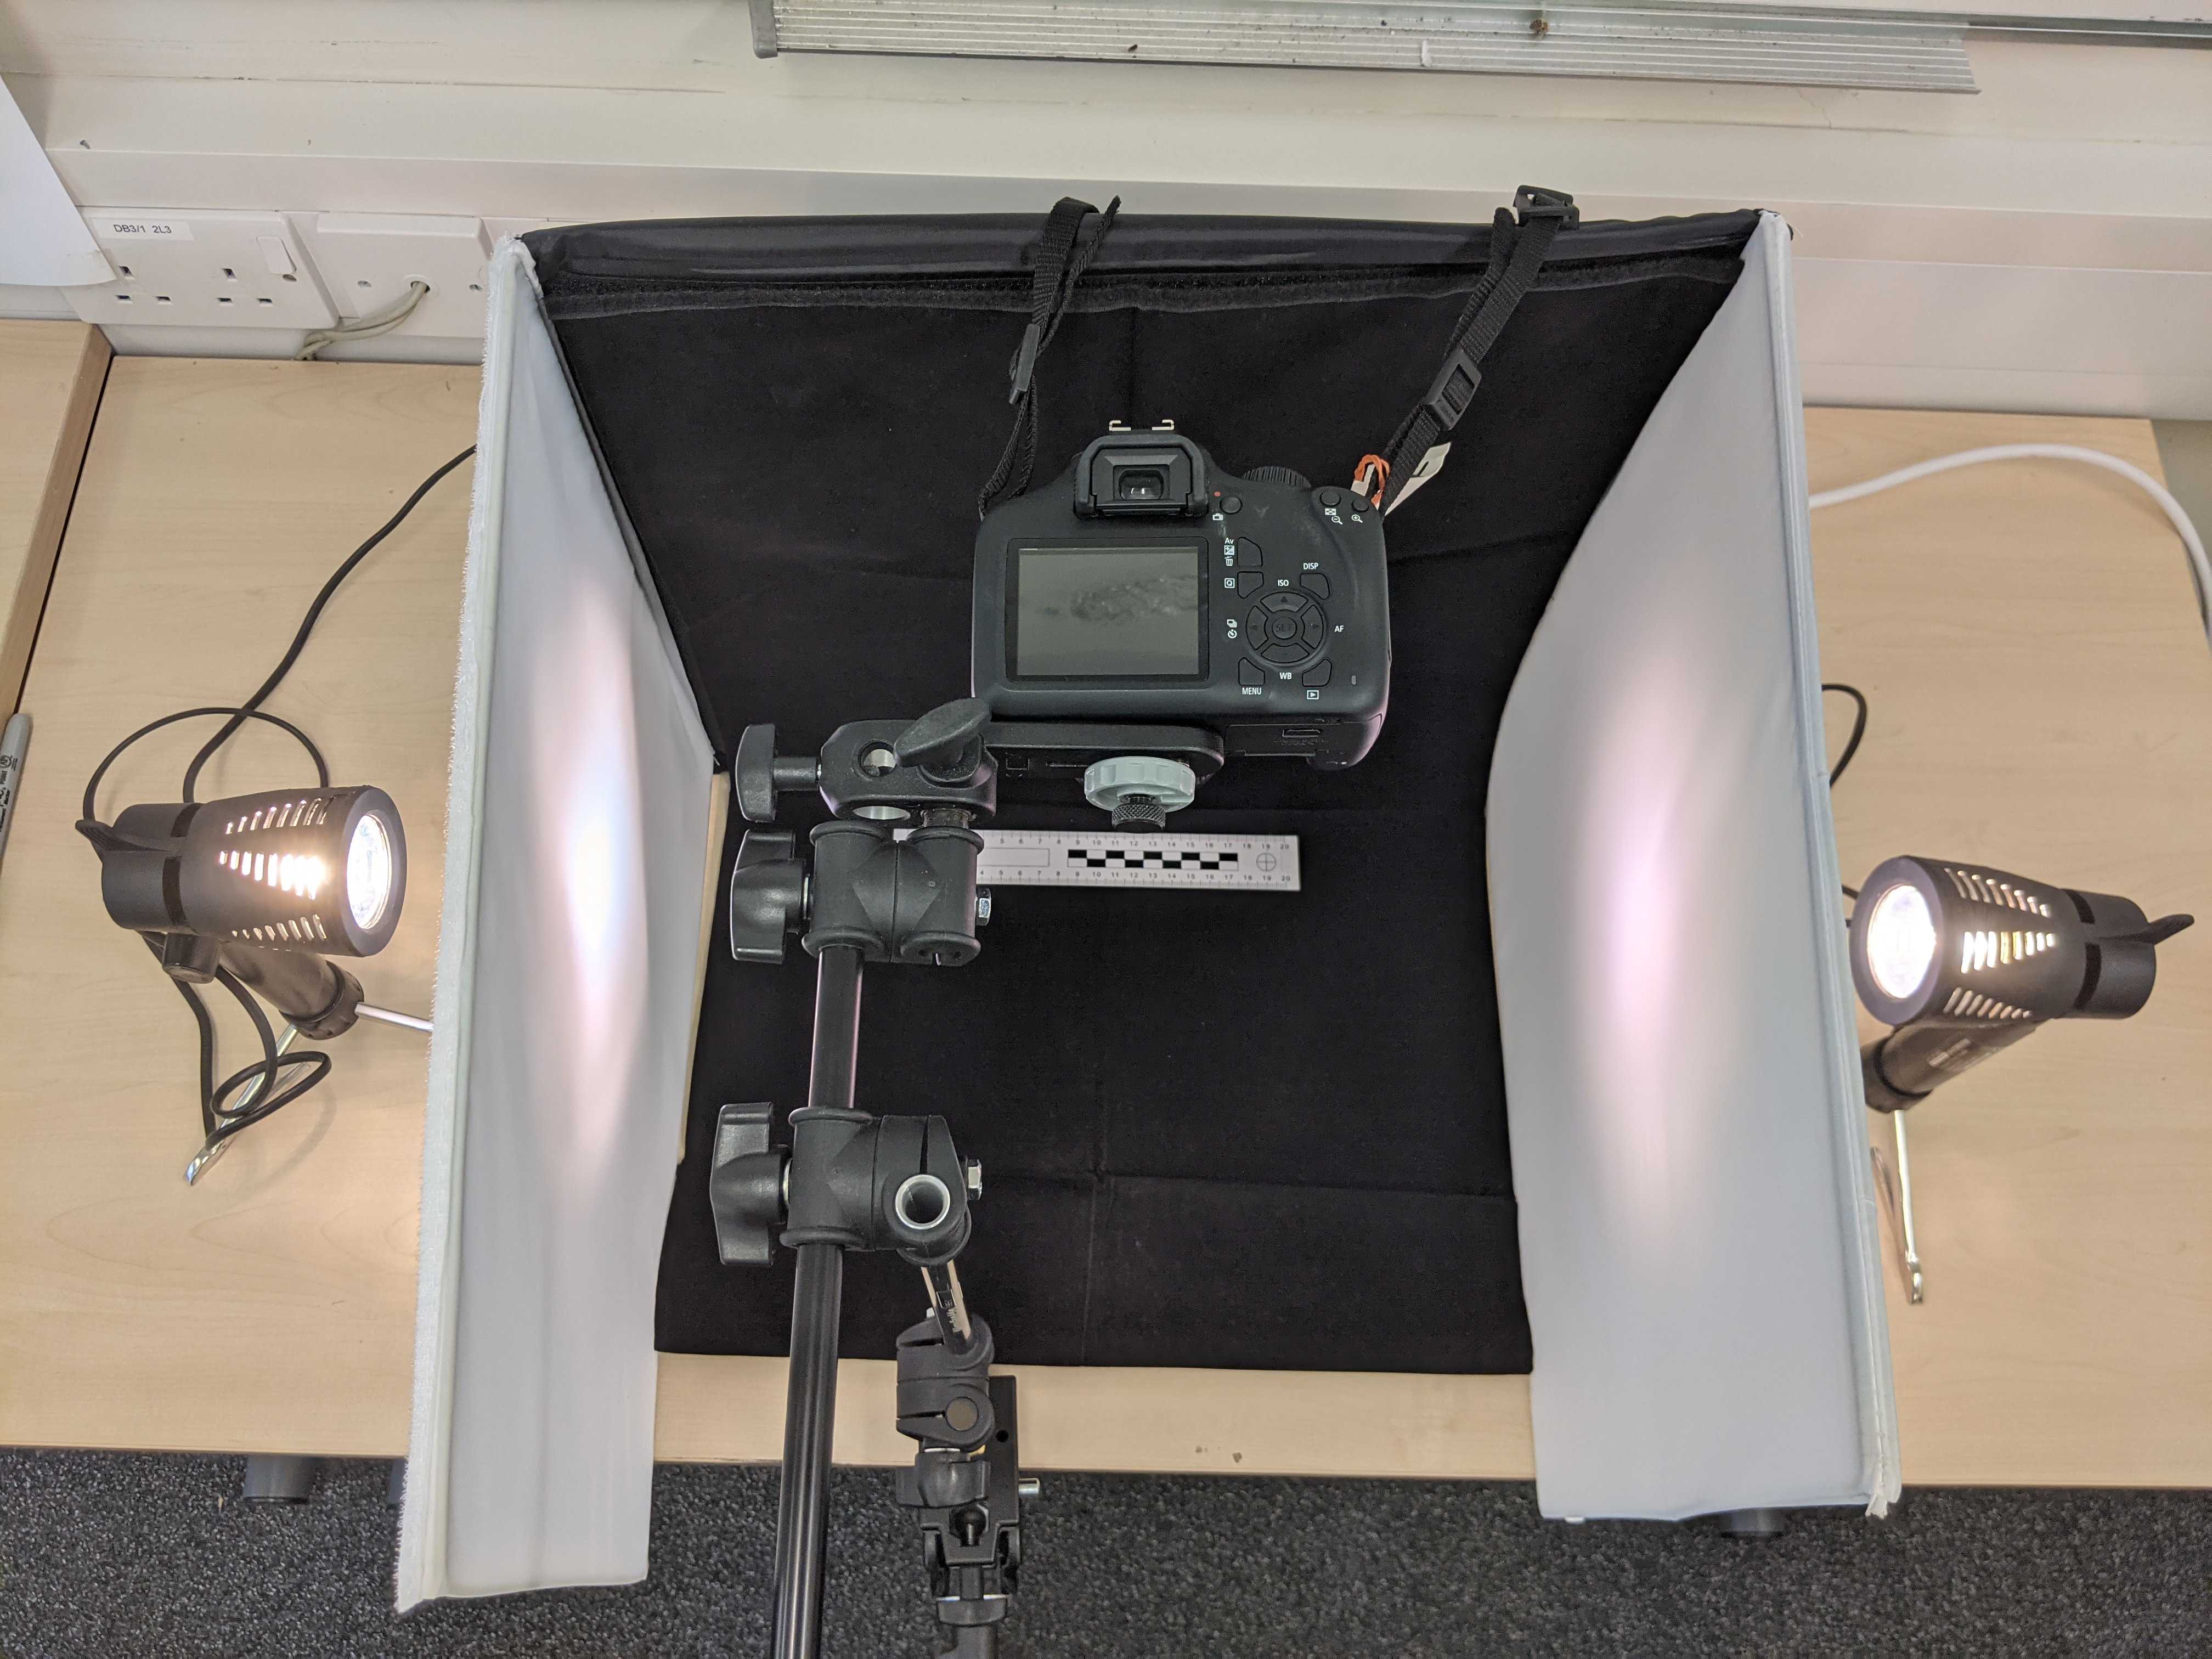
Lock camera on a tripod or camera mount (ideally use a macro lens) and place on light box (if available).
Please note that the camera support greatly depends on the surroundings where the photographic station has been set up. Tripods work best on open spaces. On tighter spaces, photography arms with a clamp to attach to stable surfaces (such as tables) are more suitable.
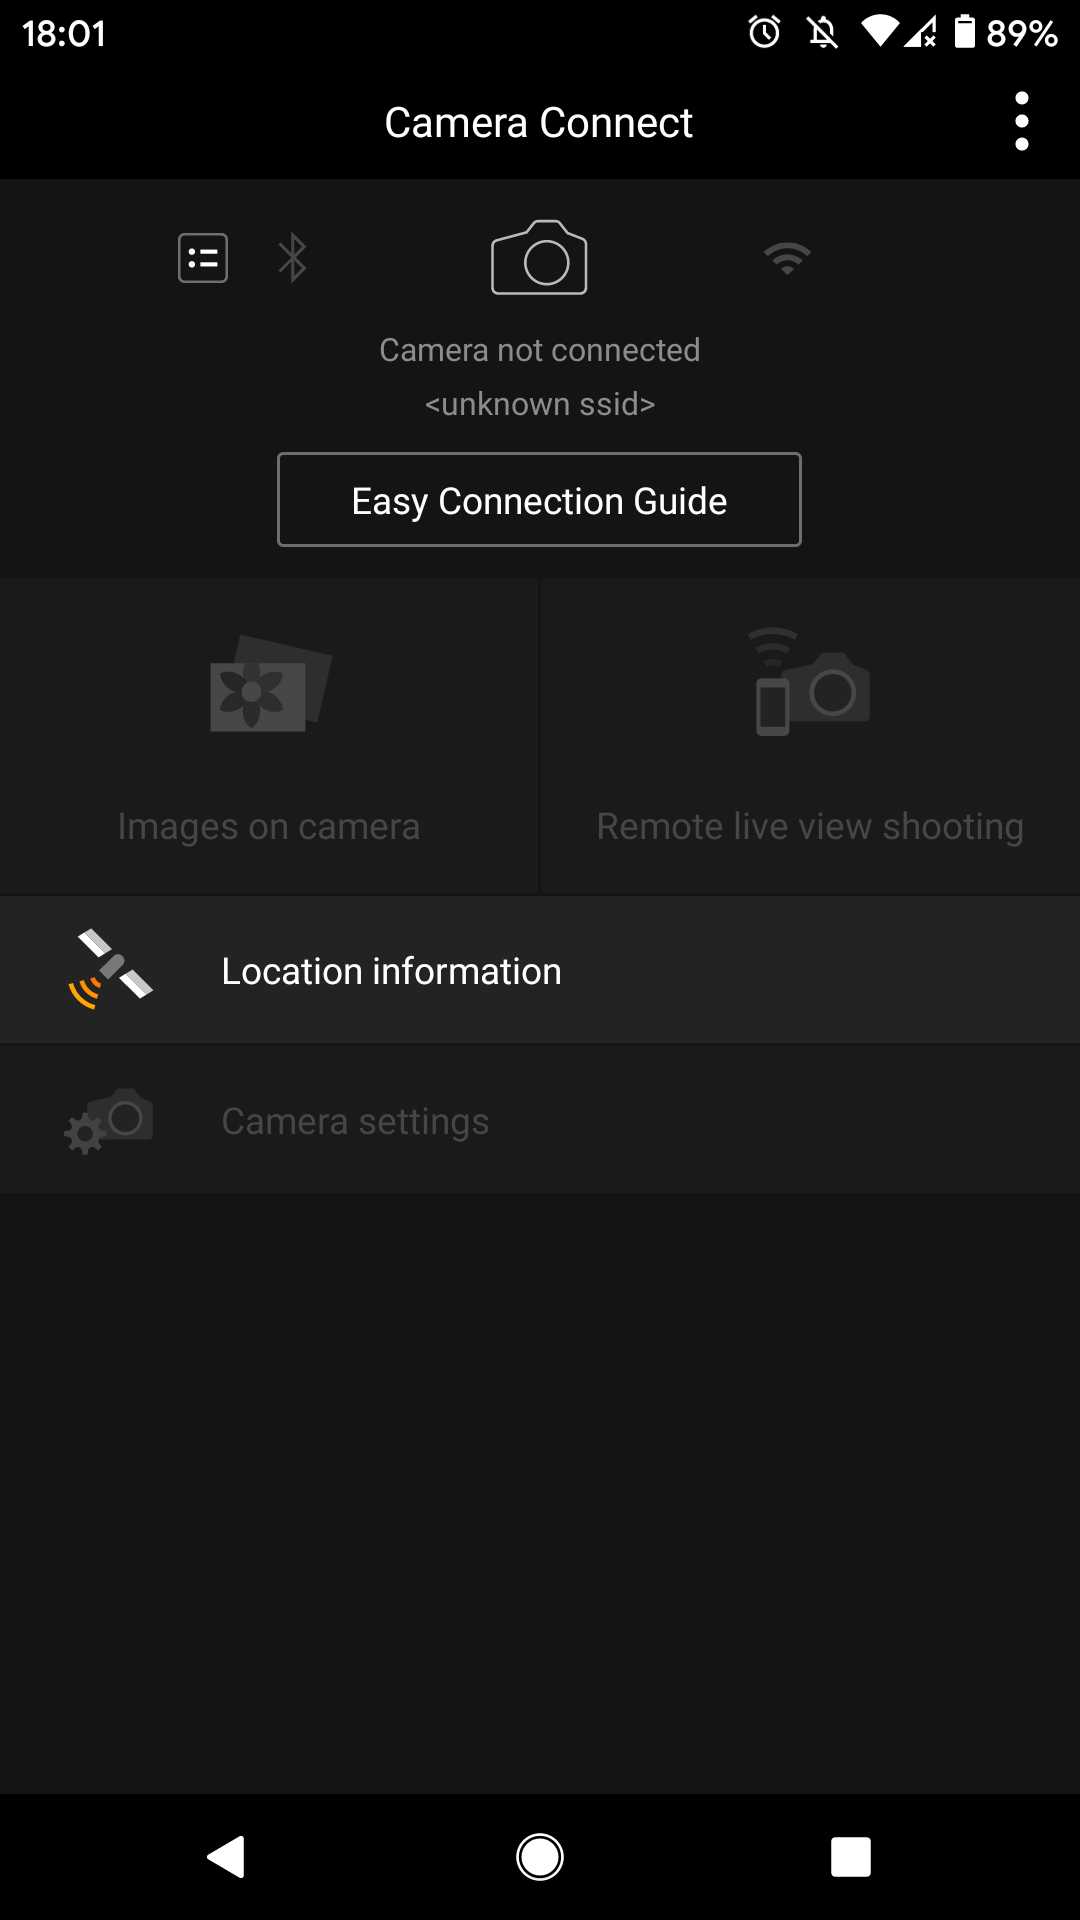
To ease the use of the camera, a remote control can be used (if the camera does not include one, remote control can be accessed via WiFi or Bluetooth; both Android and iOS universal applications exist for this purpose).
If a tripod or camera mount cannot be used, make sure to grip the camera properly, following these instructions:
- Use both hands (right hand on camera grip, left hand under lens)
- Stabilise whole body (rest camera-holding arm on knee or solid surface, or lean whole body against surface)
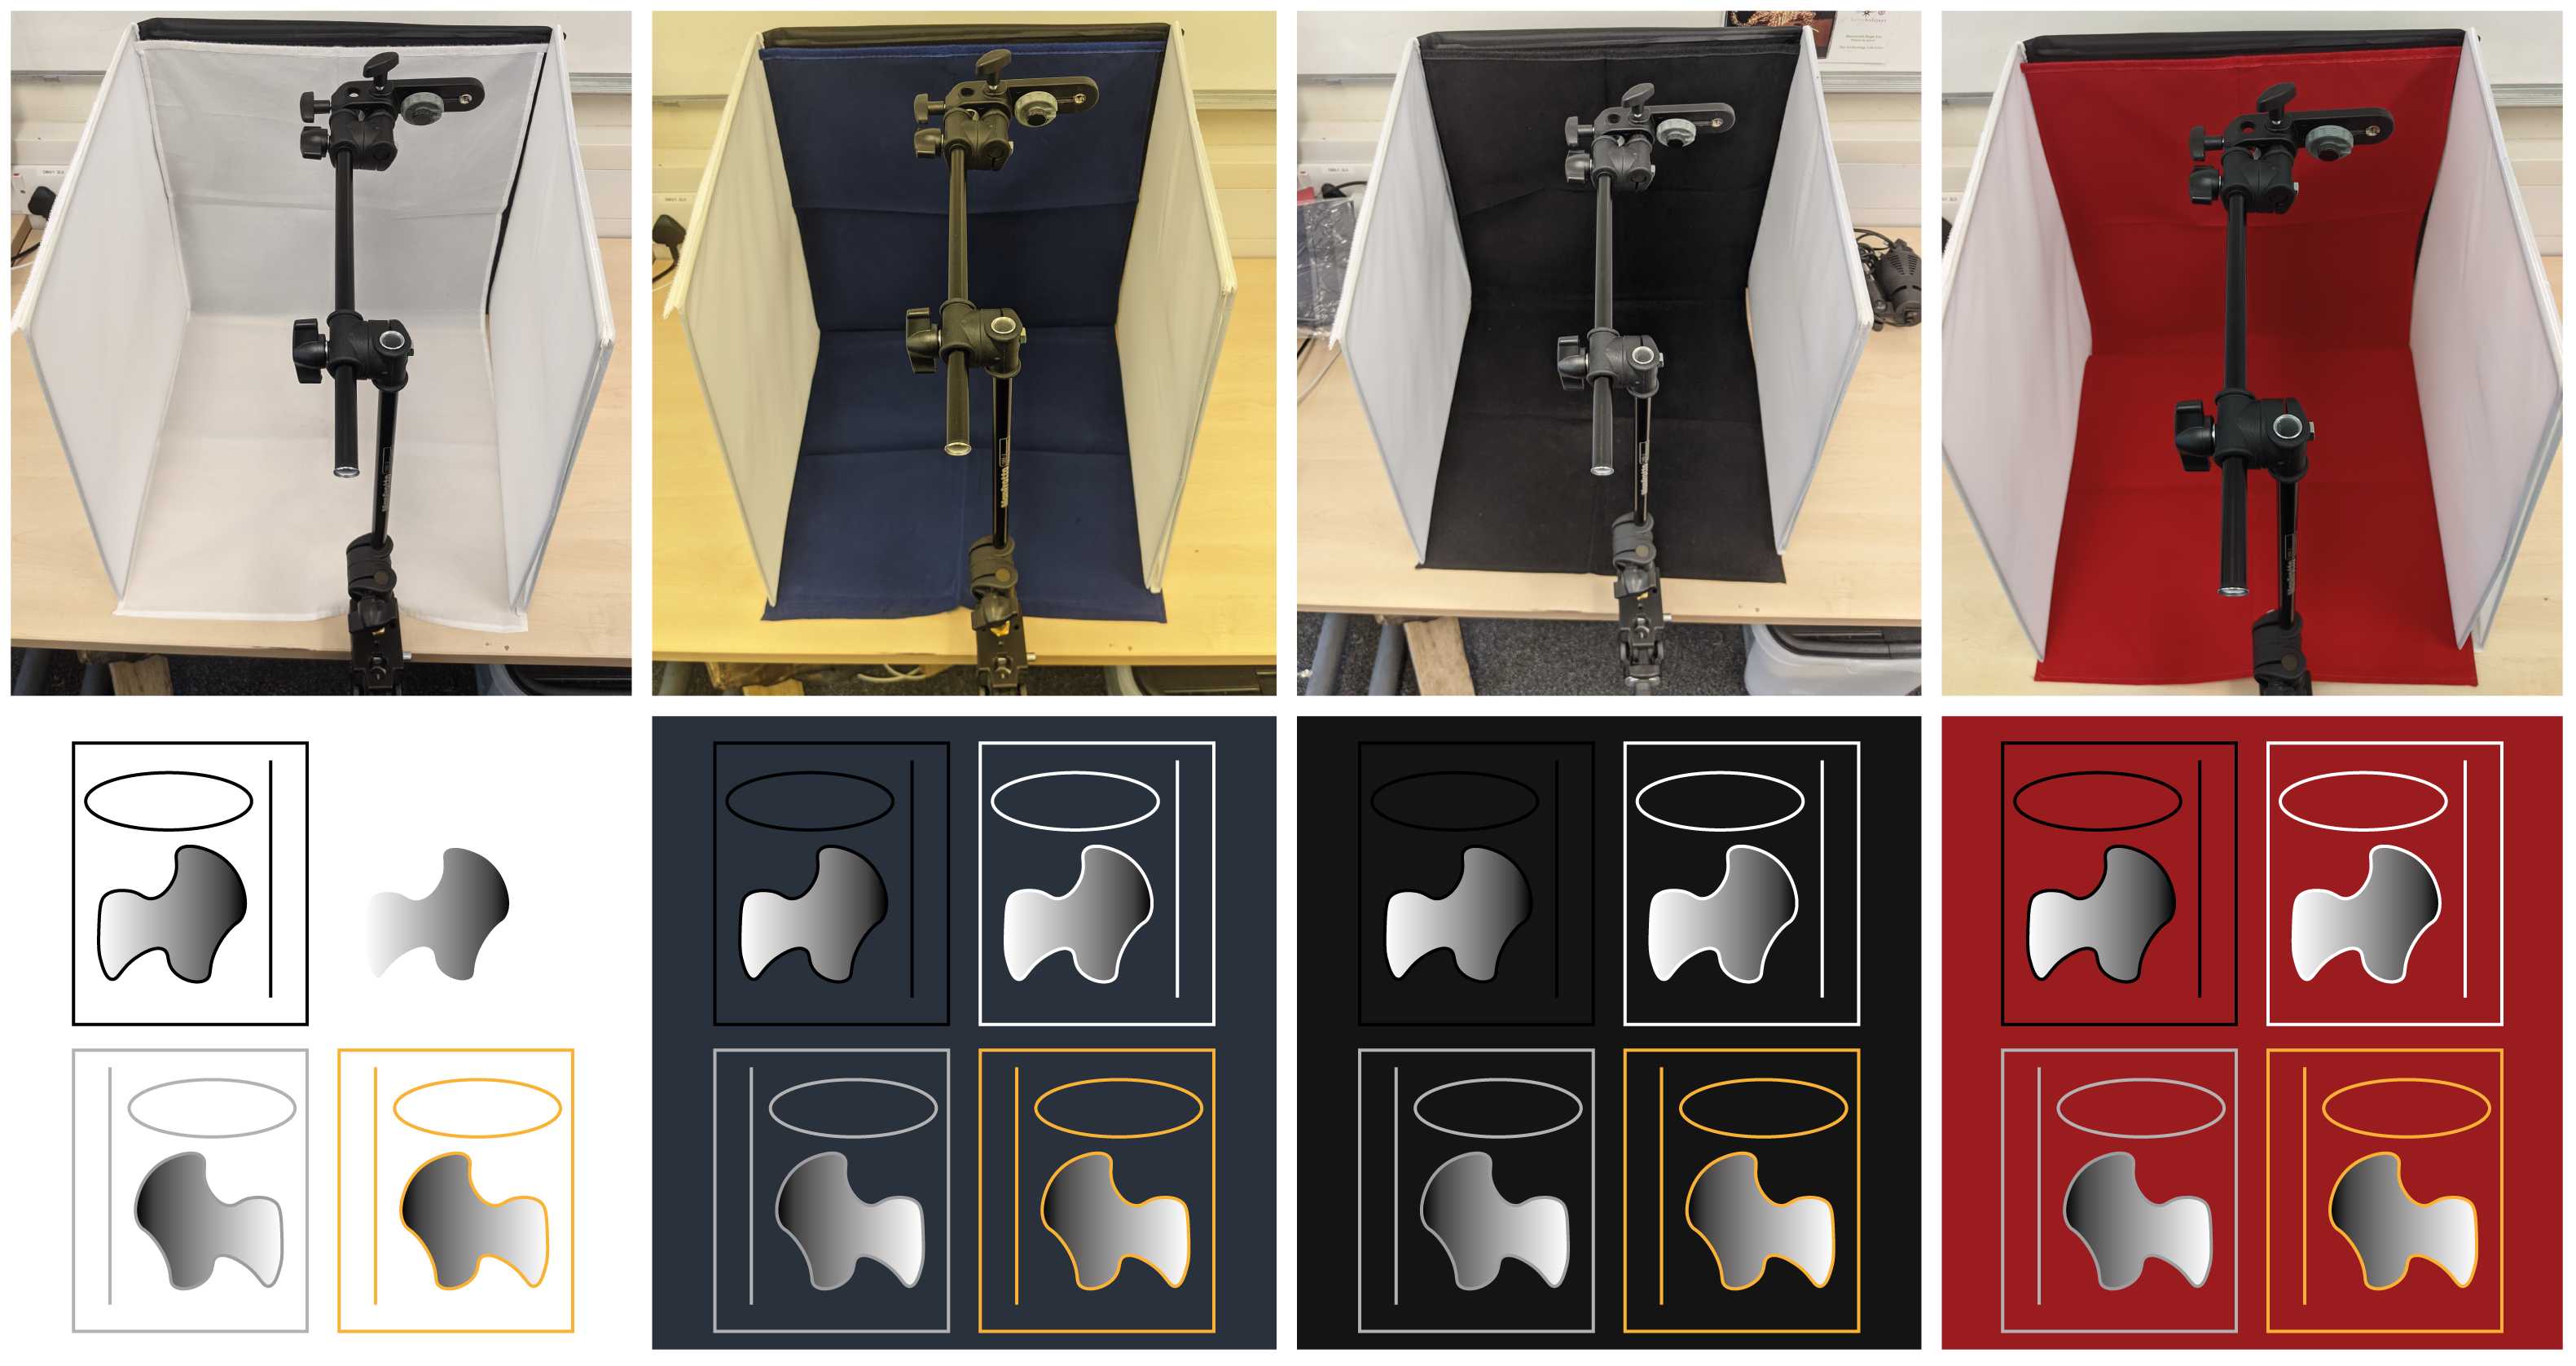
The colour of the background should be complementary to the main colour of the artefact or object being photographed. The best colour for the background will make the subject stand out. This will make it easier later in the process to colour balance the image and remove the background digitally.
Place artefact flat onto the workspace.
Setting Camera Functions
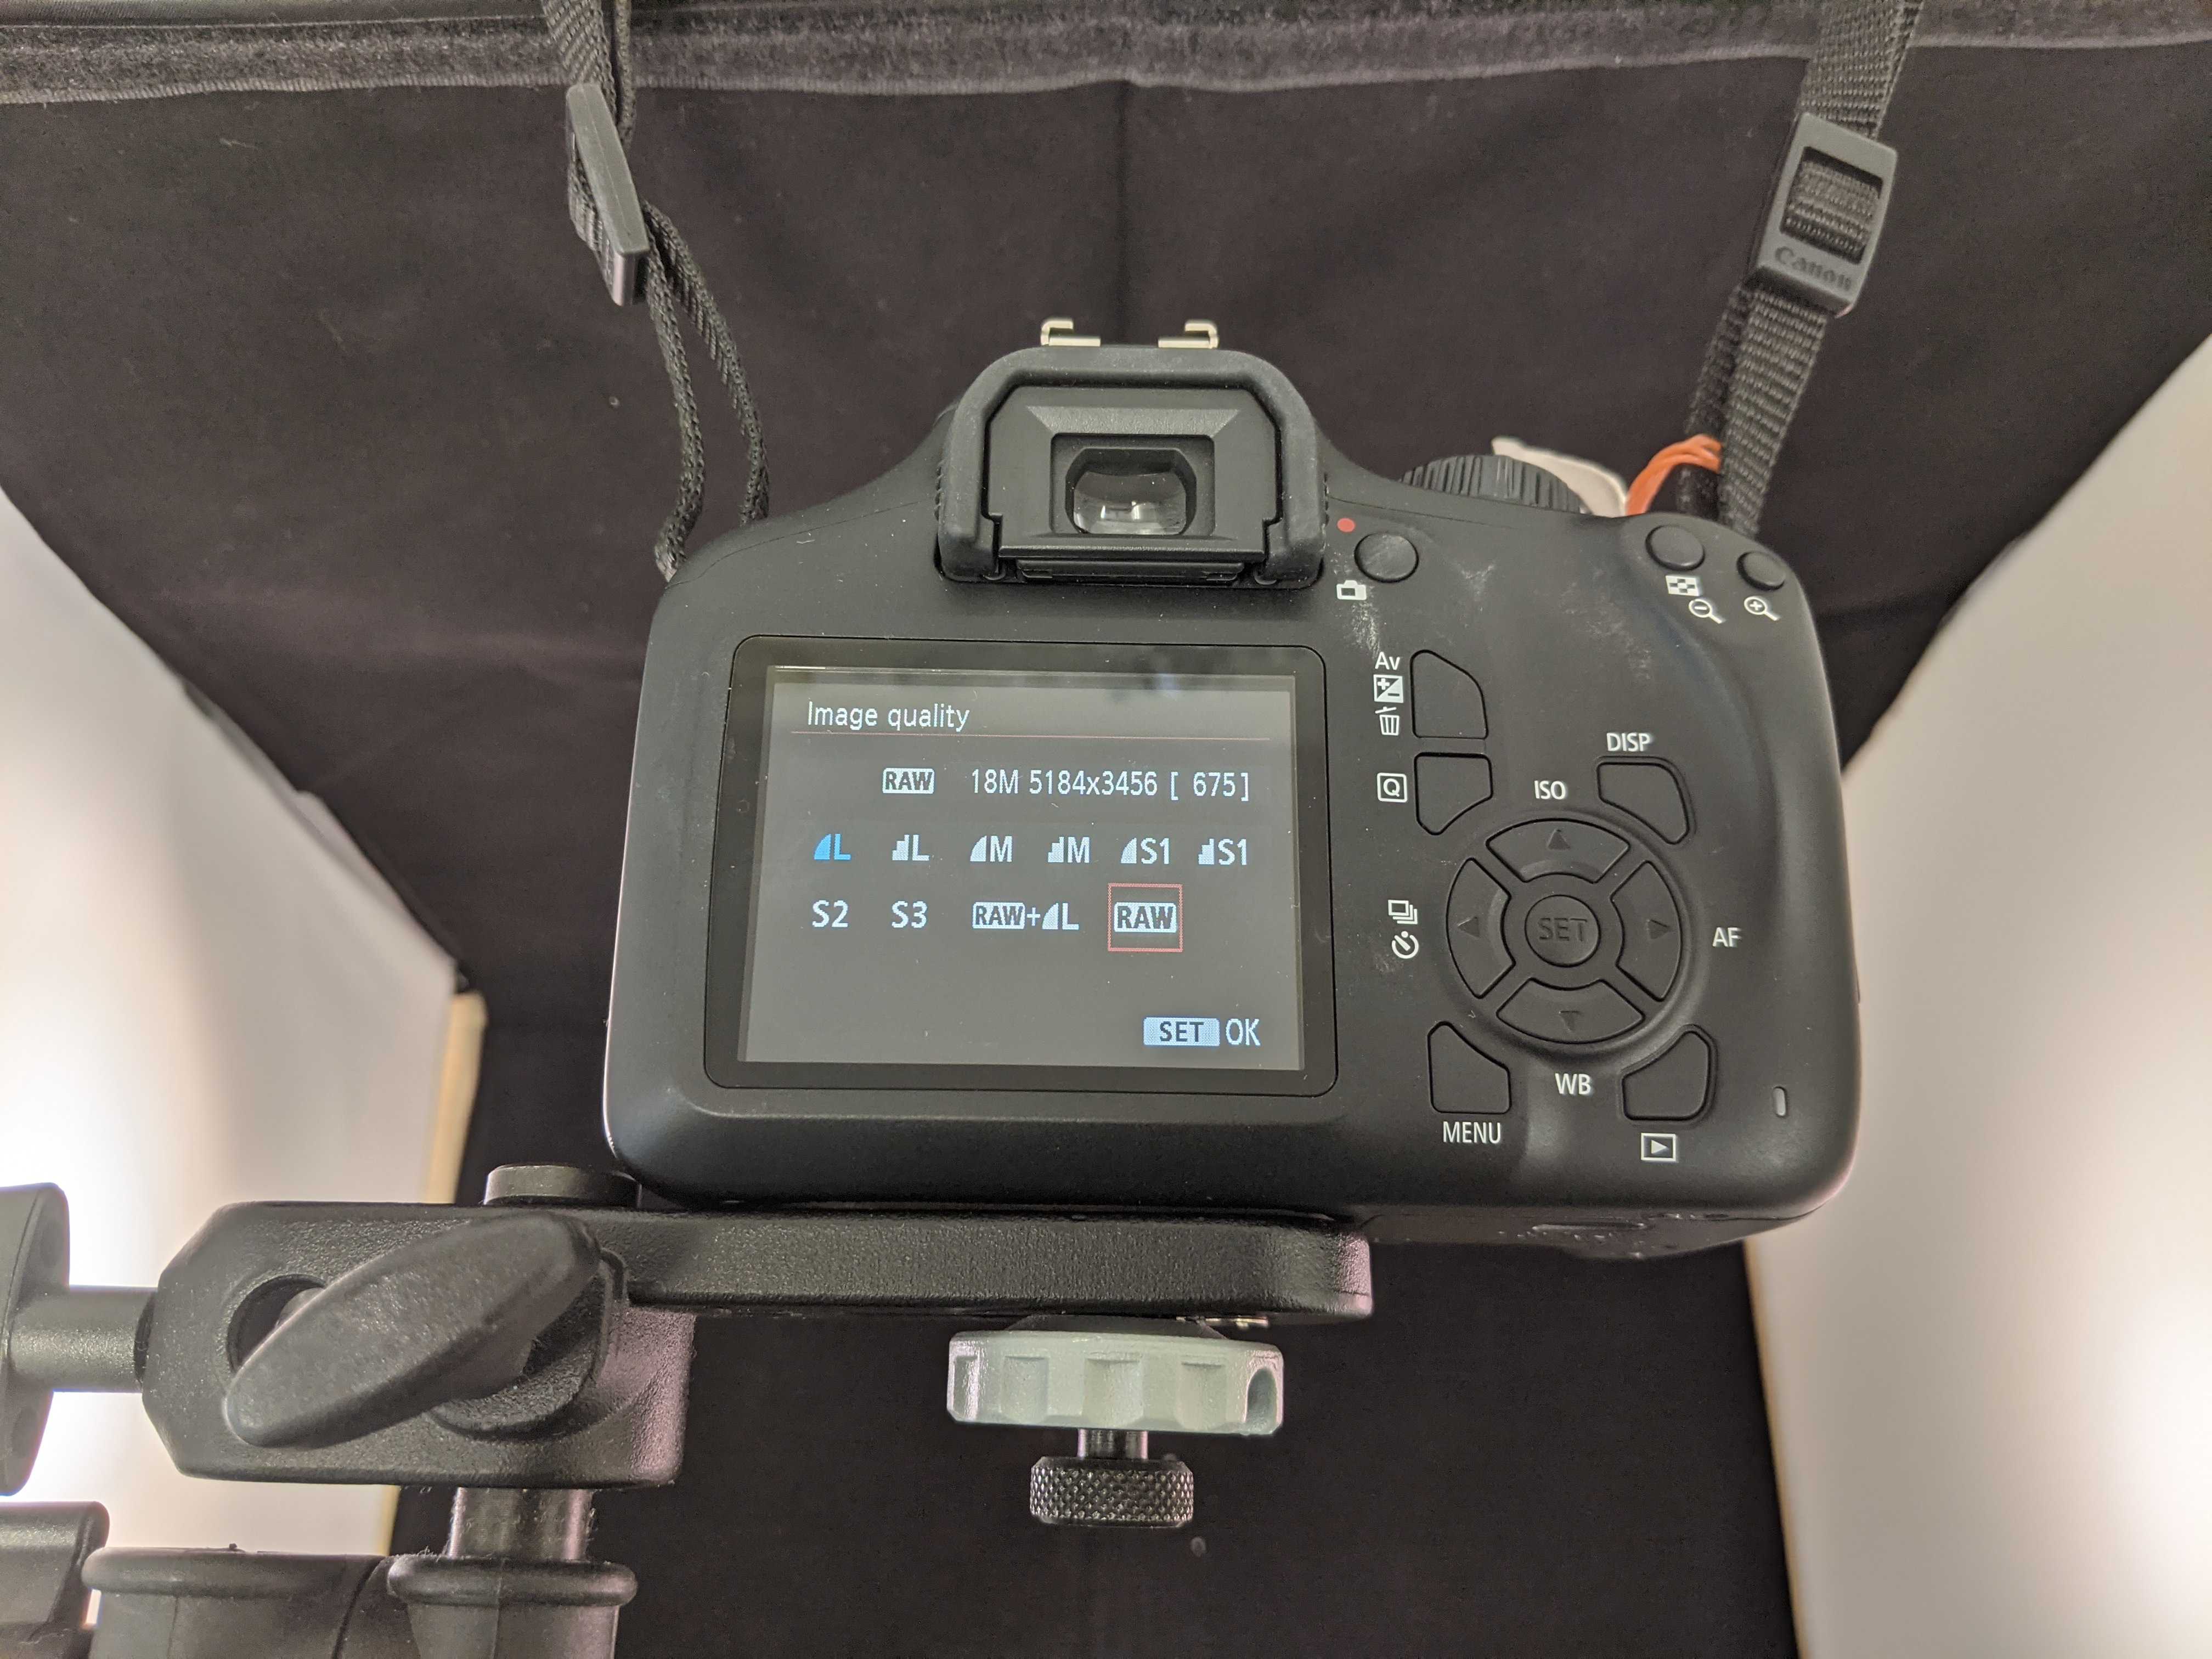
Select image raw format.
RAW image formats (CR2, CRW, NEF, PEF...) are always preferred as they are the least processing, with little to no loss of visual details.
Other formats can also be used if very high resolution photos are not necessary, and they are:
- Tagged Image Files (TIF/TIFF): Large files which do not loose much visual quality by using the so-called "loss-less" compression.
- JPG/JPEG: Standard and default format for many application. Considerable compression, resulting in lower quality and smaller files.
Select photographic mode.
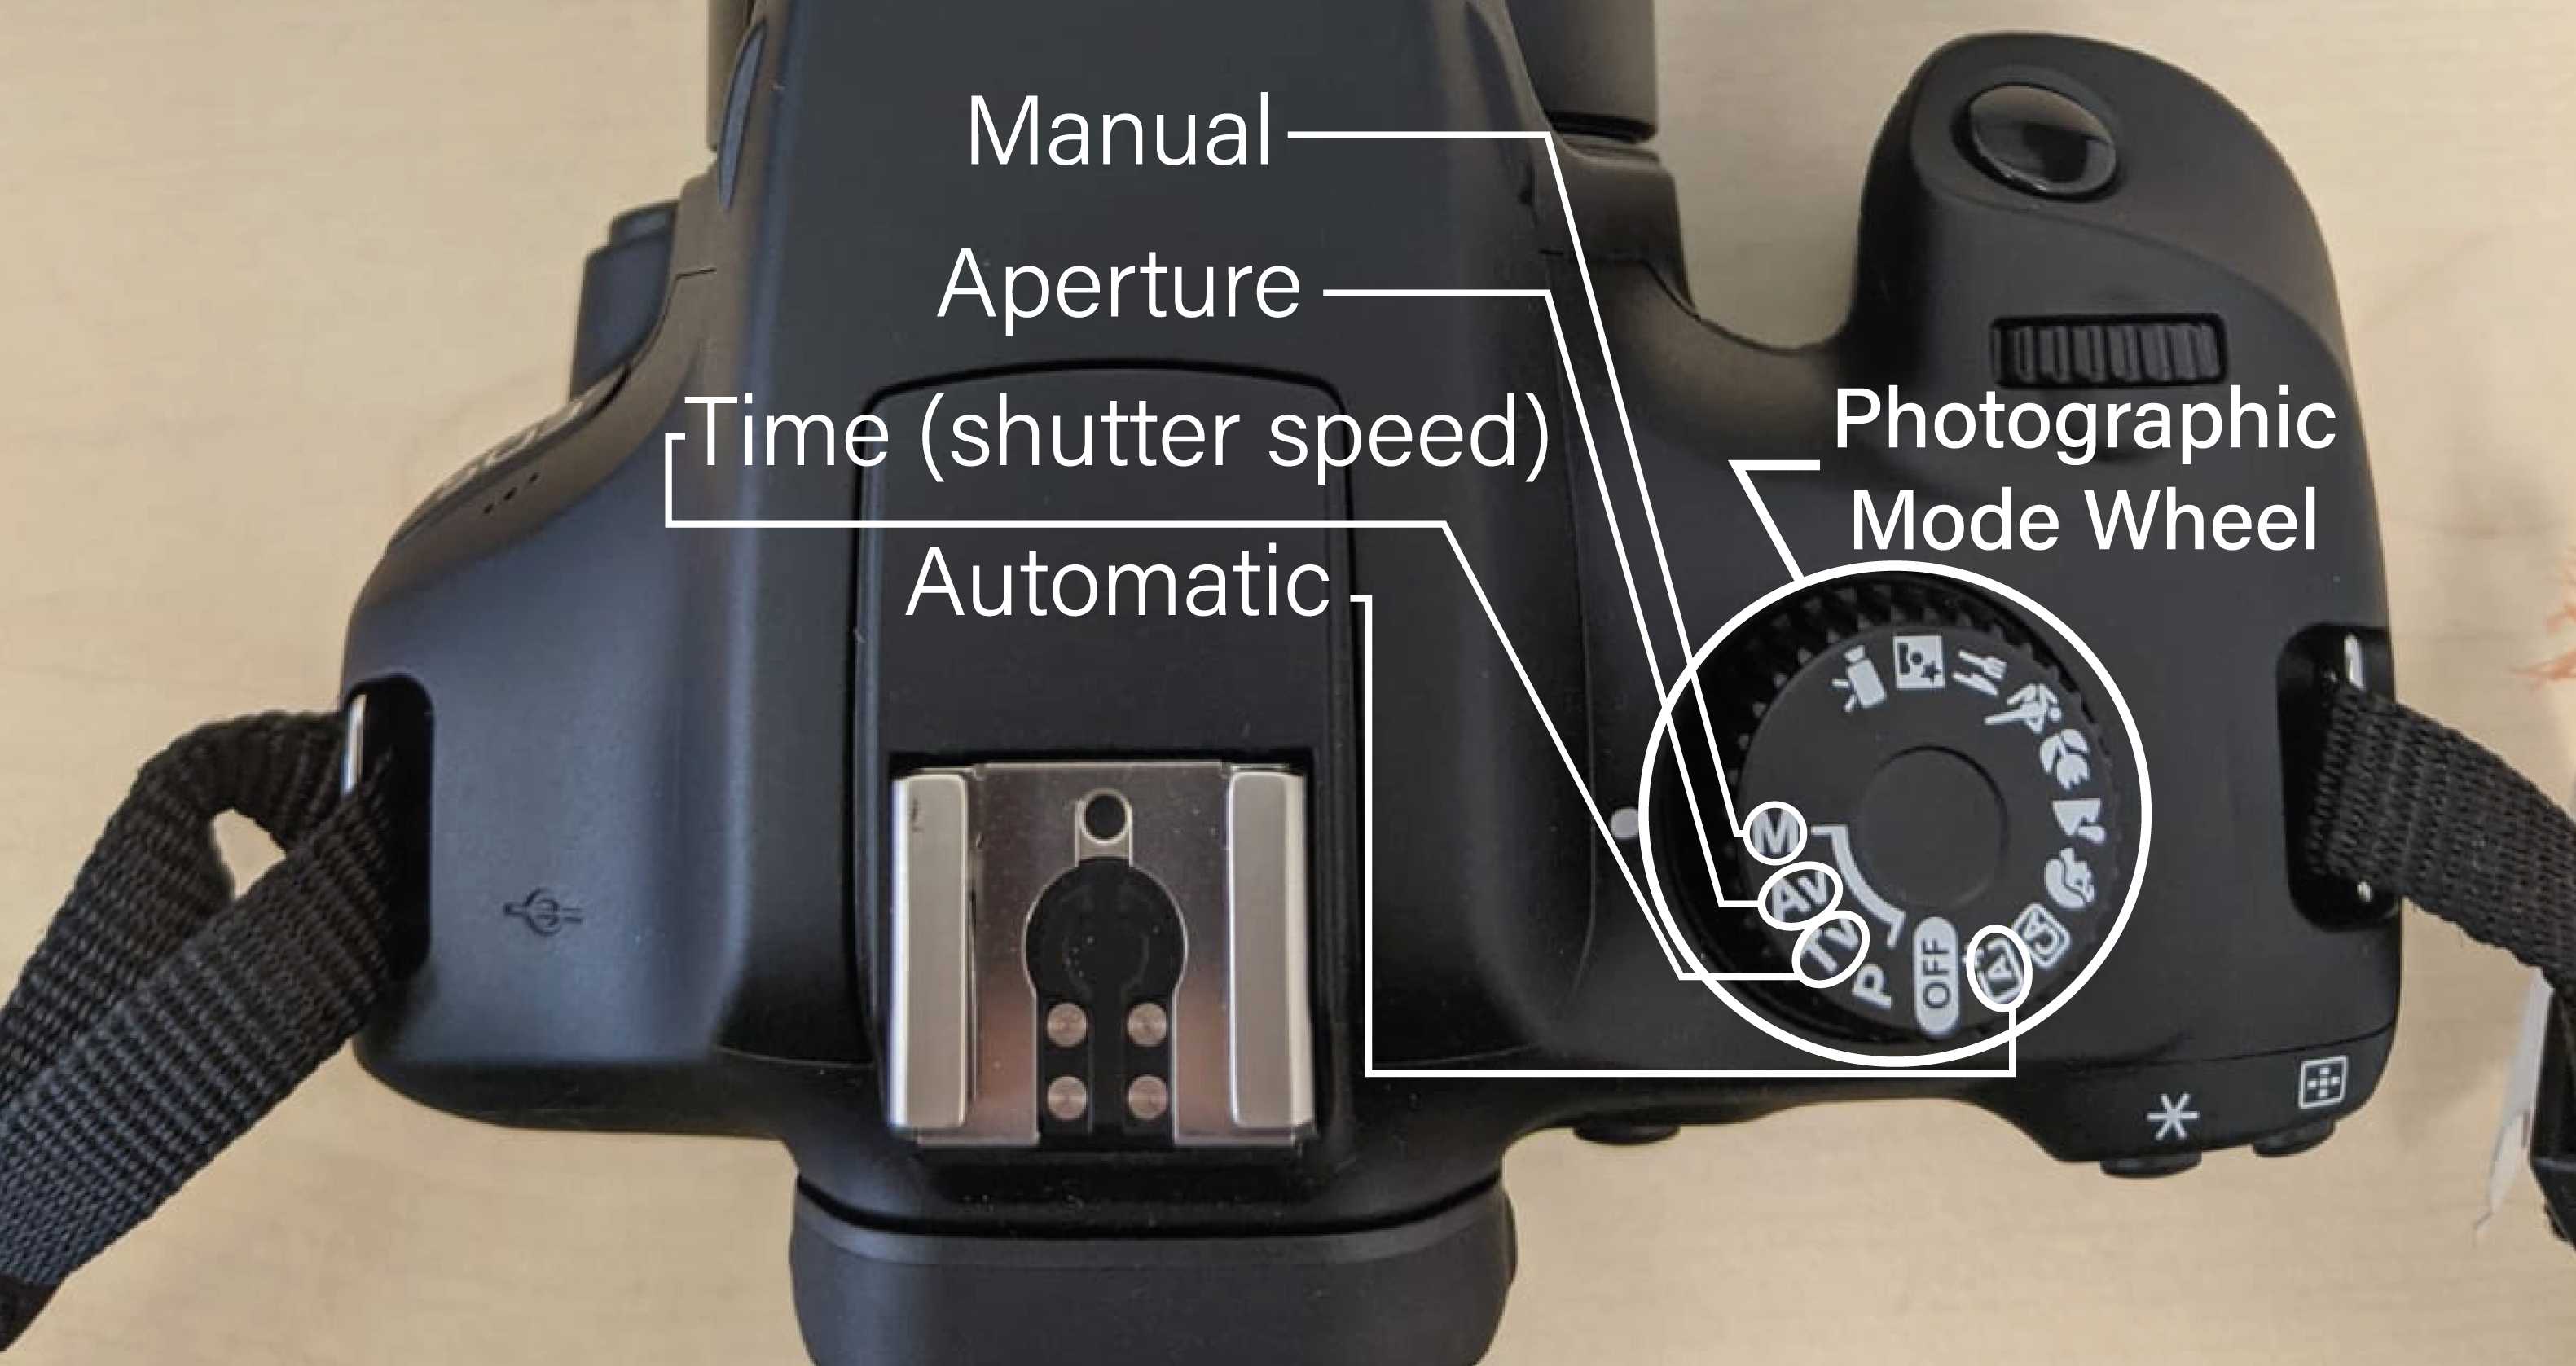
Generally, manual mode is preferred as it gives the highest degree of freedom for adjusting the various functions and settings.
In some cases, Aperture or Time modes can also be used as they offer the possibility to adjust just one of the two respecting settings. In such cases, all the other camera functions and settings (i.e. ISO, exposure, focus...) will be set automatically.
Set the depth of field.
The depth of field will determine what part of the subjects in the frame will be in focus. This will be dependent by the interaction of two settings:
-
Focal length
-
Aperture
By adjusting the focal length and the aperture it is possible to control which portion of the subject will be in focus. This can therefore result in a single flat plane being in focus, or a full volumetric object being fully in focus.
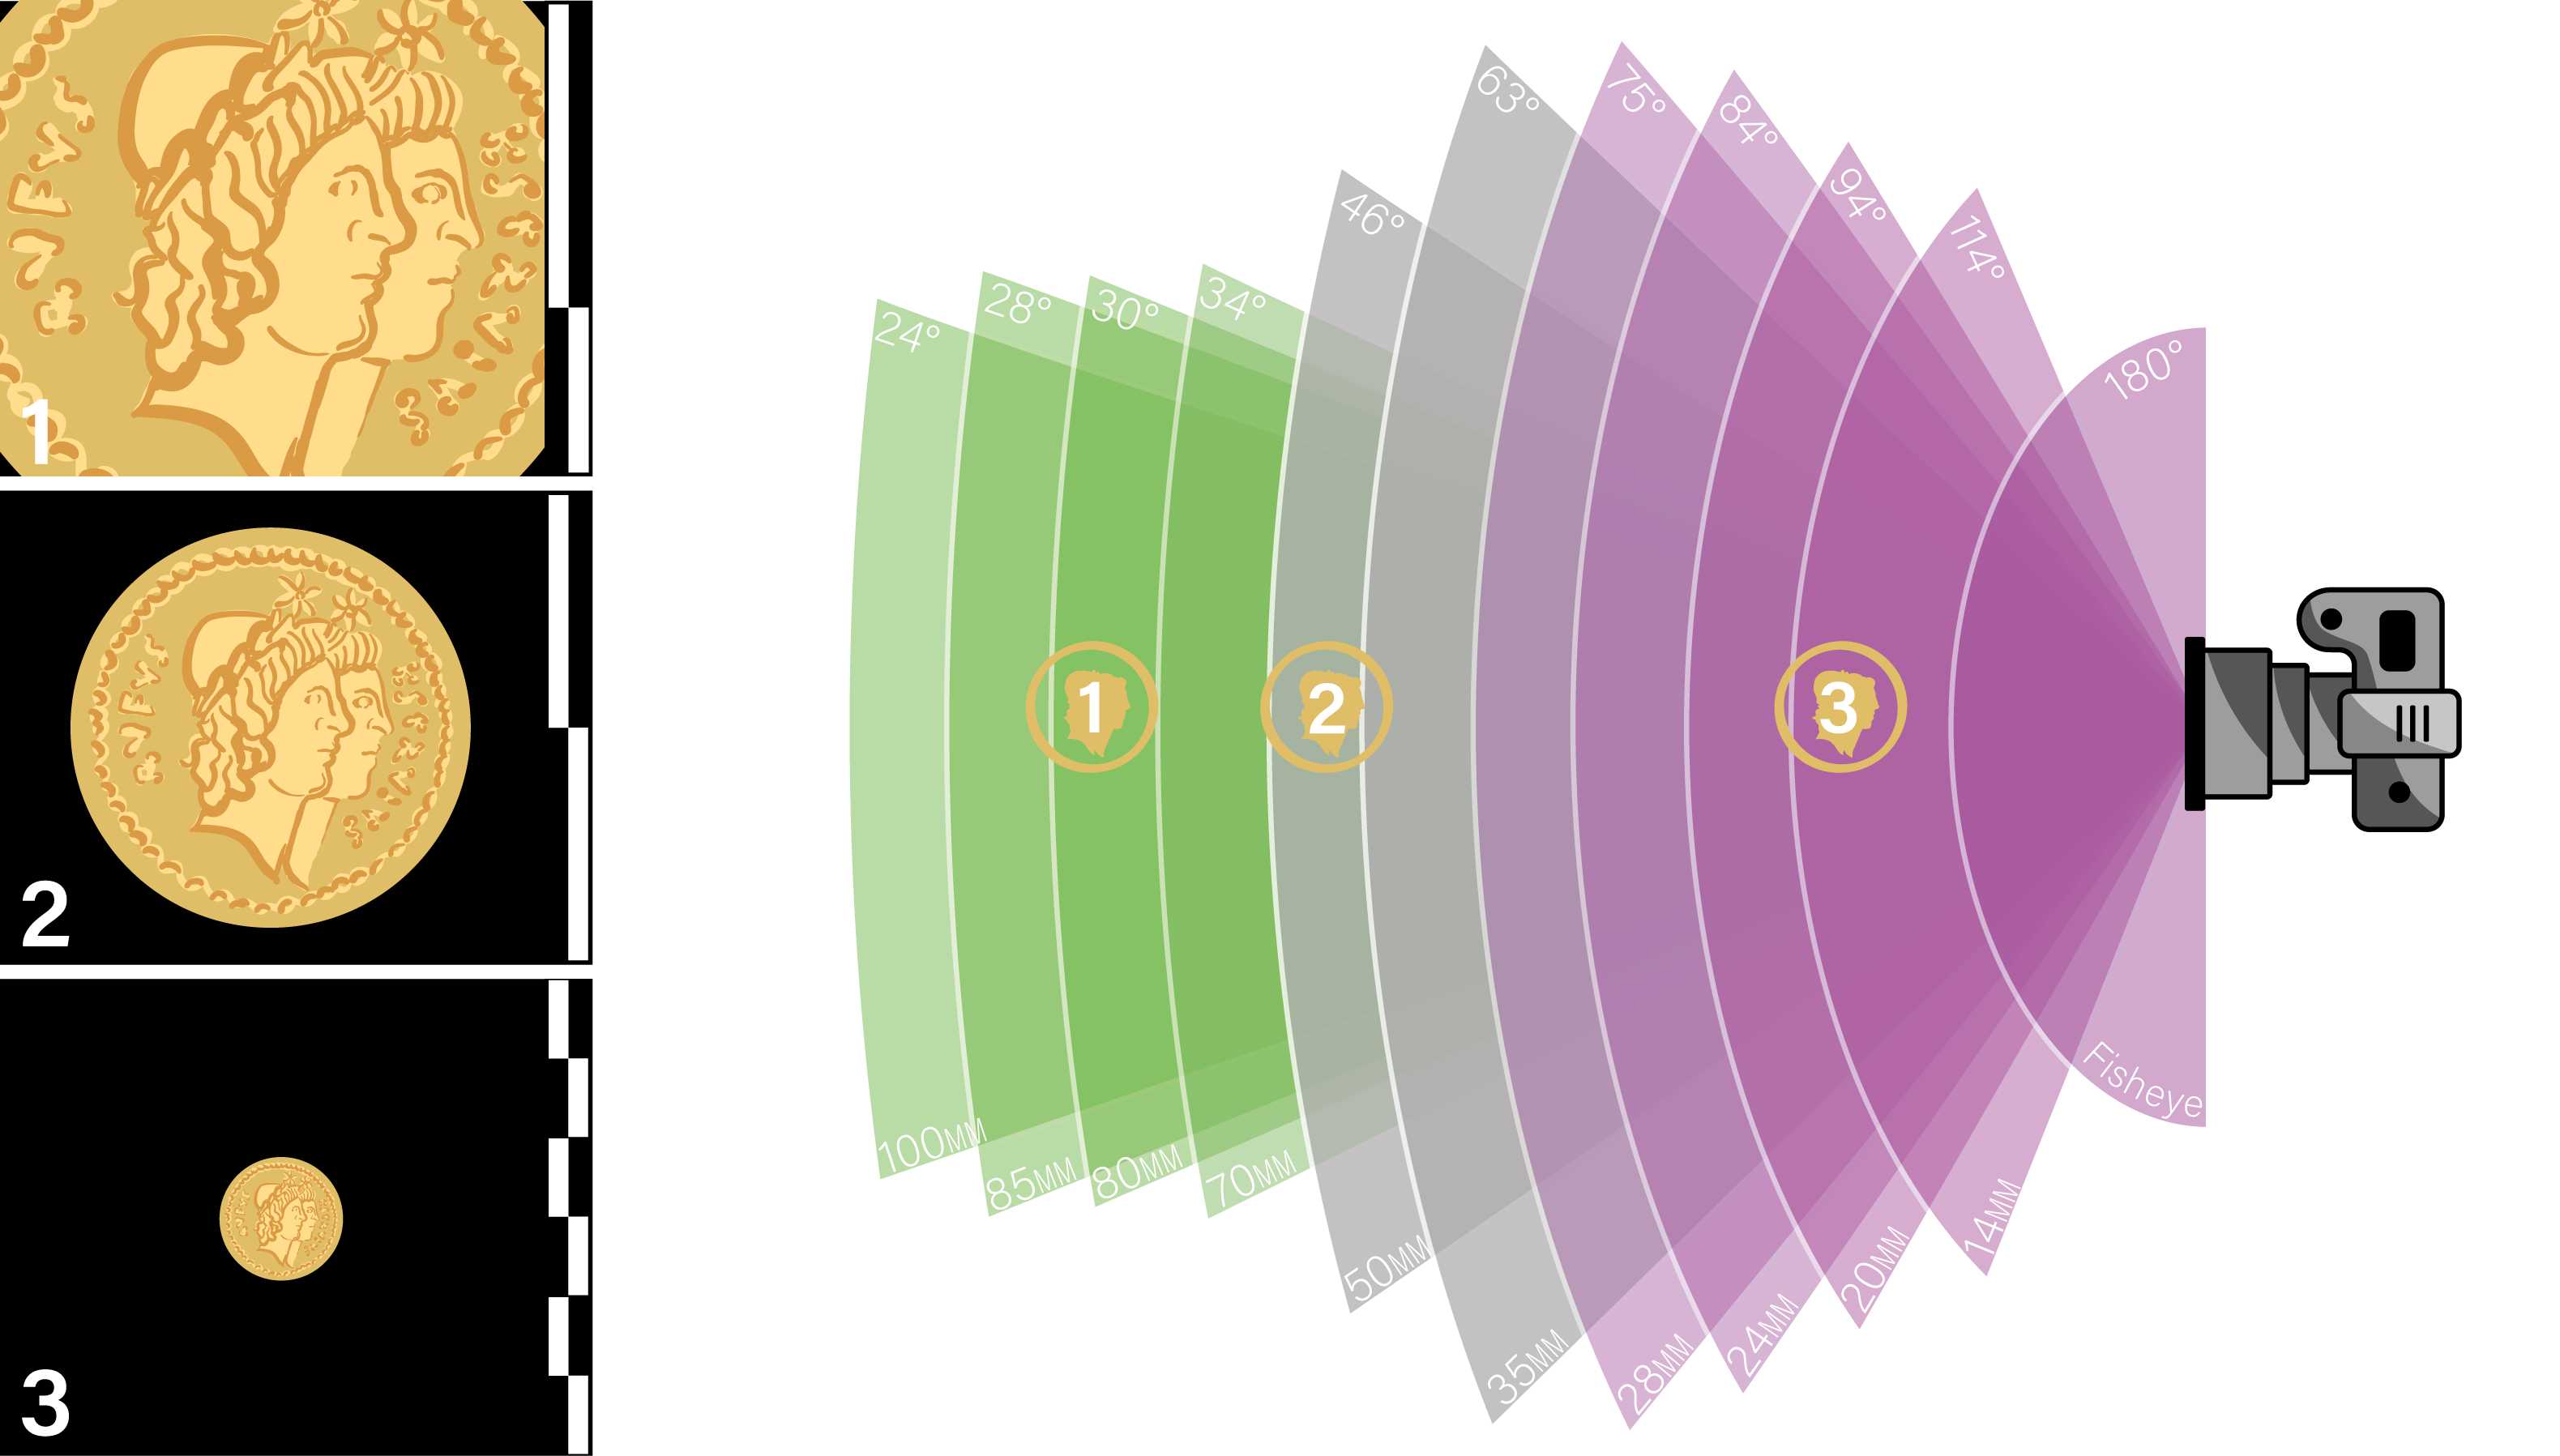
Focal length is the measure of distance between the point of convergence of the lens and the sensor.
It is measured in millimetres (mm), and it defines how much of the scene will be captured. A small focal length will result in a wider angle of view, and vice versa.
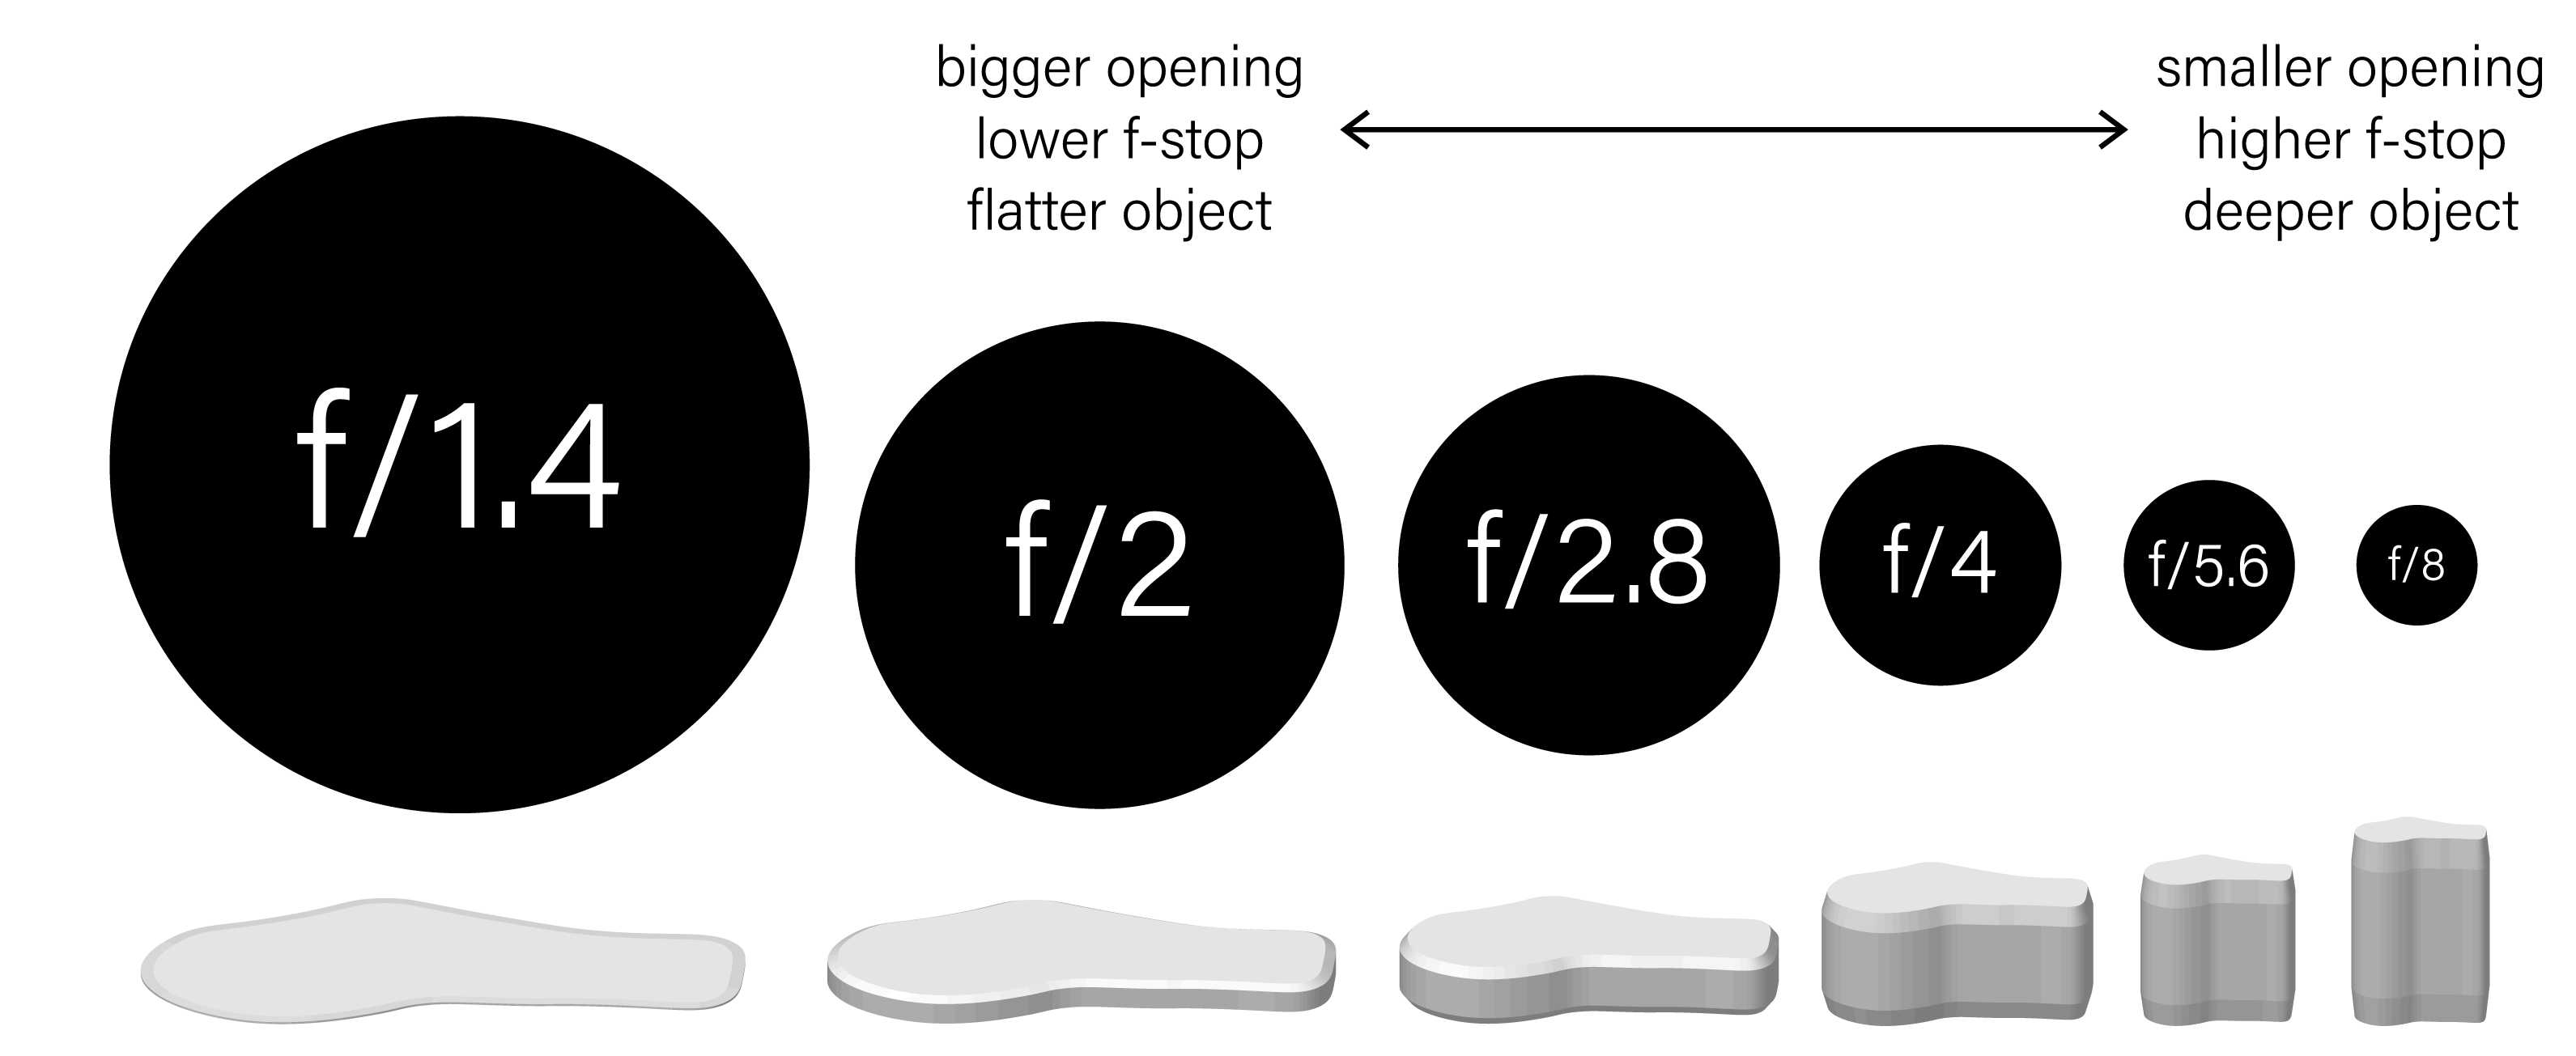
Aperture controls the opening that lets light in the lens.
It is expressed in f-stops (larger the number, smaller the opening)
Aperture affects depth of field as follows:
- Larger opening -> shallower depth of field
- Smaller opening -> larger depth of field
Citation
For small object and artefact photography, aperture will bedependent on the volumetric profile of the subject. Generally a large aperture can be used, however, if a deeper or more volumetric object has to be photographed, a smaller opening (therefore higher f-stop value) will be required.
Set the shutter speed.
The shutter speed, or time value, is the length of time the camera shutter is open. It is therefore responsible for:
-
the brightness level of the photograph
-
the degree of blurring motion or freezing action in the case the object or camera are not still.
It is expressed in fractions of a second or full seconds.
Set the focus.
Focus is the adjustment of the lens to find the maximum resolution, sharpness and contrast for the chosen subject.
Focus can be achieved either with a Manual or Automatic Focus mode. When photographing still macro subjects, such as in this case, Manual Focus is preferred as it offers full control to select and focus upon the surfaces of interest.
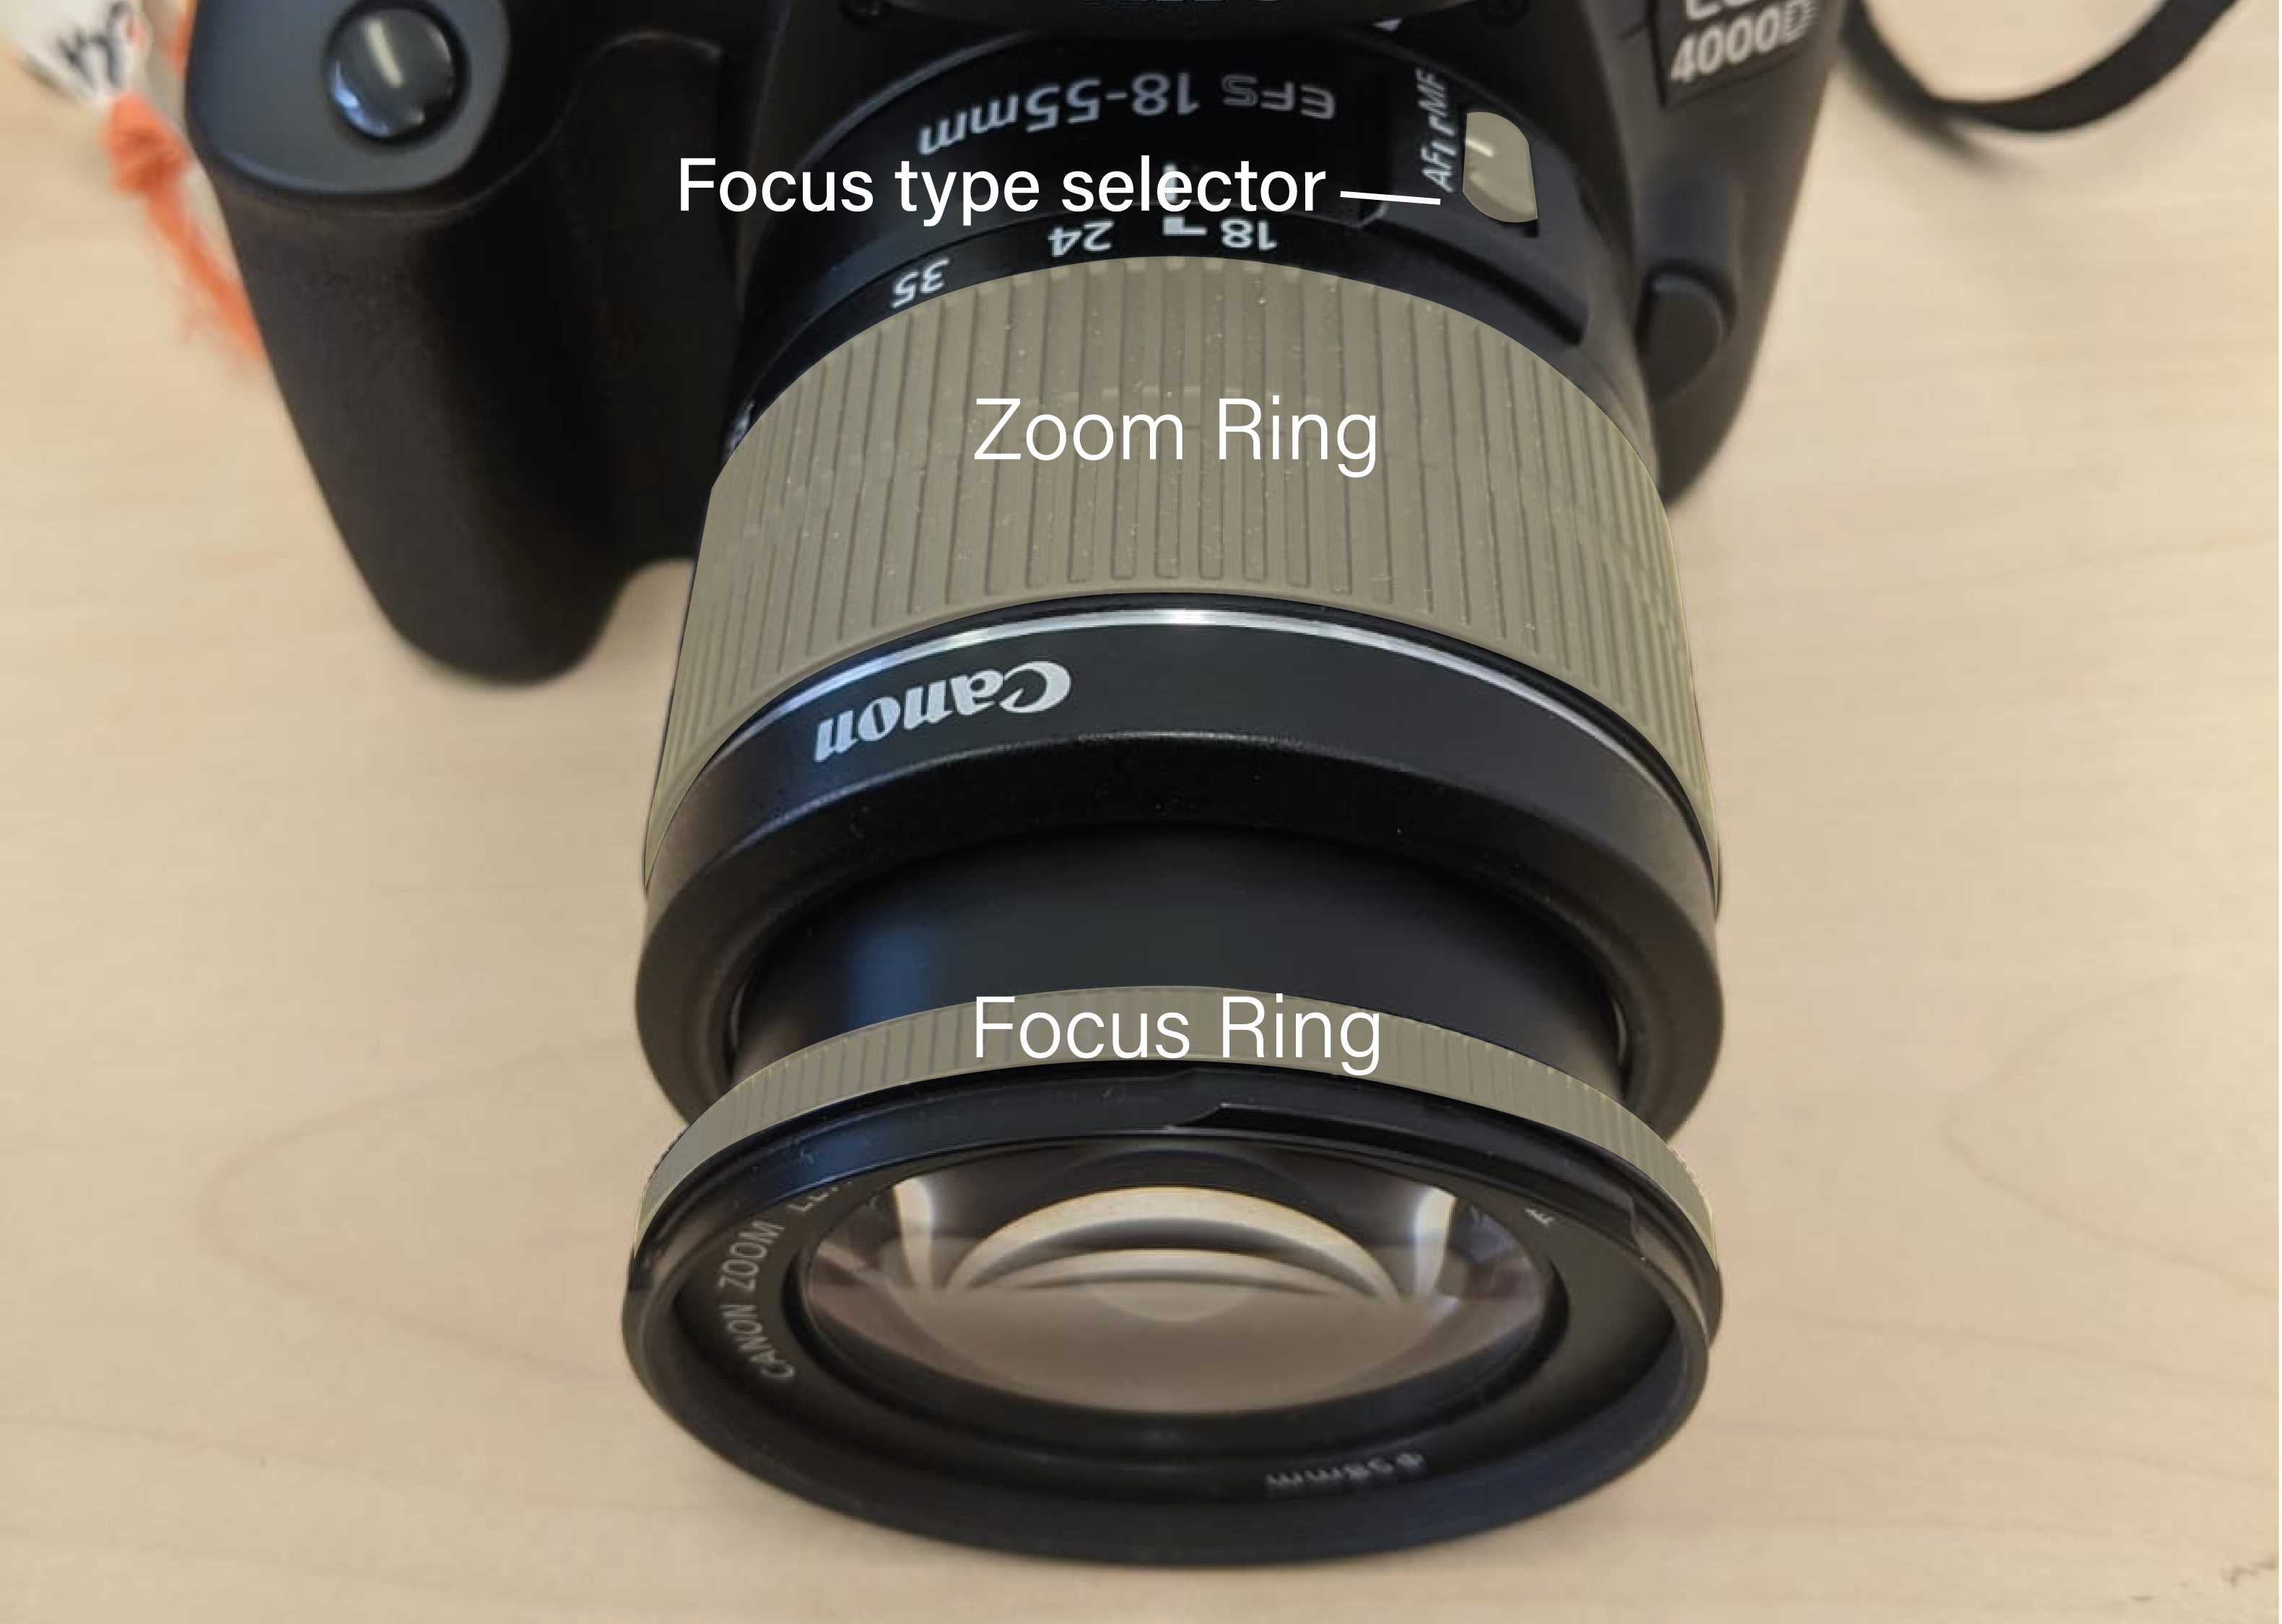
Select ISO (International Organisation for Standardization)
This is the light sensitivity of the sensor. A higher ISO means the lens will be more light sensitive, therefore increasing the image noise.
ISO is expressed in arbitrary doubling numbers, from 50 to 25600 (50, 100, 200, 400, etc.).
Adjust Exposure.
Exposure is the amount of light which reaches the camera sensor. This is dependent on the relationship between the three main functions discussed previously, which include:
-
Aperture
-
Shutter Speed (or Time Value)
-
ISO
Adjusting these three separate functions will result in a certain amount of light reaching the sensor. Furthermore, exposure can be further altered using the in-camera exposure function.
Experiment with different settings.
Rarely the perfect settings are found on the first try, and environmental variables can constantly change. For this reason, take several photos with different values for each setting.
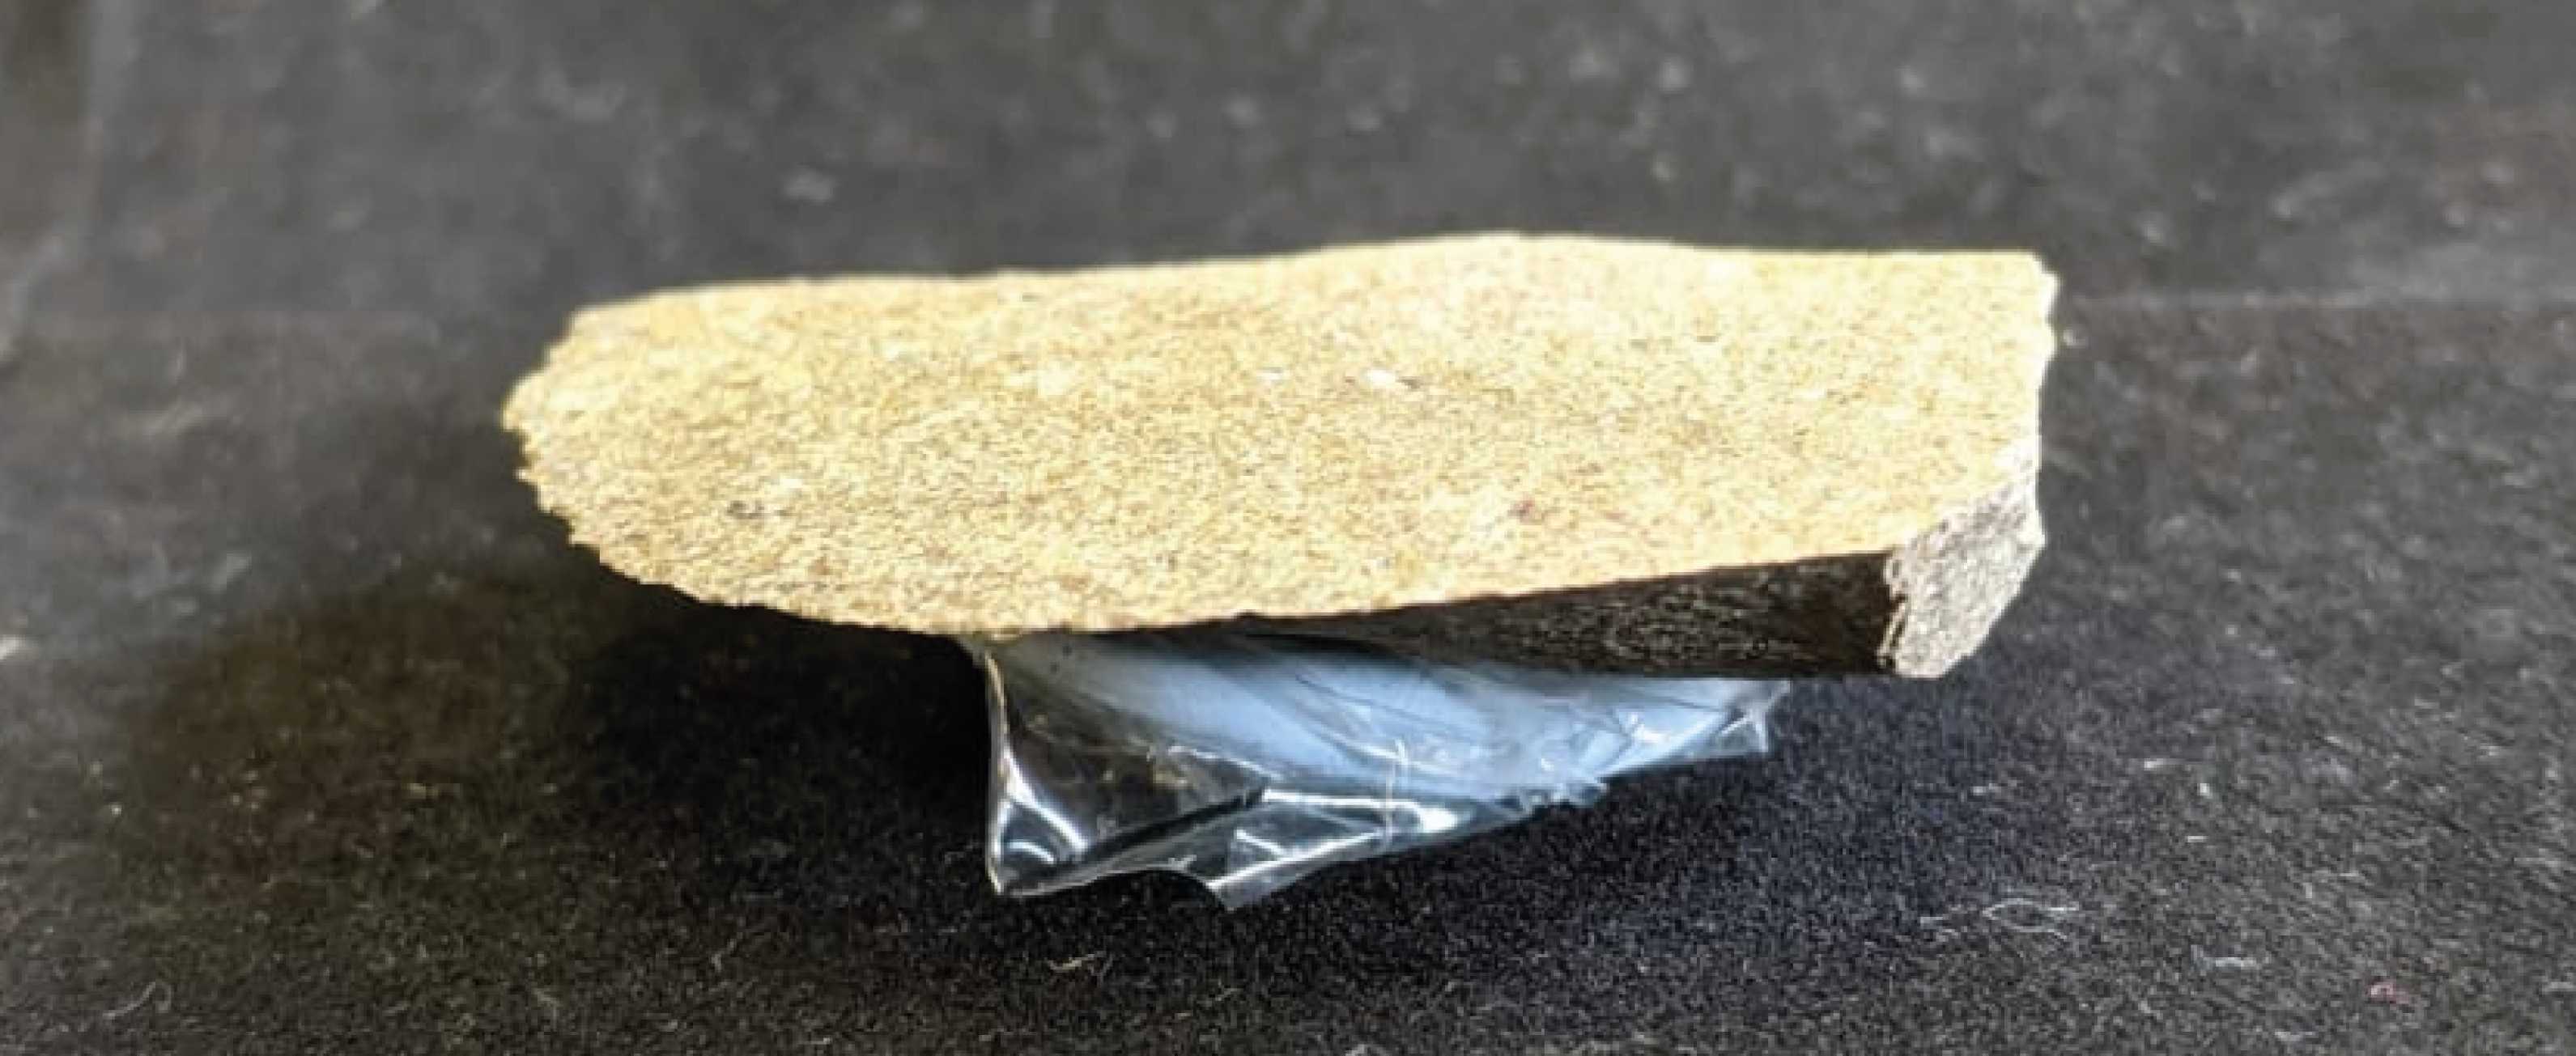
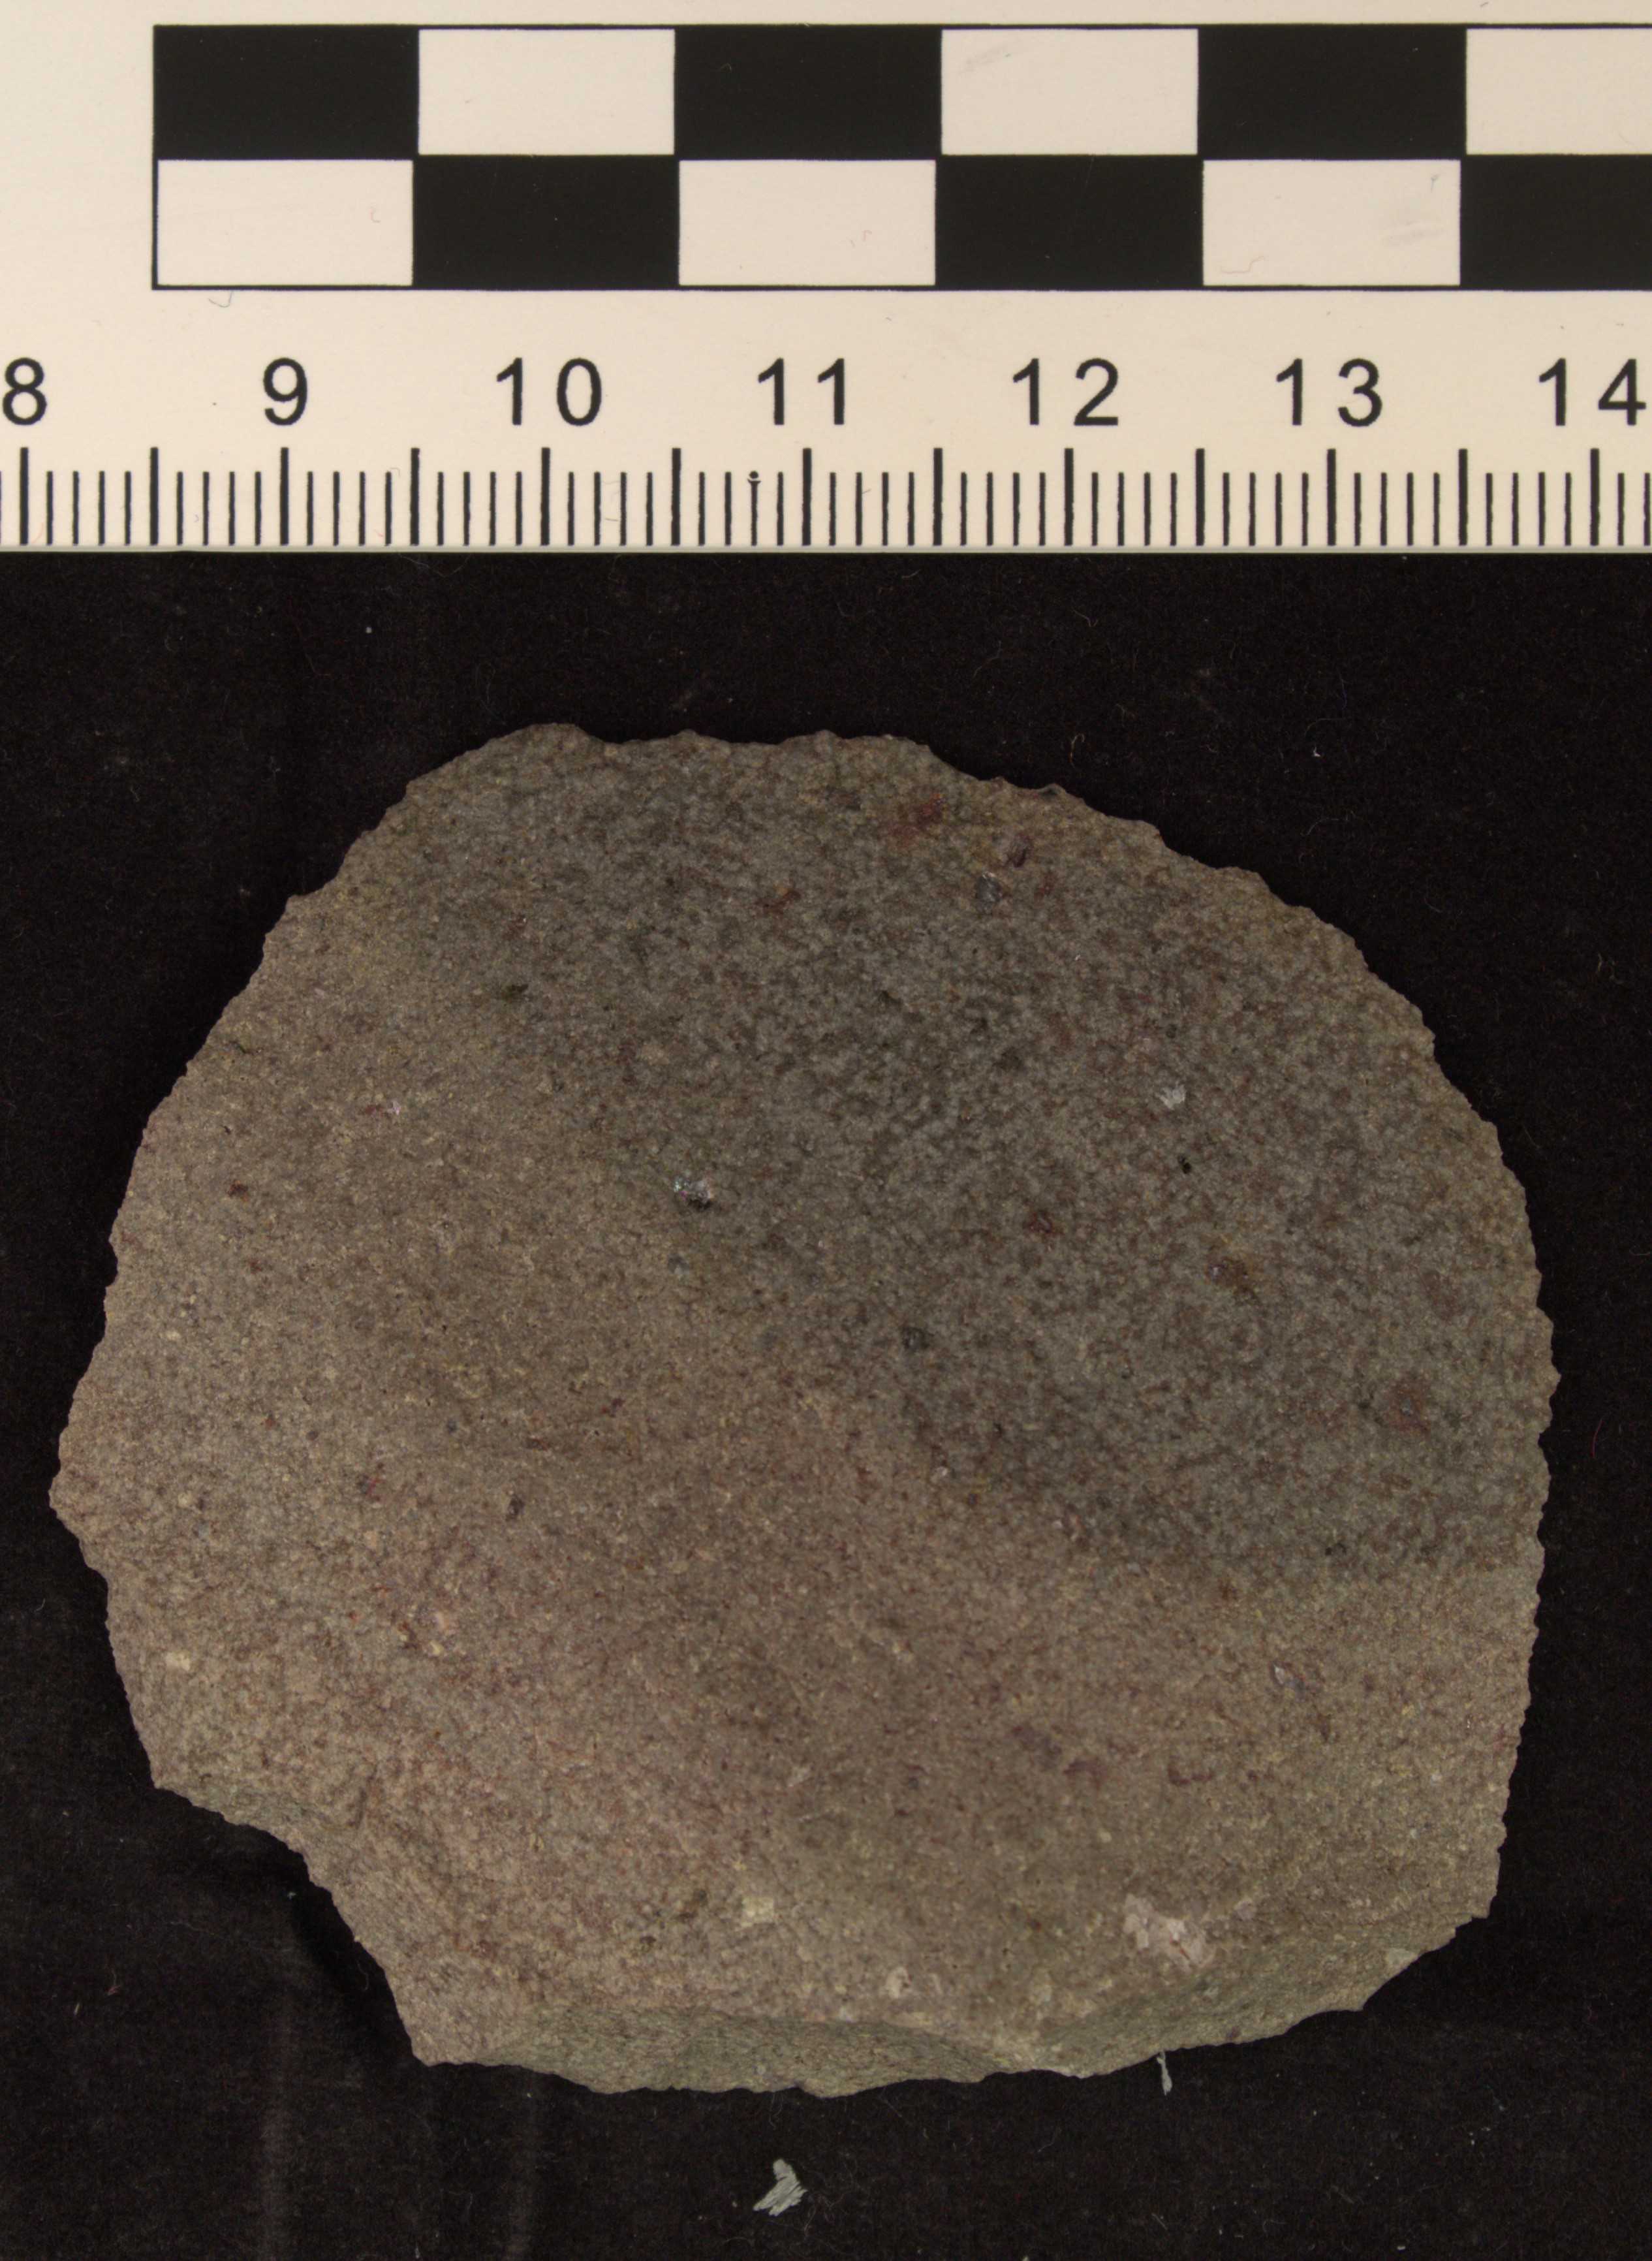
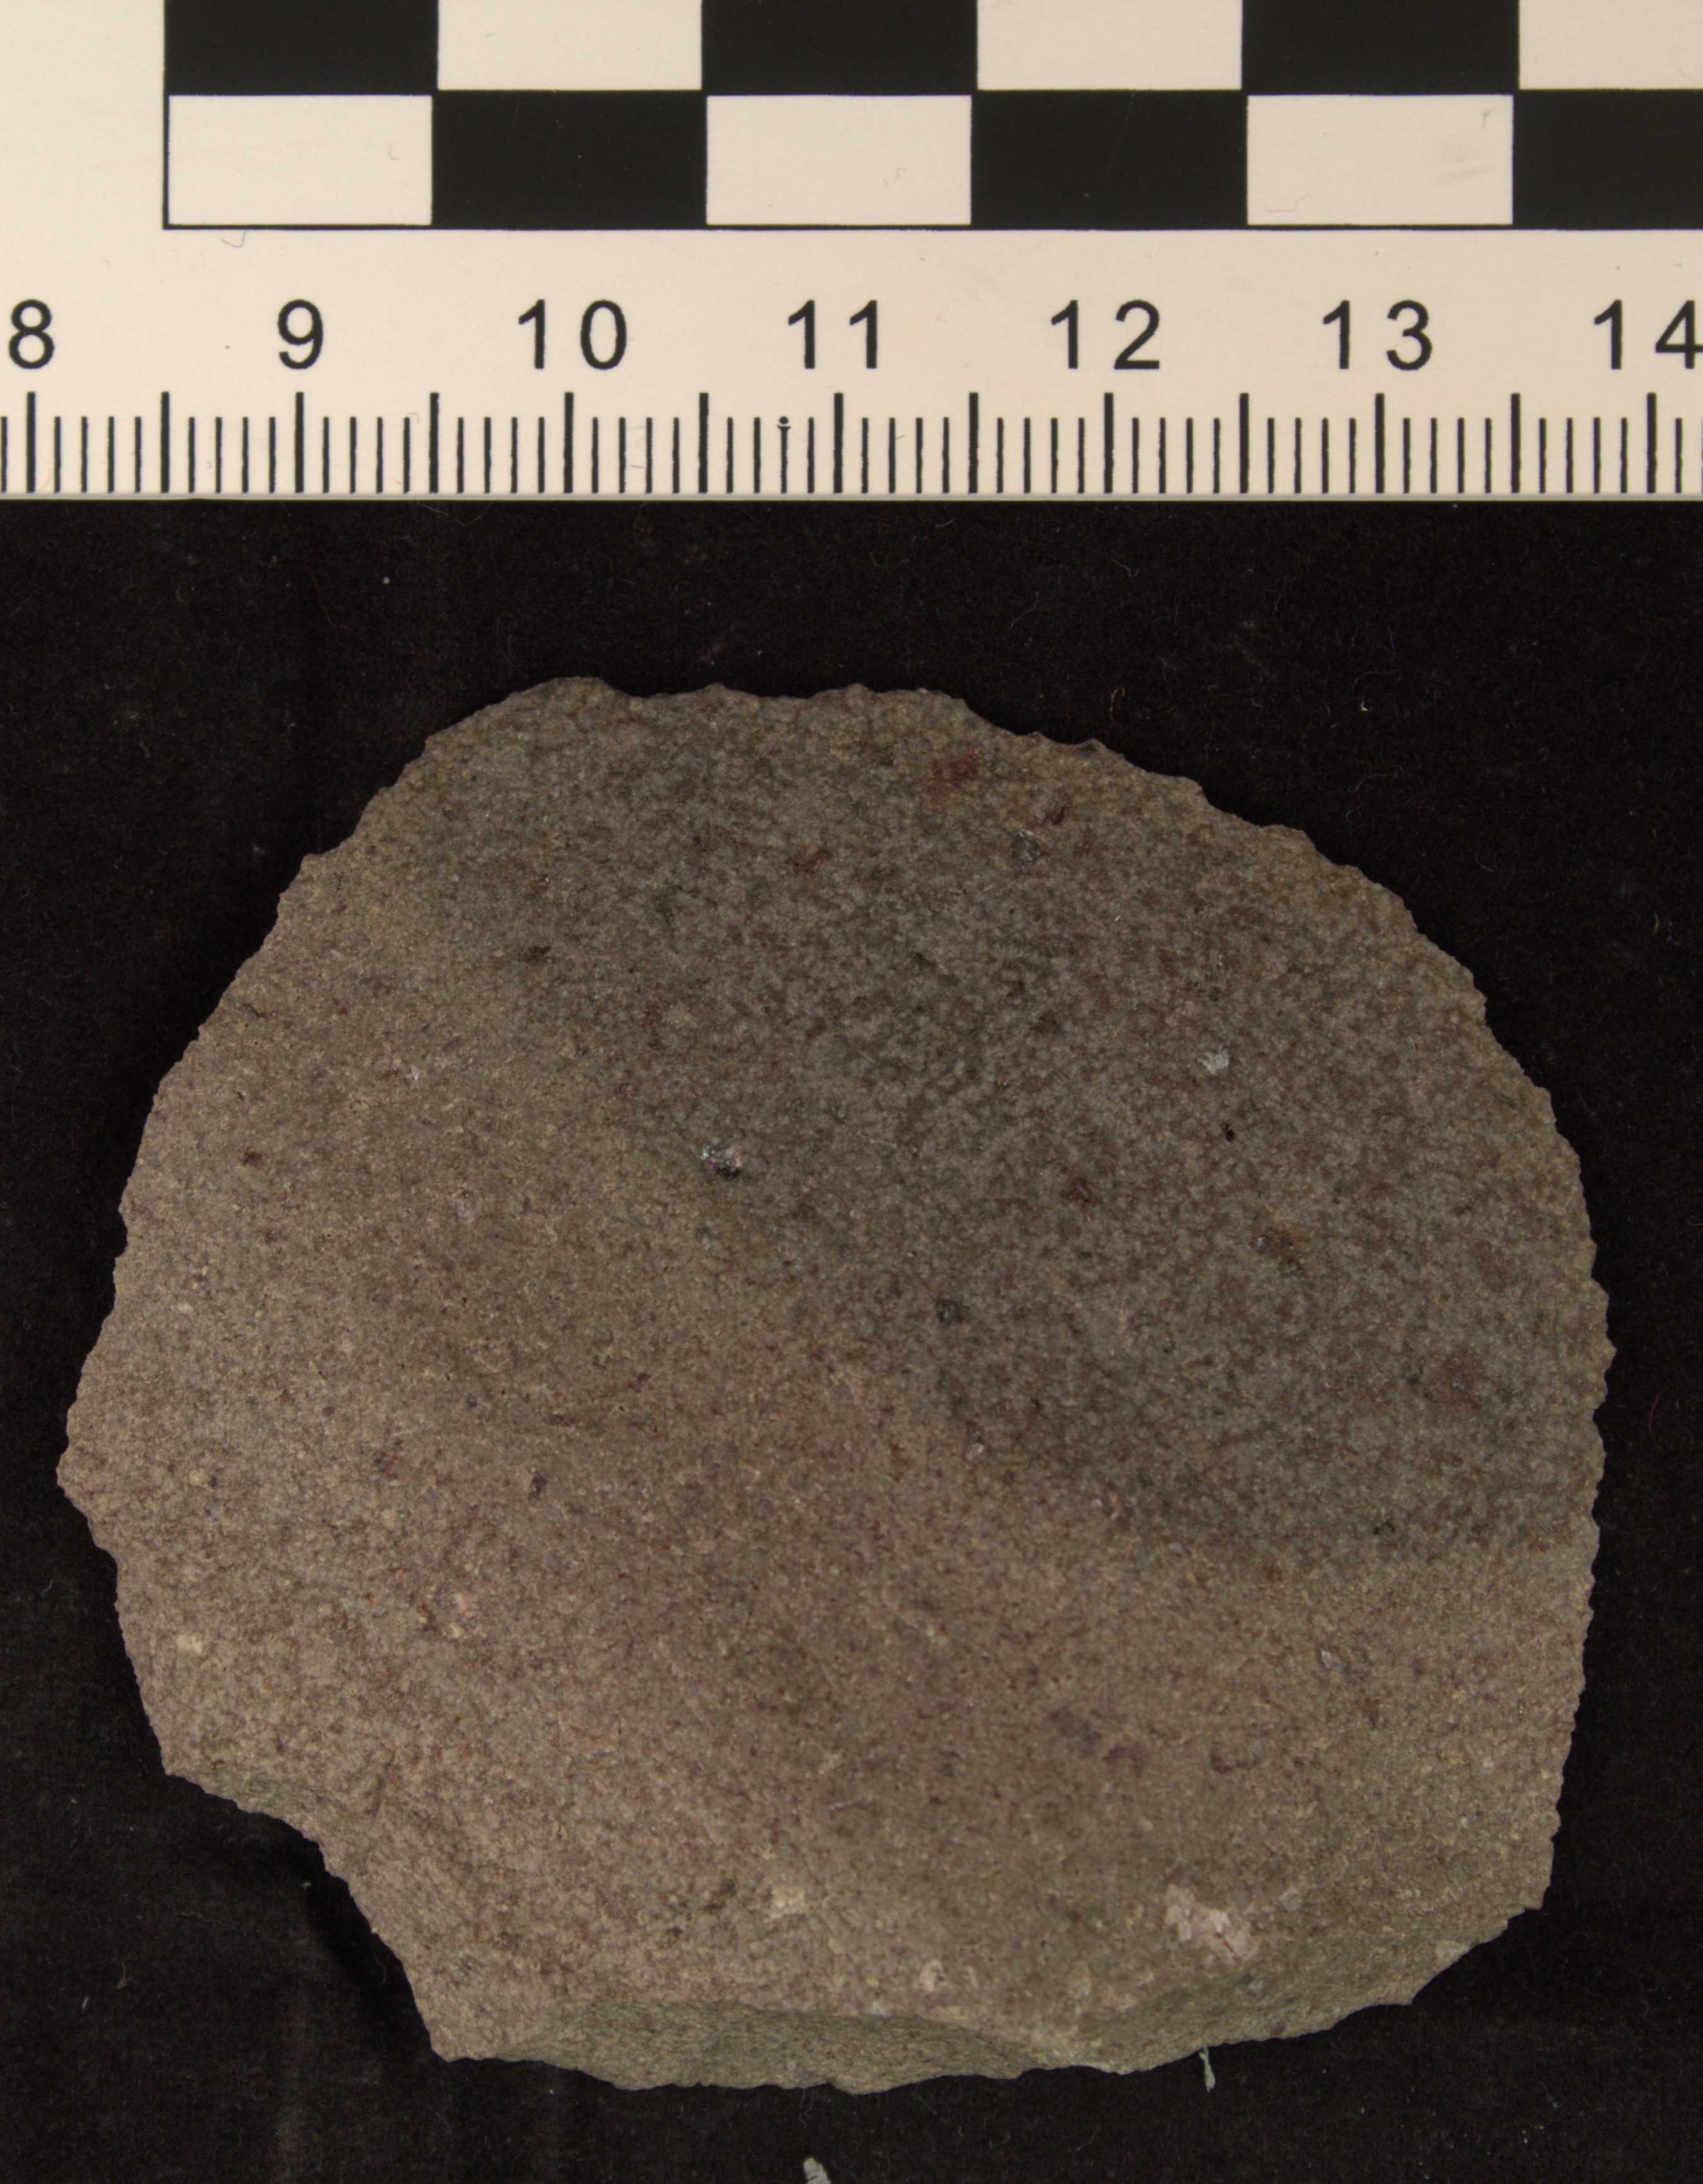
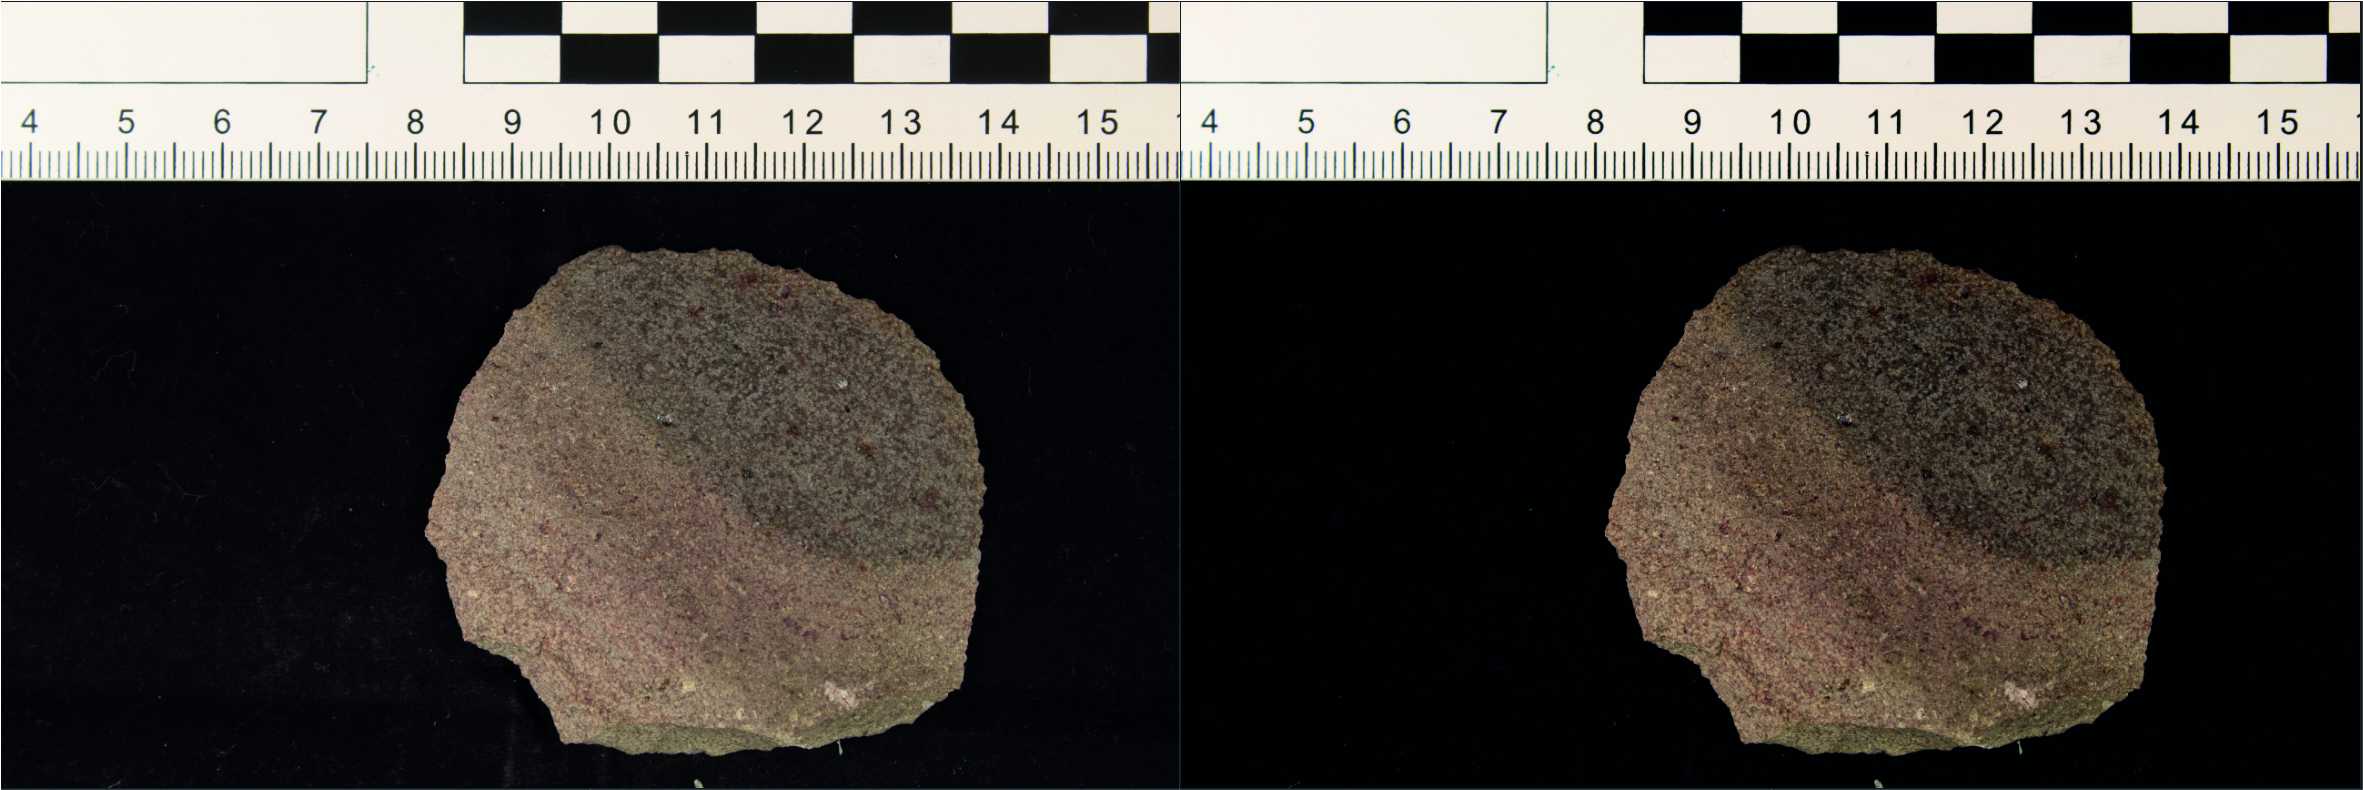
Below are a series of photographs taken of the same artefact, keeping the environmental variables and photographic equipment consistent.
Importing
Open Adobe® Photoshop®.
Select: Open > choose photograph of choice.
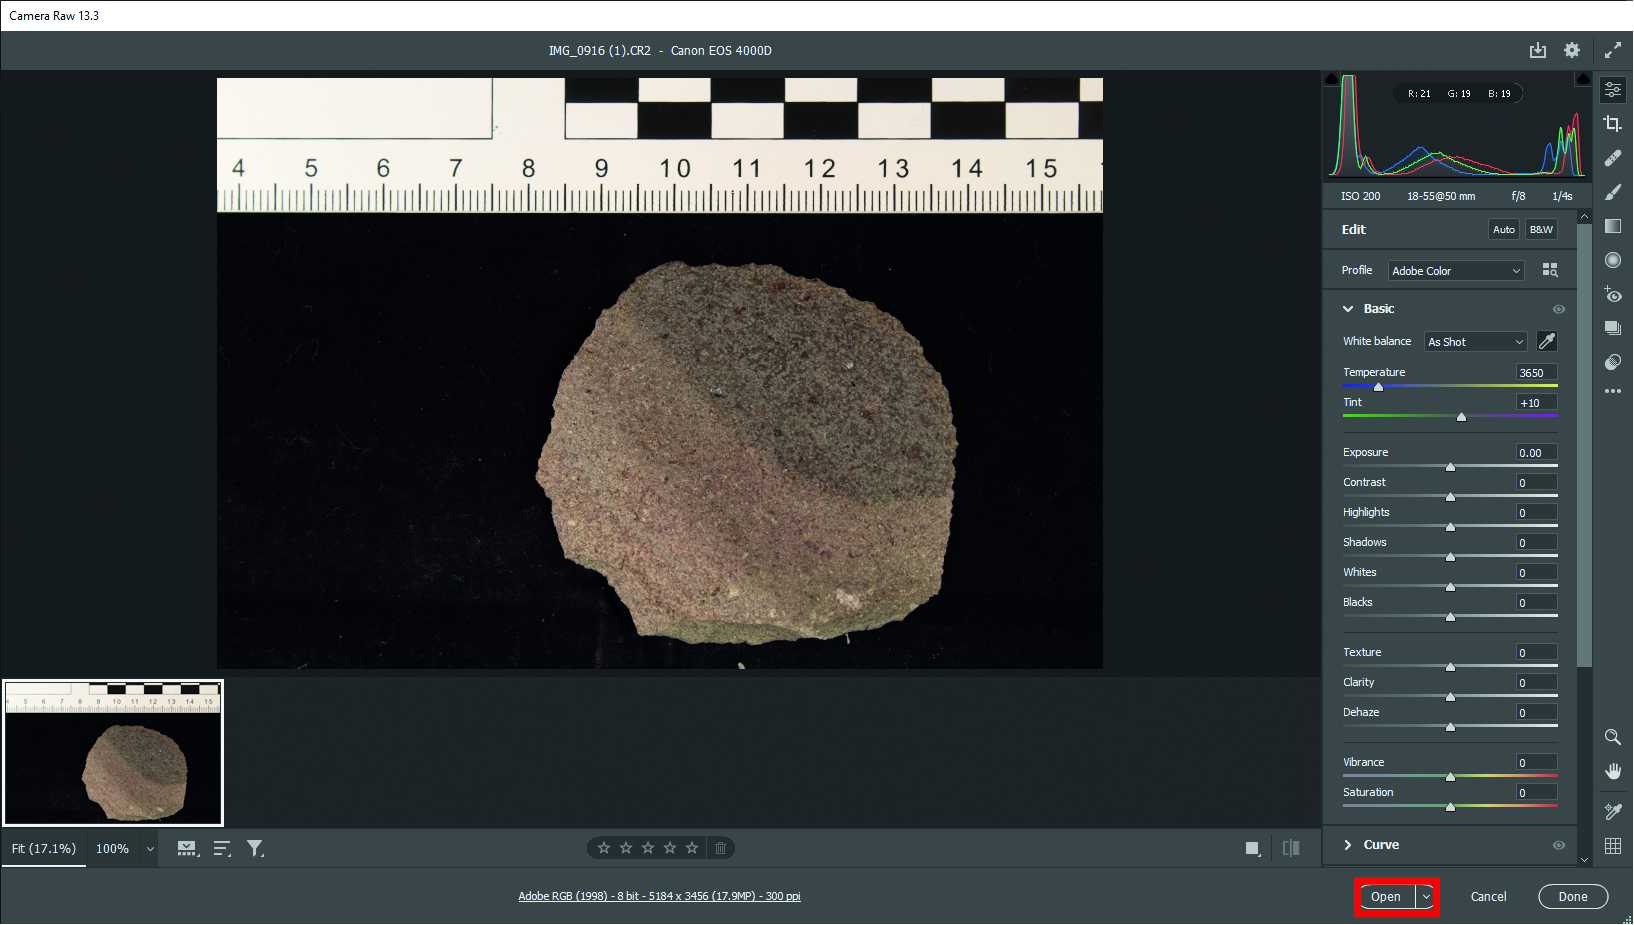
If the original image was in RAW format (depending on brand of camera used, RAW images will have different names and encodings, e.g. DCR, CRW, CR2, CR3, NEG, ARW), the software Adobe® Camera Raw® will automatically open.
do not modify the photograph on Adobe® Camera Raw®, click open to import the photograph on Adobe® Photoshop®.
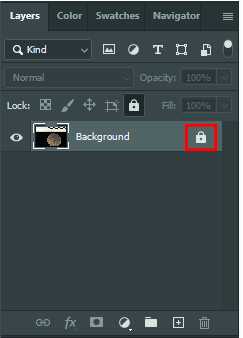
Note: To make a layer selected, click on the layer of choice on the layers tab. This will make the layer on the layers tab light grey in colour, and any action or selection will apply to the specific layer.
White Balancing
White balancing is the process of adjsting colour casts of the photograph. This will therefore adjust all color curves based on what is manually selected as a pure white, realistically adjusting the photograph's colours to their true tone and hue.
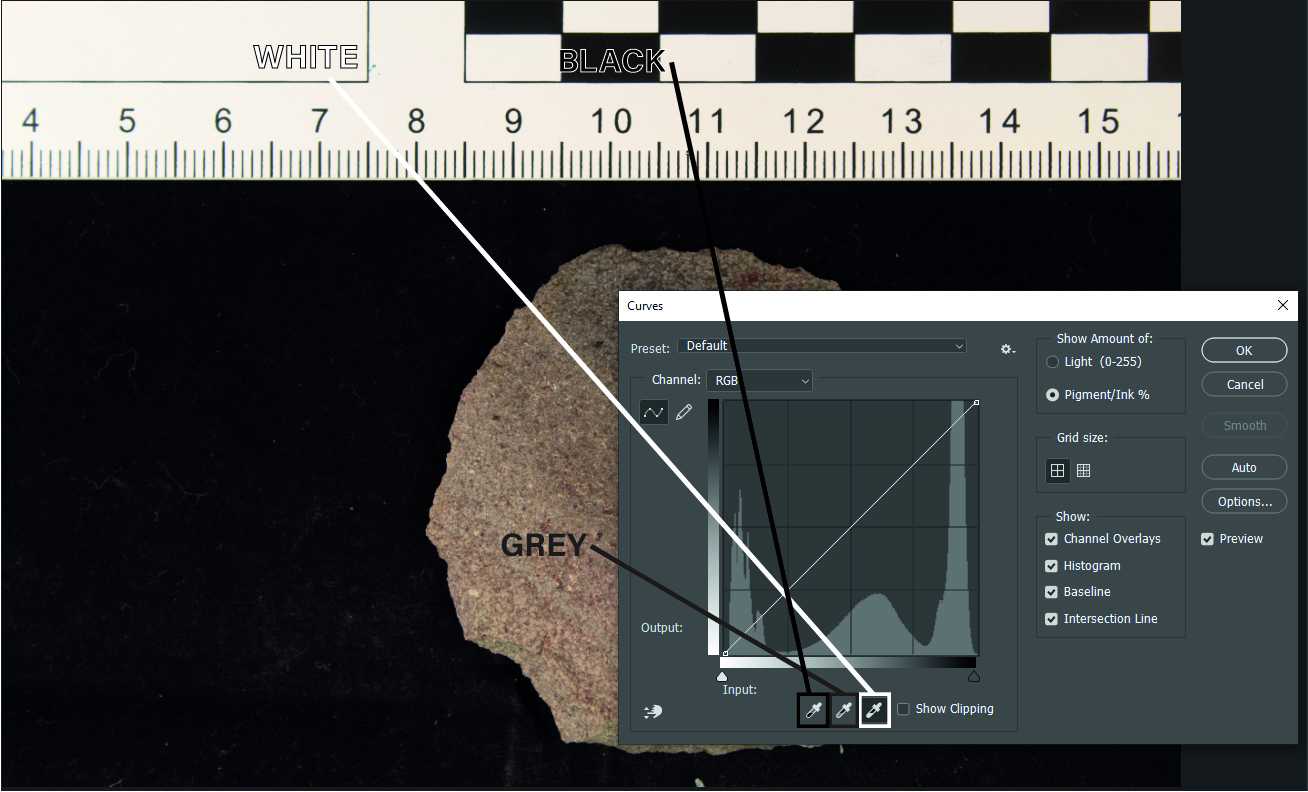
Once the selected photograph is imported, the first step is to balance the whites, greys and blacks.
Select: Image > Adjustments > Curves...
Use the White , Grey and Black Balancing Tools to adjust the white balance of the photograph.
This will be done by selecting each tool and clicking on an area of the photograph with its respective tone.
Background Removal
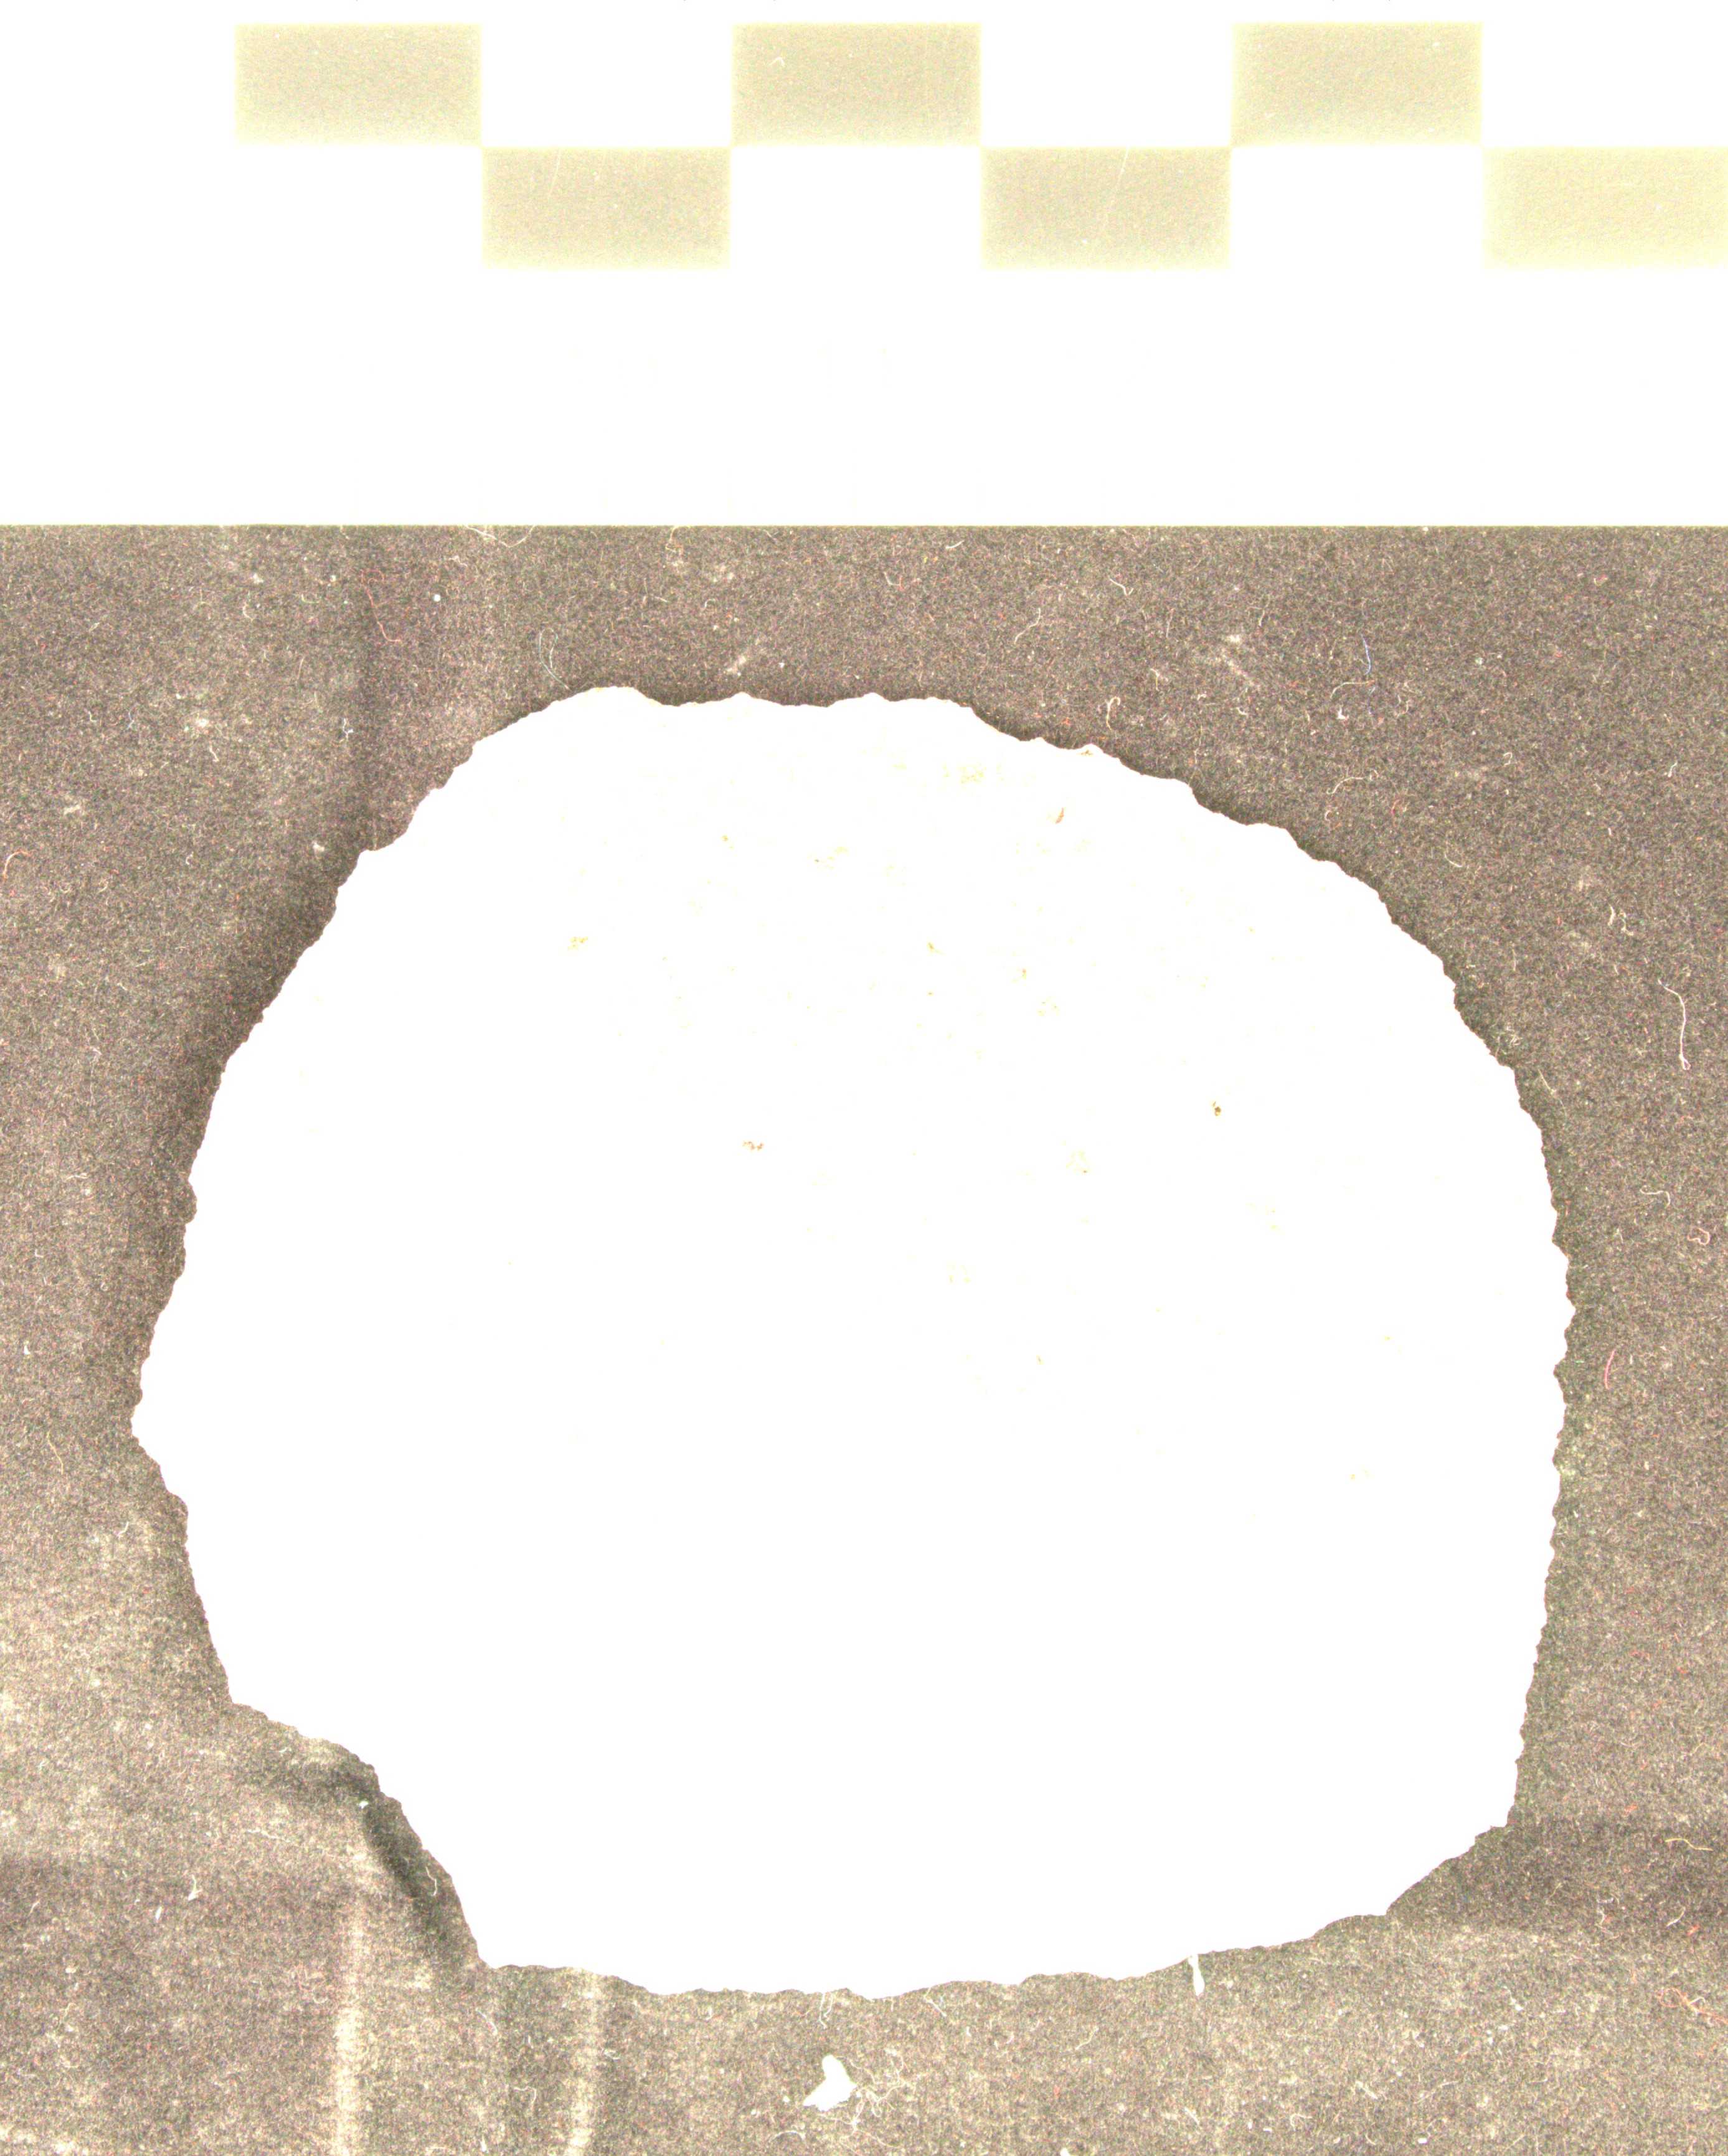
For automatic background removal: Select > Subject
Most times the subject will be appropriately selected and isolated. If, however, the selection area is incorrect (with extra or missing portions), the Lasso tool can be used to add or remove areas.
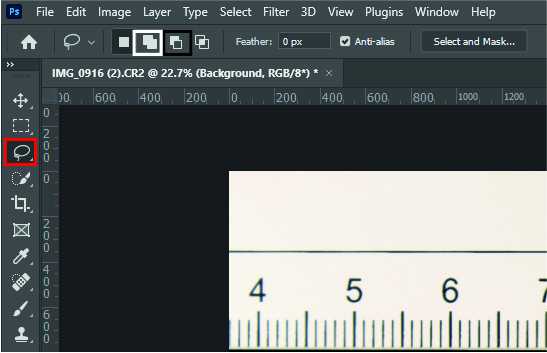
Double check that edges of selection areas are consistent with the original edges of the object or artefact.
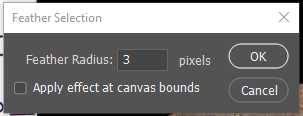
Once the object has been selected properly, you can enhance the edges so to have a cleaner looking product. This is done with the feathering function, as it will create a transparency gradient and create a less "abrupt" edge.
To do so, right click on the isolated subject and select Feather... > select a feathering radius of maximum 3 pixels. Then click OK .
Detailing and Composition
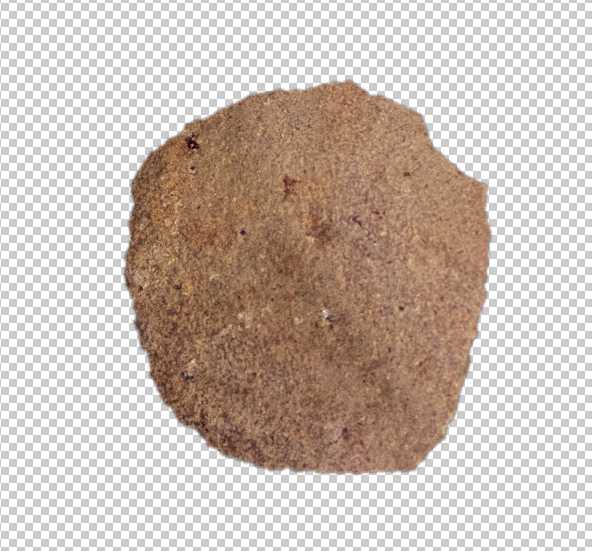
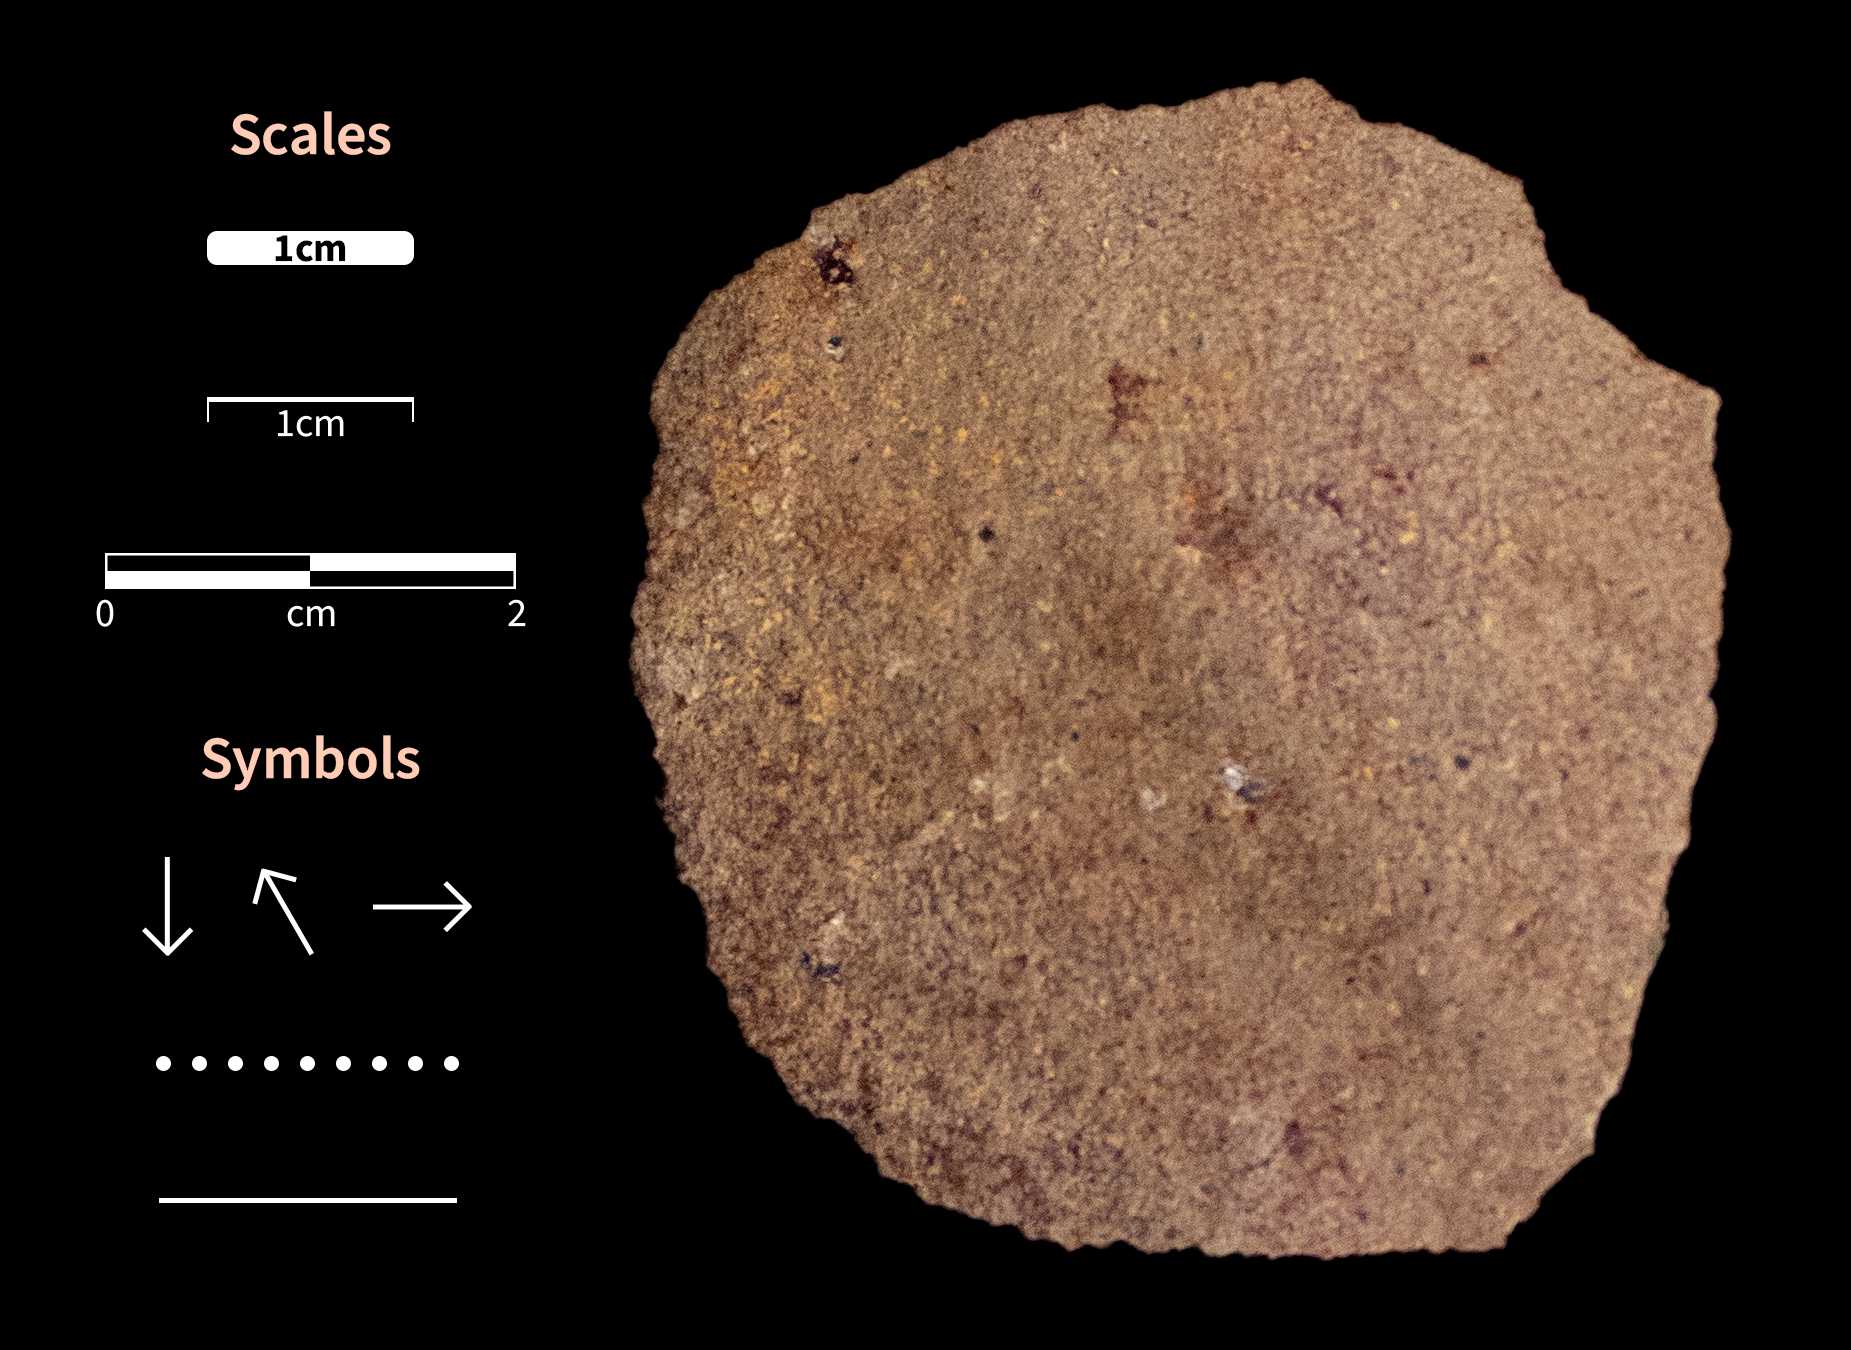
To include a background, create a new "layer", and draw the background using the Rectangle Tool . Keeping in mind Step 3 , select the best suited colour as a background.
To add a scale activate the "layer" of original photograph. Use the Rectangle Tool or Line Tool to trace the original photographed scale to the desired length, hence creating a new object which will be the final scale of choice.
Using the Rectangle Tool , Line Tool , Elipse Tool , Pen Tool , or any other preferred tool, add any symbols of choice (e.g. dotted line for wear, arrow for percussion point)
Repeat Steps 22-25 for any other subject of choice.
Once all the items of choice are included in a single canvas, position them in their final position and add connectors if you wish (using the Line Tool or Rectangle Tool ).
Exporting
On Adobe® Photoshop® a variety of export formats can be selected. The most common are:
-
.TIF/TIFF (File > Save as… > Save as type: > TIFF)
-
.JPG (File > Export > Export as… > Save as type: > JPEG)
-
.PNG (File > Export > Export as… > Save as type: > PNG)
Final detailing includes the selection of a background, the addition of a scale and other symbols, and the addition of any other subjects to create a final figure or composition.

