Preparation of Polymeric Implants for the Sustained Release of Polychlorinated Biphenyls (PCBs) and Their Derivatives
Hansjoachim Lehmler, Amanda Bullert, Hui Wang
Abstract
Polymeric implants are a drug delivery system that can be grafted under the skin to allow for the continuous release of a particular substance or compound, such as polychlorinated biphenyls (PCBs) or their derivatives. In this protocol, we describe the preparation of polymeric polycaprolactone implants loaded with a hydroxylated polychlorinated biphenyl (PCB) metabolite or a related compound (i.e., biphenyl-4-ol). These implants can be grafted subcutaneously in rats to release the test compound continuously.
Before start
Always wear proper Personal Protective Equipment and work in a fume hood when working with dichloromethane or PCBs.
Steps
1. Formulation of polymeric implant
Working in a hood, add 7 g of P-80 and 0.7 g of F127 in 20 mL of dichloromethane in a 125 mL glass beaker.
Add the test compound (i.e., biphenyl-4-ol or a hydroxylated PCB metabolite) to the P-80/F127 mixture in dichloromethane.
Note: The amount of the test compound can be based on the percent of the total weight of the polymer (e.g., 1%, 5%, or 10% of the total weight, including the test compound, or 0.08, 0.41, or 0.86 g of the test compound, respectively). Alternatively, proceed directly to Step 3 to prepare the control implants with 0 % of the test compound.
Cover the solution to prevent the dichloromethane from evaporation
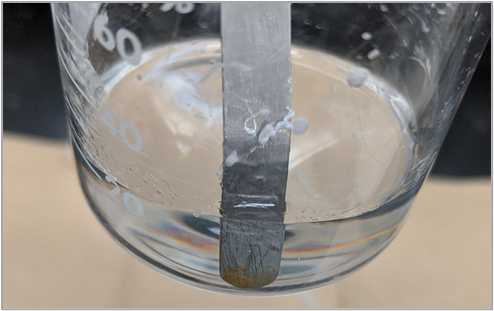
Allow about 45 minutes to dissolve the polymer, resulting in a clear solution (Figure 1).
Note: Add more dichloromethane if the solvent no longer covers the polymer pellets. The polymer dissolves faster if it forms an even layer in the beaker.
After 45 minutes, uncover and gently stir the polymer solution with a glass stir rod until the mixture is smooth and of a viscous consistency (this will be different depending on the amount of solvent added).
Place the beaker in an oil bath at 70 °C to evaporate the solvent by stirring occasionally. Stirring will help the solvent evaporate faster and more evenly.
Note: An oil bath is used to prevent water condensation from getting into the solution.
2. Extrusion of the polymeric implants
Load the pliable polymer mixture with the desired amount of the test compound (or not test compound for the control implants) into a 5 mL disposable plastic syringe.
Attach silicone tubing with the desired internal diameter to the syringe. The diameter of the silicone tubing will determine the final diameter of the implants.
Place the syringe with the attached silicone tubing in an oven at 70°C for several minutes until the solution is clear.
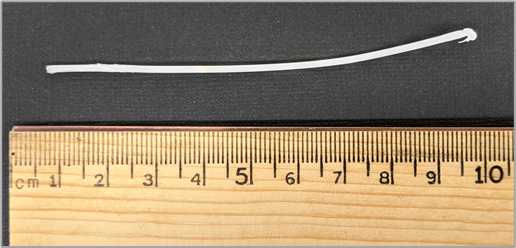
Force the polymer mixture into the silicone tubing until approximately 7 to 8 cm of the tubing is evenly filled with the polymer mixture.
Note: The polymer mixture is very viscous, so there will be resistance when extruding into silicone tubing. Place the syringe back in the oven as necessary.
Let the extruded polymer mixture set for 24 h at room temperature.
Once the polymer has hardened, remove the mold by making a small incision along the silicone tubing.
Let molded polymer sit out overnight in a fume hood to remove any residual dichloromethane.
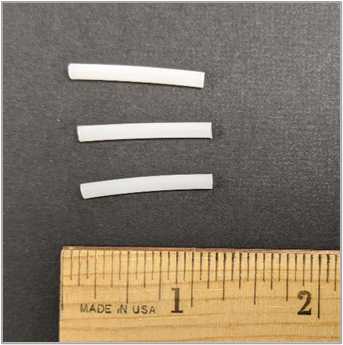
Cut implants to the desired length (e.g., 2 cm)
Weigh and measure each implant individually (Figure 3). The average diameter of implant is 2.3 ± 0.1 mm
Store implants in labeled amber glass vials at -80°C until use.


