Mouse handling to reduce stress and reactivity

Michael Marcotte, Ashley Bernado, Nathaniel Linga, Carmina A. Pérez-Romero, Srija Das, Jean-Louis Guillou, Etienne Sibille, Thomas Prevot

Published: 2024-07-22 DOI: 10.17504/protocols.io.261ge55yog47/v1

Abstract

This protocol provides a description of a mouse-handling technique which intends to minimize the stress experienced by animals when interacting with handlers. This technique focuses on habituating mice to their handlers and is performed over a 3 day period. The expected results from the use of this protocol includes reducing stress, anxiety and over-reactivity in mice, which can impact experimental results, as well as promoting animal welfare.

Before start

Identify a room to perform the handling. (housing room or separate room)

  • If handling in a separate room, allow the animals to habituate to the new room for 20-30 mins prior to initiation of the handling protocol

  • For group housed-animals, use a temporary cage to house mice after the handling session, before regrouping them all in their initial home cage. (This reduces potential fights between animals prior to handling, particularly males). Work on a counter (preferably a cleared countertop) or in a biosafety cabinet, with the housing cage away from the animal being handled.

  • Working in a biosafety cabinet limits the risk of mice jumping on the floor, and can be required in certain facilities. This technique can be used in a biosafety cabinet, making sure to always perform all steps inside the biosafety cabinet, and avoiding mice walking on handler forearms.

  • If working on a counter, working in a corner or against a wall will limit the risk of mice jumping over the counter and falling on the floor.

Attachments

Steps

DAY 1: 5 minutes per mice

1.

Gently open the cage and place the lid on the side, remove nesting materials, and other enrichment such as running wheels or shelters.

2.

Introduce a gloved open hand to the home cage, slowly placing the hand along one side of the cage wall.

Do not immediately try to pick up the mouse.

Remain immobile and allow the animal to habituate to the presence of the hand in the cage for about 30s.

Hand in cage.
Hand in cage.
3.

Attempt to pick up the mouse in the palm of the hand (i.e. avoid picking up the animal by its tail)

Note
If the mouse is not easily picked up after 3 attempts, guide the mouse to a corner and cup with both hands.

Note
Gently move the cupped hands towards the mouse to try to pick it up.

Note
If unsuccessful after a maximum of 3 attempts with both hands, pick up the mouse gently by the base of its tail, and transfer it to your forearm or flat hand.

4.

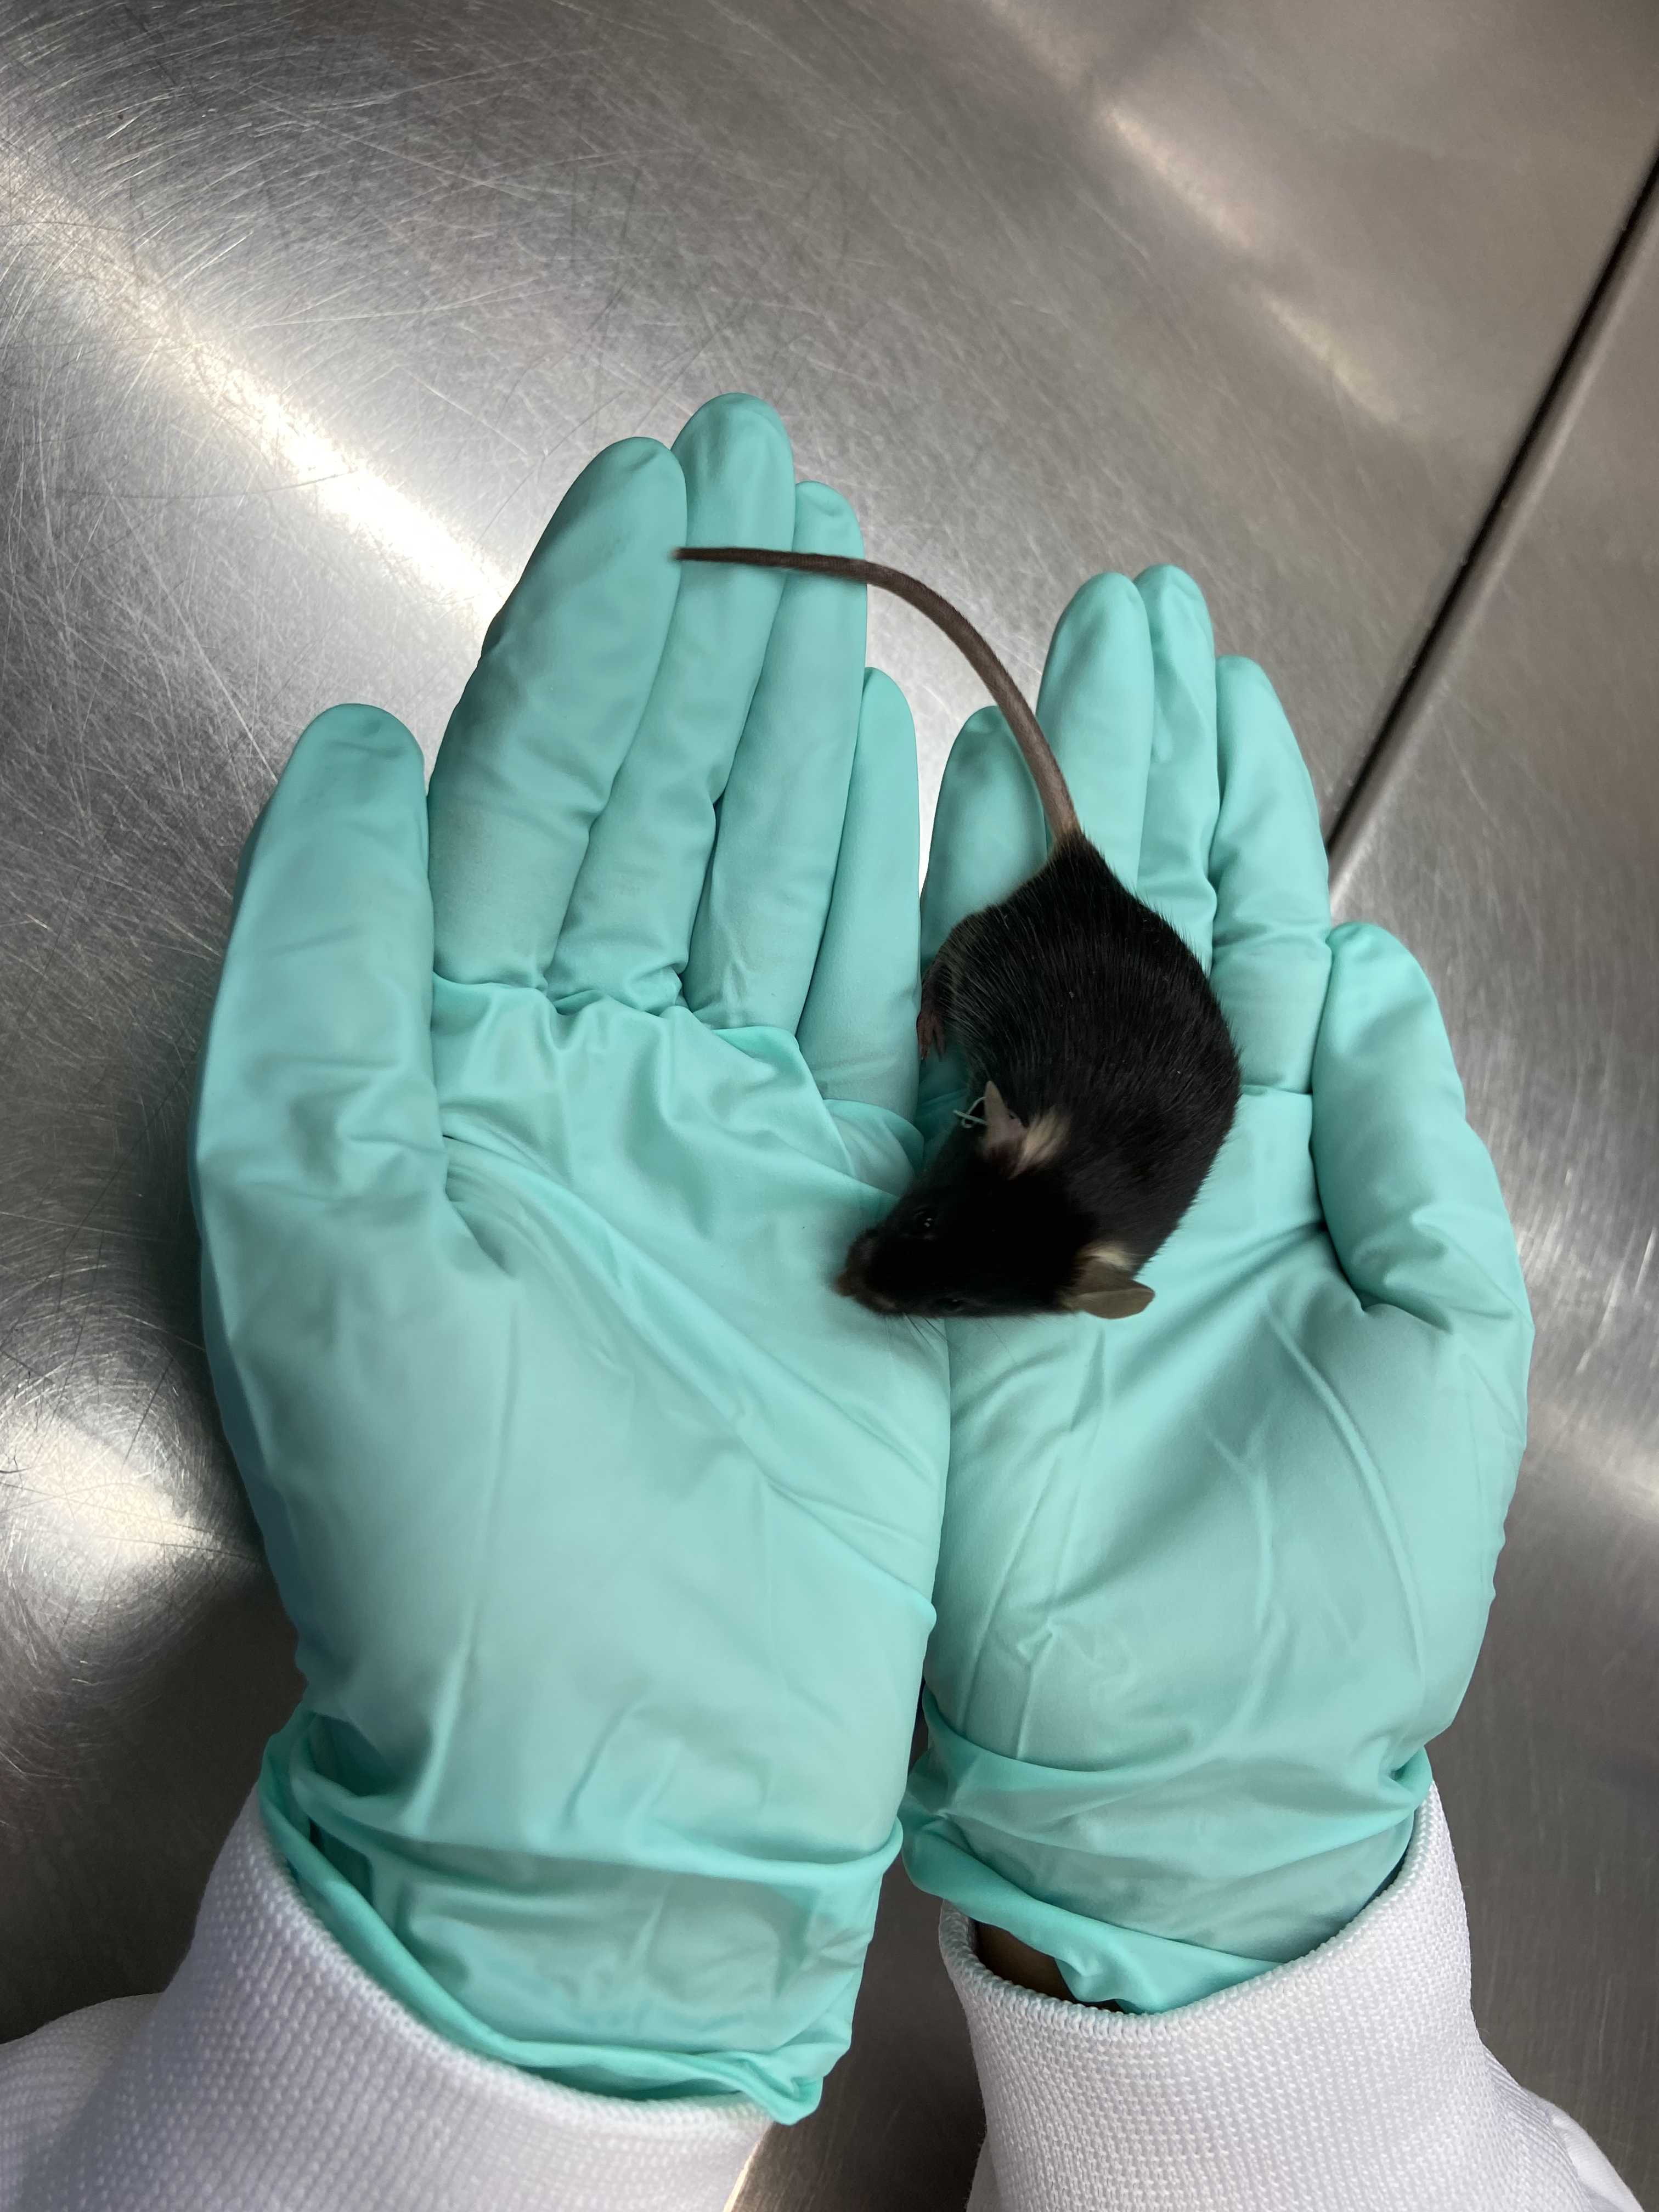
Holding the hand open and flat with palm up, place the other hand adjacent to the hand holding the mouse and allow the mouse to move freely from hand to hand without any restraint

Let the mouse explore and move between hands for 1 min.

Flat hands.
Flat hands.
5.

With the mouse in the hand, keep the hand as flat and open as possible.

Note
This provides a flat platform for the mouse to step onto, and limits the risk of bites.

Note
At this point mice may try to jump away. Position the hands such that if the mouse jumps, it will land on a countertop rather than the floor.

Note
If a mouse looks like it is preparing to jump (moving towards the edge of the hand and rearing on hind legs), slowly place the other hand in front of it and try to guide it into walking onto this hand. Avoid sudden movements as it increases their risk of jumping.

Note
If a mouse does jump, attempt to pick it up avoiding tail handling and resume the handling session. If the mouse stays on the floor or out of the hands for more than 10 s, add additional time to the handling session to make up for any time the mouse was out of the hands.

Note
Take notes of the jump. Total number of jumps can be used to assess potential variability between animals.

6.

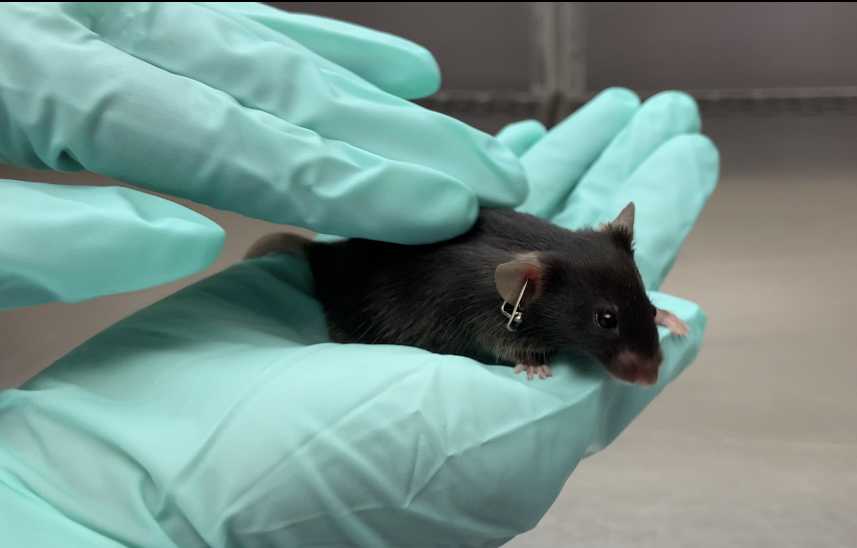
After 1 min of handling with flat hands, relax the palm of the hand, and slightly cup the mouse in the hand, prior to gently rolling the mouse between hands.
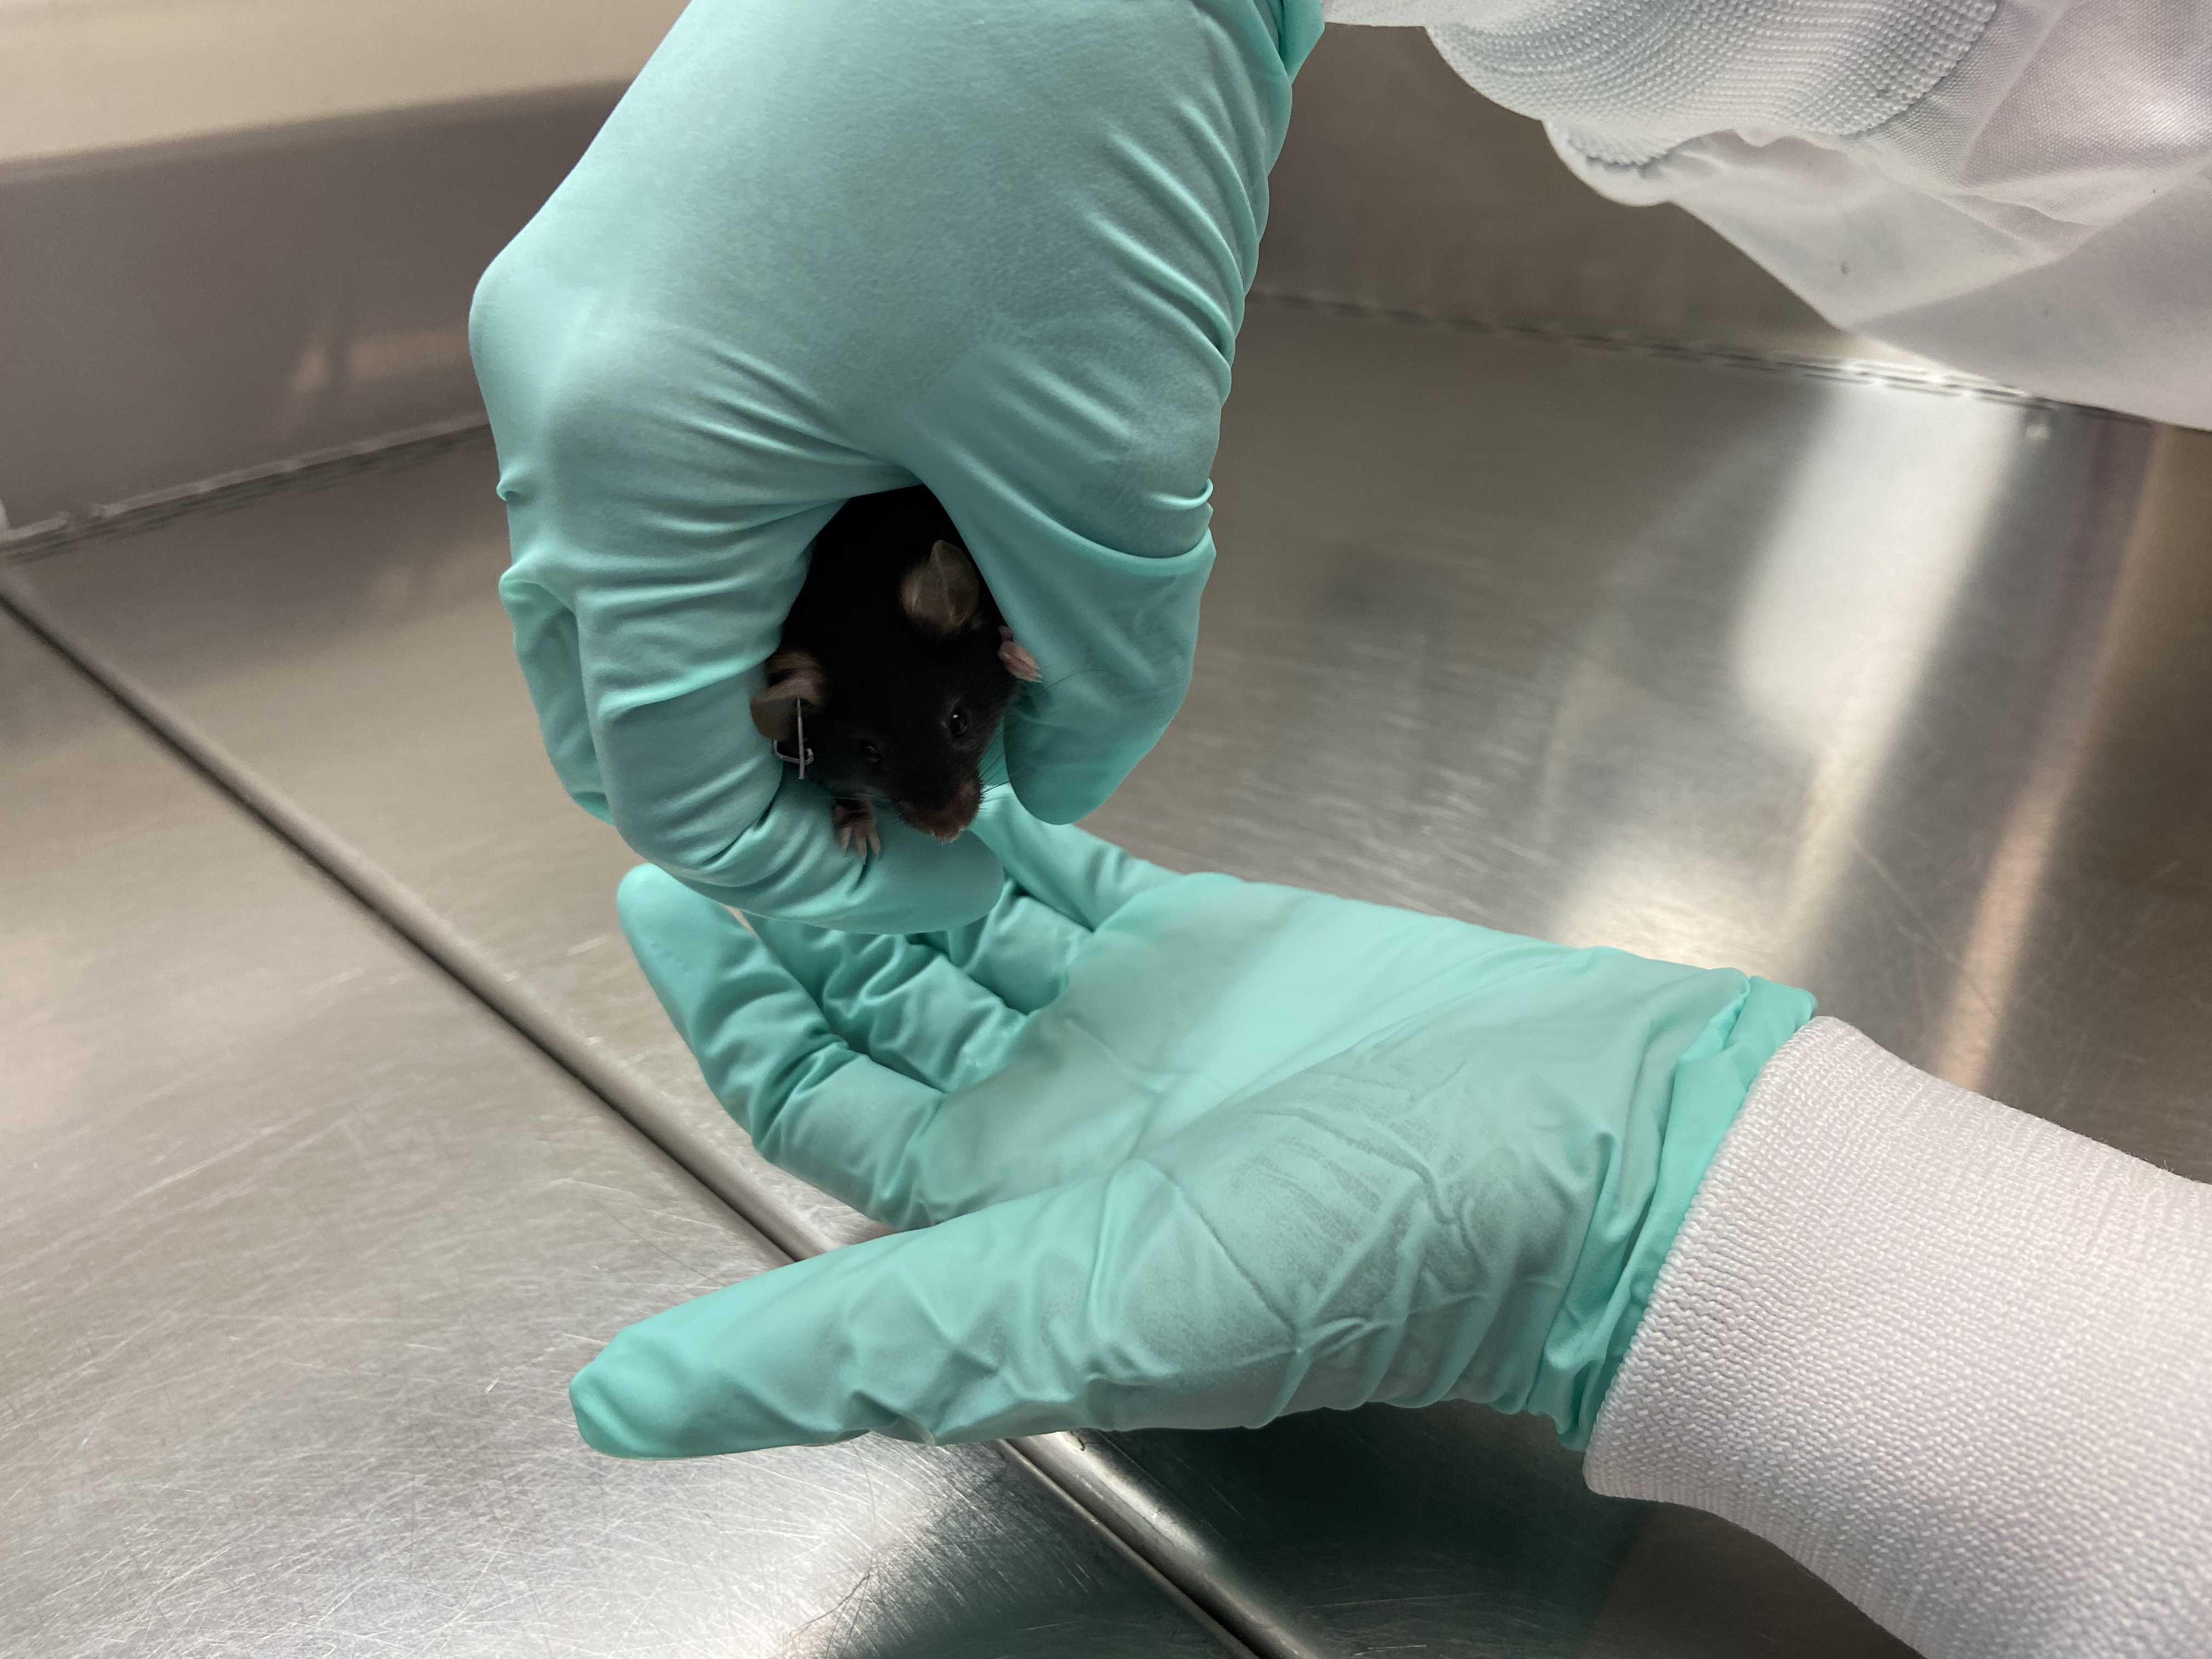
Roll
Roll

Note
1.) To "roll", position the mouse in the palm of the hand, on a flat hand, perpendicular to fingers.2.) Slowly close the hand, placing the fingers on the back of the mouse.3.) Place the free hand directly under the hand holding the mouse.4.) Slowly turn/rotate the hand with the mouse to gently transfer the mouse to the other hand (180° flip).5.) Repeat this back and forth between hands.

7.

Alternate from gentle rolling between hands and free exploration on open hands for 60s, alternating between techniques about every 20s.

8.

Perform a "shelter test" by forming a shelter with both hands.
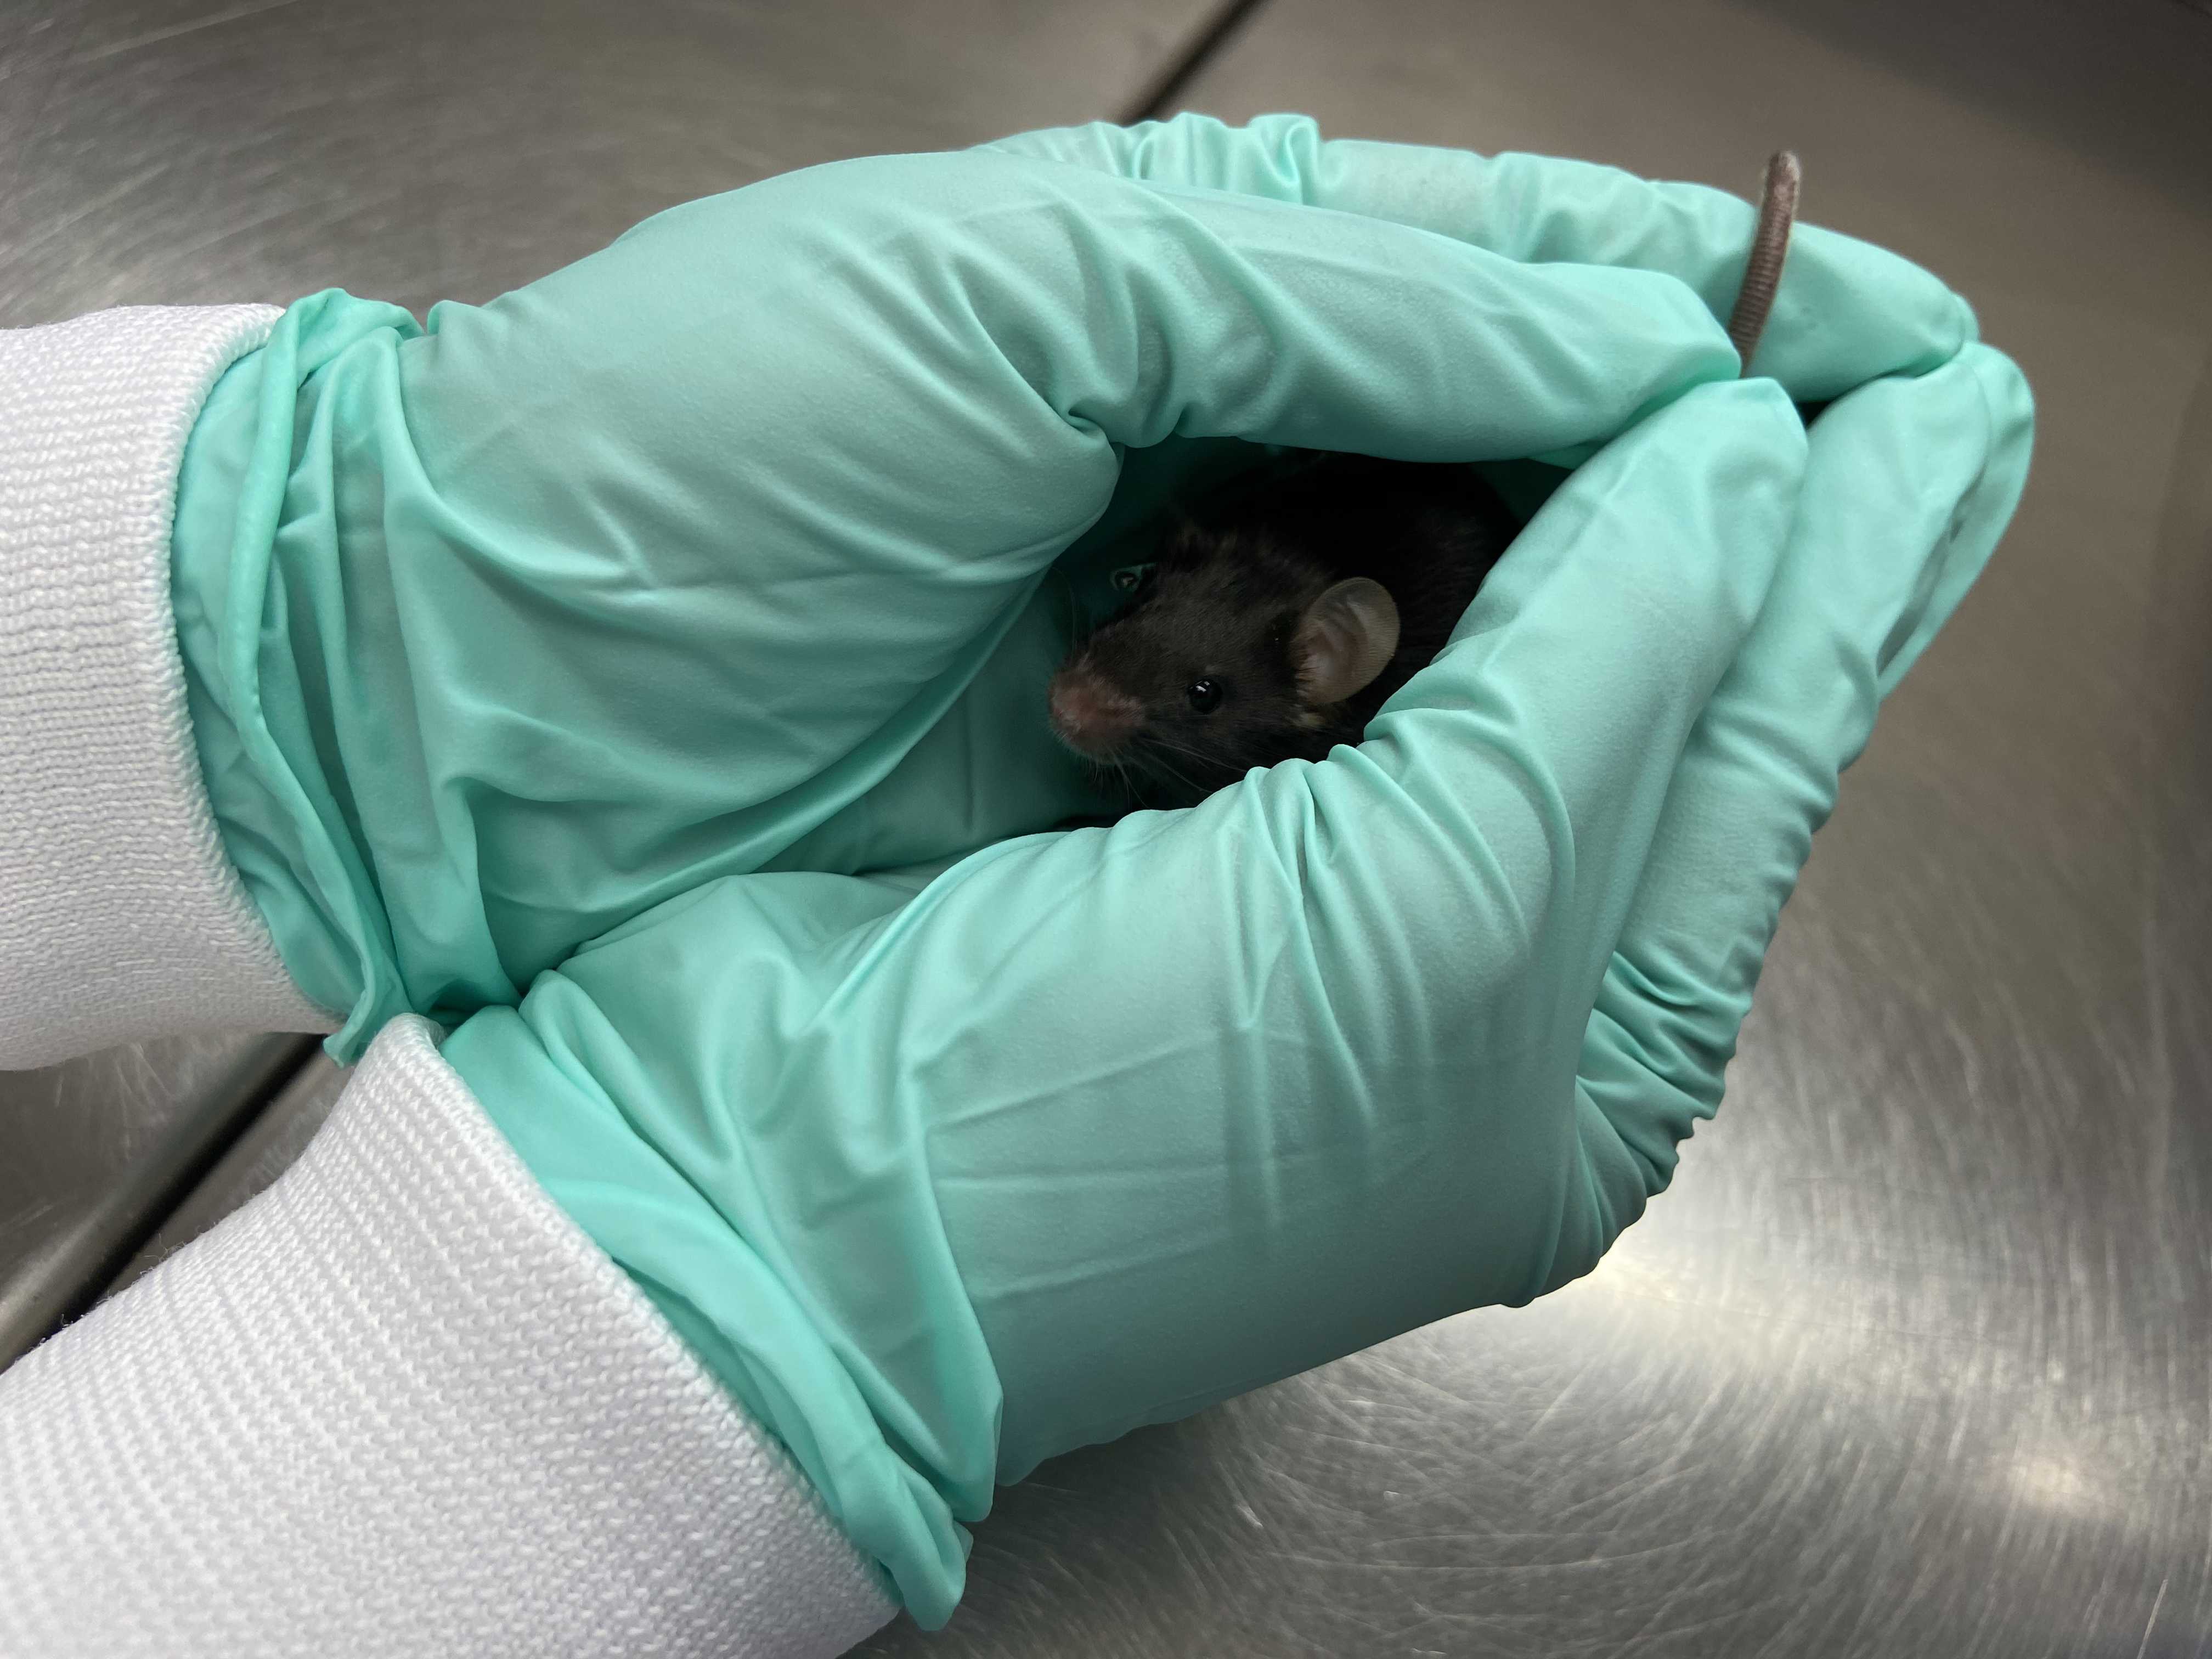
Shelter
Shelter

Note
1.) Let the mouse move to the edge of the hand then bring the 2 hands together.2.) Very slowly, cup them so the mouse fits inside a "shelter" formed by the hands. Leave an opening so the mouse can escape if needed.3.) Aim to keep the mouse in the shelter for 5-10 s, without any restraint.4.) Alternate between the shelter test, roll between hands and free exploration of open hands for another 60 s, being sure to perform the shelter step 3 or more times.5.) If the mouse appears stressed (i.e., tentative to escape, jumps from the hands, avoiding contact with hands etc.) by being confined inside the hands, continue with rolling between hands and free exploration for 20 s, and then retry.

9.

Milestone: Perform at least 1 successful shelter test of 10s for completion of Day 1.

Note
Consider a shelter test successful when the mouse stays in the hands. If the mouse pops its head out and returns to the shelter, it is still a successful test. If the animal entirely exits from the shelter, it is a failure.

10.

Allow free exploration in hands for 30s.

11.

Gently replace the mouse in its cage. If group housed, place the mouse in the temporary cage until all cage mates are handled. Return the mice to their original cage by picking them up in the palm of the hand. Do not use a tail pick up.

12.

Clean the bench top of potential feces and urine with 70% ethanol.

13.

Rinse gloves thoroughly with 70% ethanol (or appropriate cleaning solution) or change gloves prior to handling the next mouse (it is possible to keep the same gloves for cage mates).

Note
It is recommended to perform the handling with a reasonable number of animals to avoid fatigue from the handler. Handling 24 mice takes around 2 h and it is recommended to not exceed 24 mice per handler. If more animals need to be handled, it is recommended either to have multiple handlers, or to split the handling procedures into subgroups, over multiple days.

DAY 2: 3 to 5 minutes per mouse

14.

Attempt to pick up the mouse in the palm of the hand. At this stage, it should be already feasible and mice should not jump out of the hand.

15.

Start with palm open as on Day 1, allowing the mouse to explore freely for 20s.

16.

Then, roll the mouse between hands a few times (4-5 times).

17.

Perform the "shelter test" for 5s.

18.

Repeat the shelter test several times (~5-6) over a 2 to 3 min period.

During the same 2 to 3 min period, alternate with the roll between hands and free exploration of open hands step from day 1.

18.1.

Touch the mouse on its head and back, 5-6 times. A sign of habituation is when the mouse

lets you touch it without attempting to escape.

Back Petting
Back Petting
18.2.

Perform a "Nose poke": Try to touch the snout of the mouse, 2 to 3 times

If the mouse attempts to bite or shows obvious signs of stress at being touched, do not immediately attempt the nose poke again. Instead, alternate with flat hand exploration and roll. "Habituation" is reflected by the animal not running away or turning its head in cases of human contact.
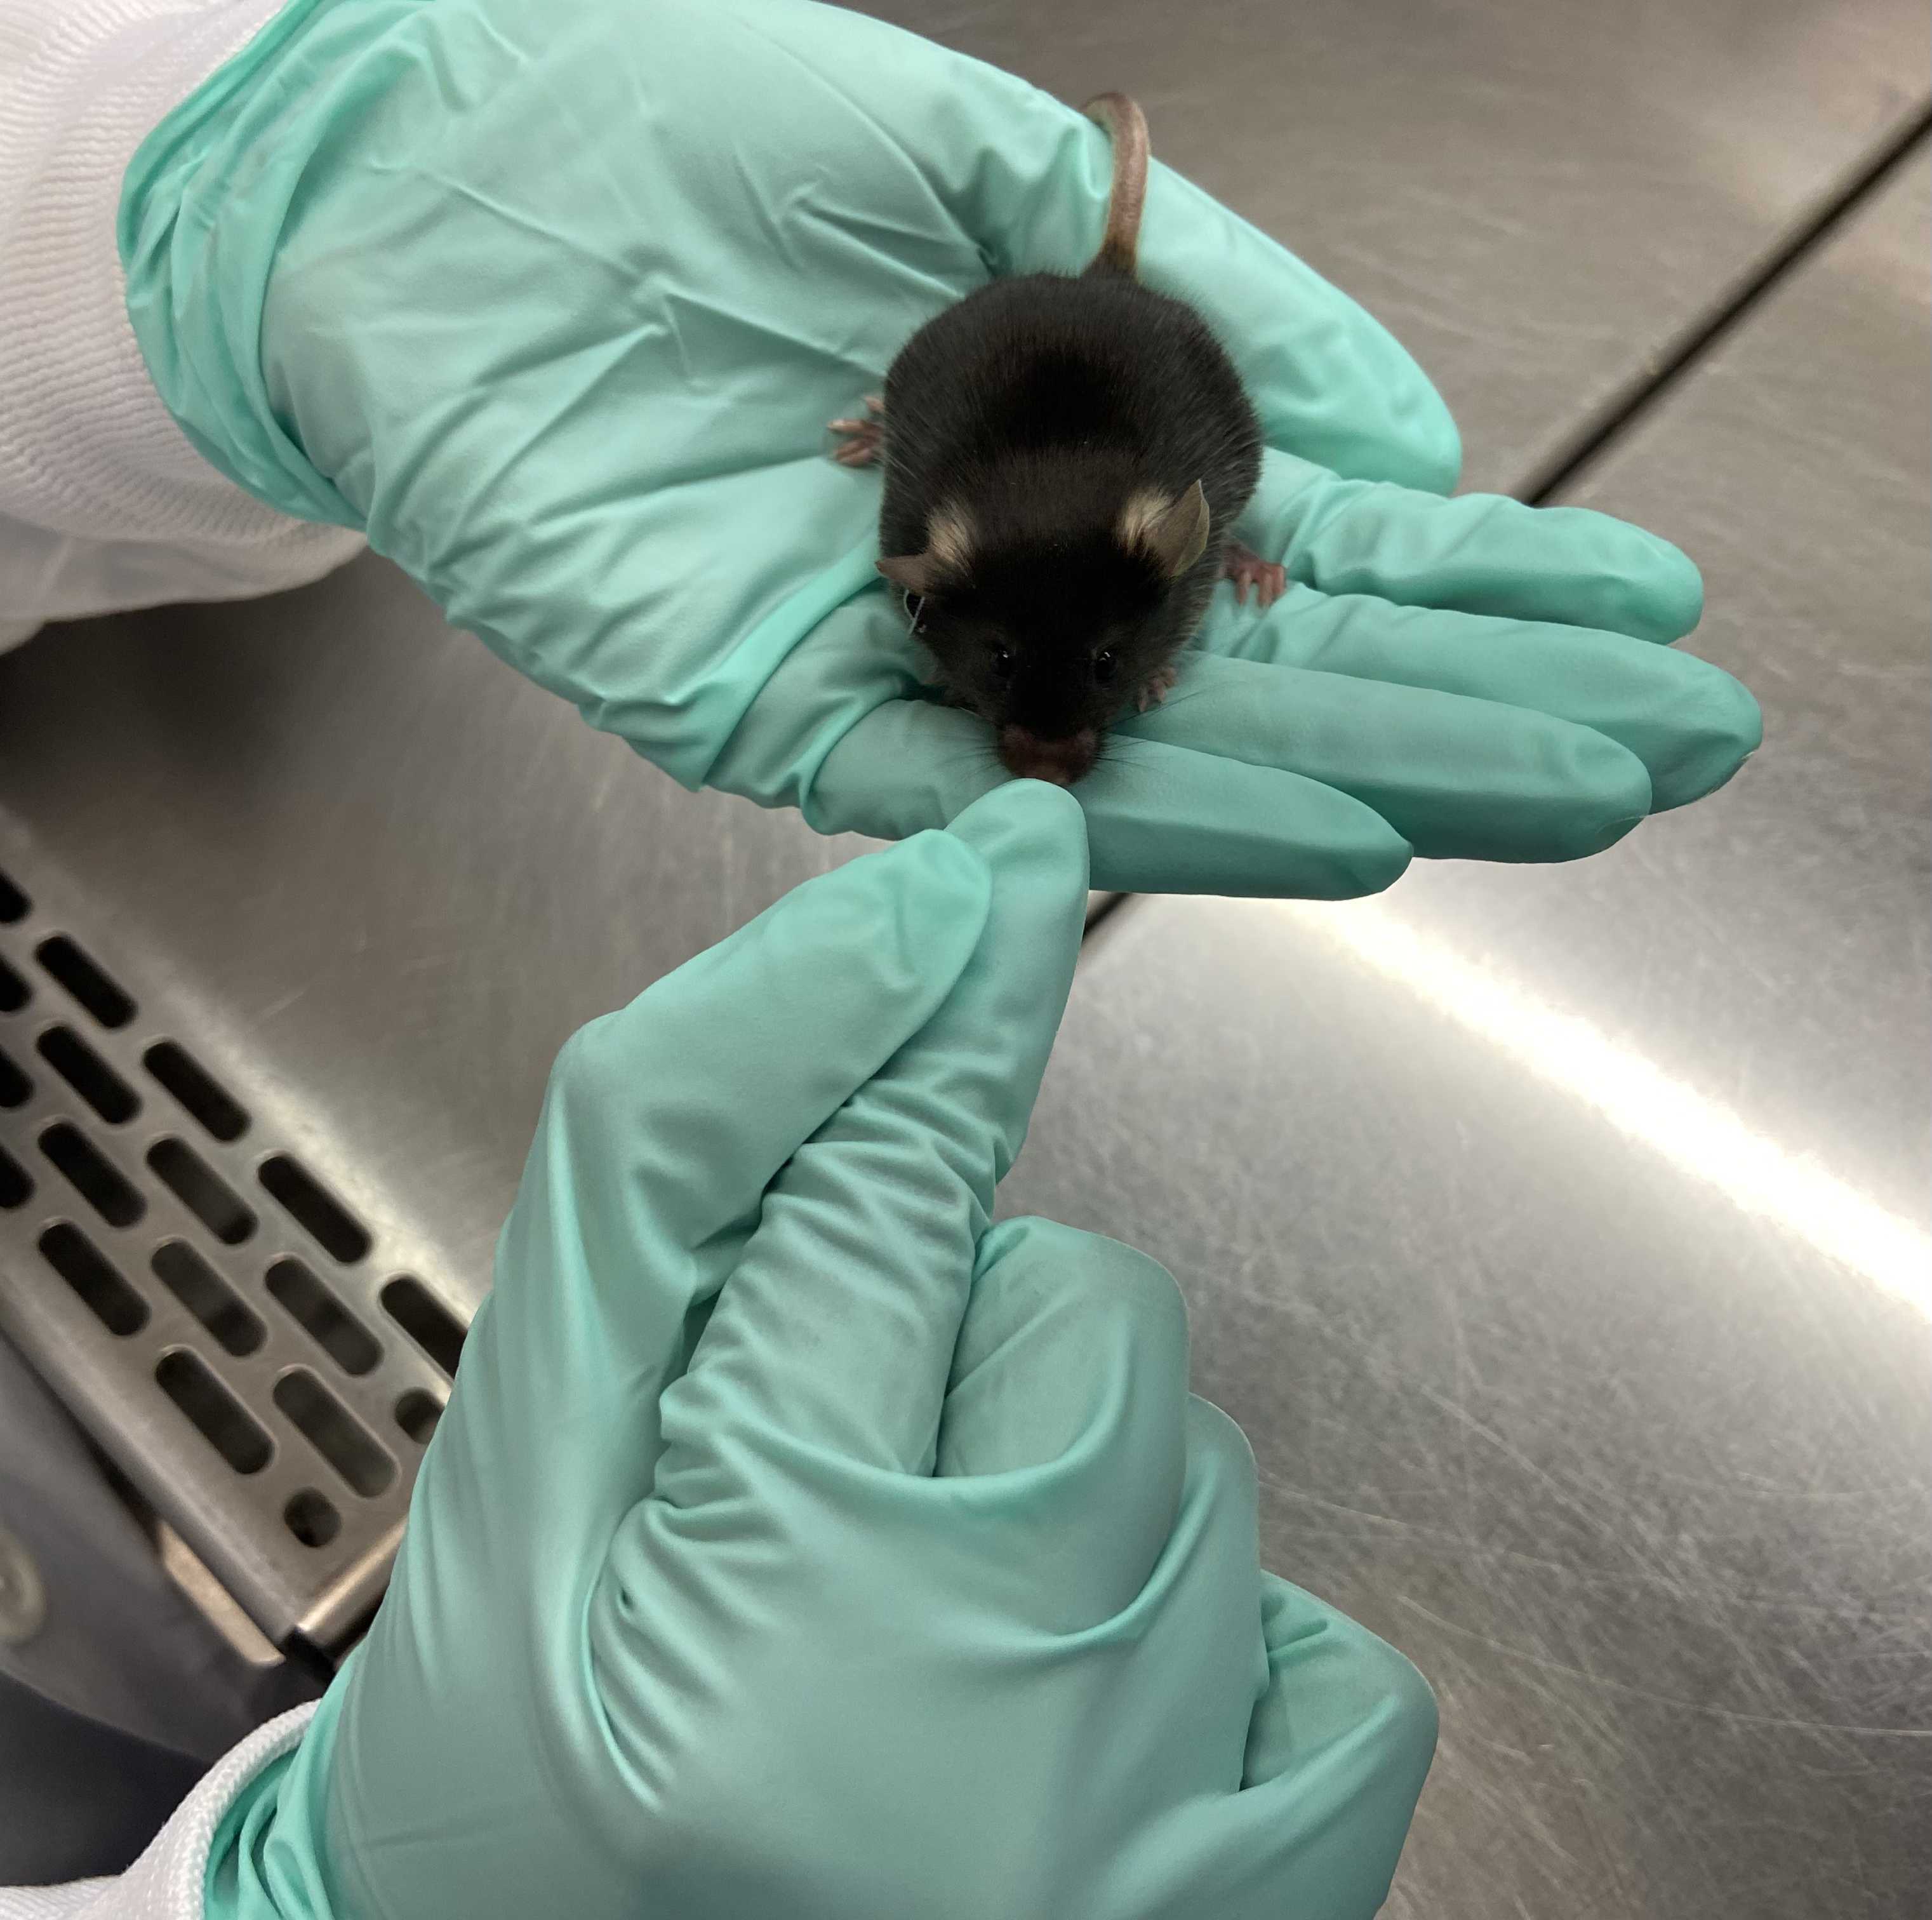
Nose Poke
Nose Poke
19.

Milestones: Perform at least 1 successful nose poke for 2-3 s for completion of Day 2.

Note
In all procedures described, do not rush the process. If the mouse appears stressed by beingconfined inside the hands or does not want to be touched, continue with rolling between hands for 20-30 s and then retry.

Note
Stop this session after about 3 min of handling if the animal reacts well to the "shelter", "head petting", "nose poke", and if the mouse appears to be willing to explore the hands without signs of stress.

Note
If the mouse continues to exhibit signs of stress or is not reacting well to the "shelter test" or "nose poke" test, continue the session until reaching 5 min as in Day 1.

20.

Replace the mouse in its cage, clean the bench top and gloves as in Day 1.

DAY 3: Around 3 minutes per mouse

21.

On the third day, proceed through the same steps as in Day 2, for 2 to 3 min.

Note
1.) Pick up the mouse in the palm of the hand.2.) Transfer and roll the mouse between hands3.) Perform a shelter test.4.) Try to pet the mouse on the back and head.

22.

Alternate between these steps over approximately 1 to 2 min.

23.

Continue the procedure until the mouse is relaxed enough to sit in the palm of the hand without attempting to escape.

24.

Before the end of Day 3, repeat the shelter test and nose poke test as a test of habituation.

Note
If both tests can be completed on their first attempt, the habituation process is complete. Continue gently handling the mouse for 30s to a minute.

Note
If the mouse is initially resistant to either test, repeat steps 25-26 for 20-30s before reattempting the nose poke and shelter test.

Note
If the mouse remains resistant to these tests after 3 min, the third day may be repeated.

25.

Continue gently handling the mouse for 30s to a minute.

26.

Milestones: Perform at least 2 successful shelter tests of 10 s each, and 2 successful nose poke test for completion of Day 3, and completion of the entire 3D handling procedure.

27.

Return the mouse to its cage, clean the bench top and gloves.

Optional approach for animals to be subjected to restraint for injection or gavage

28.

Grasp the nape of the neck between the thumb and forefinger.

Note
On Day 3, if the animal will be restrained for experimental purposes (oral gavage, intra-peritonealinjection, etc.), the mice can be subjected to the neck pinch test.

Neck Pinch
Neck Pinch
29.

Lift the mouse 3-5 cm above the hand for 2-3 s.

Note
This is normally a non-natural position for adult mice, and if the mice remain near immobile, they are well habituated to handling and will be easy to restrain for experimental purposes.

30.

Place the mouse back on in the flat hand, or if the mouse is reactive to the neck pinch, consider placing it on the experimenter's sleeve, cage lid or countertop

Note
If working in a biosafety cabinet, do not place the mouse on the sleeve or it could walk up and exitthe biosafety cabinet. Prefer placing the mouse on the countertop inside the biosafety cabinet.

31.

Leave the mouse to freely explore the experimenter's hand for 1 min.

Optional approach for additional days of handling

32.

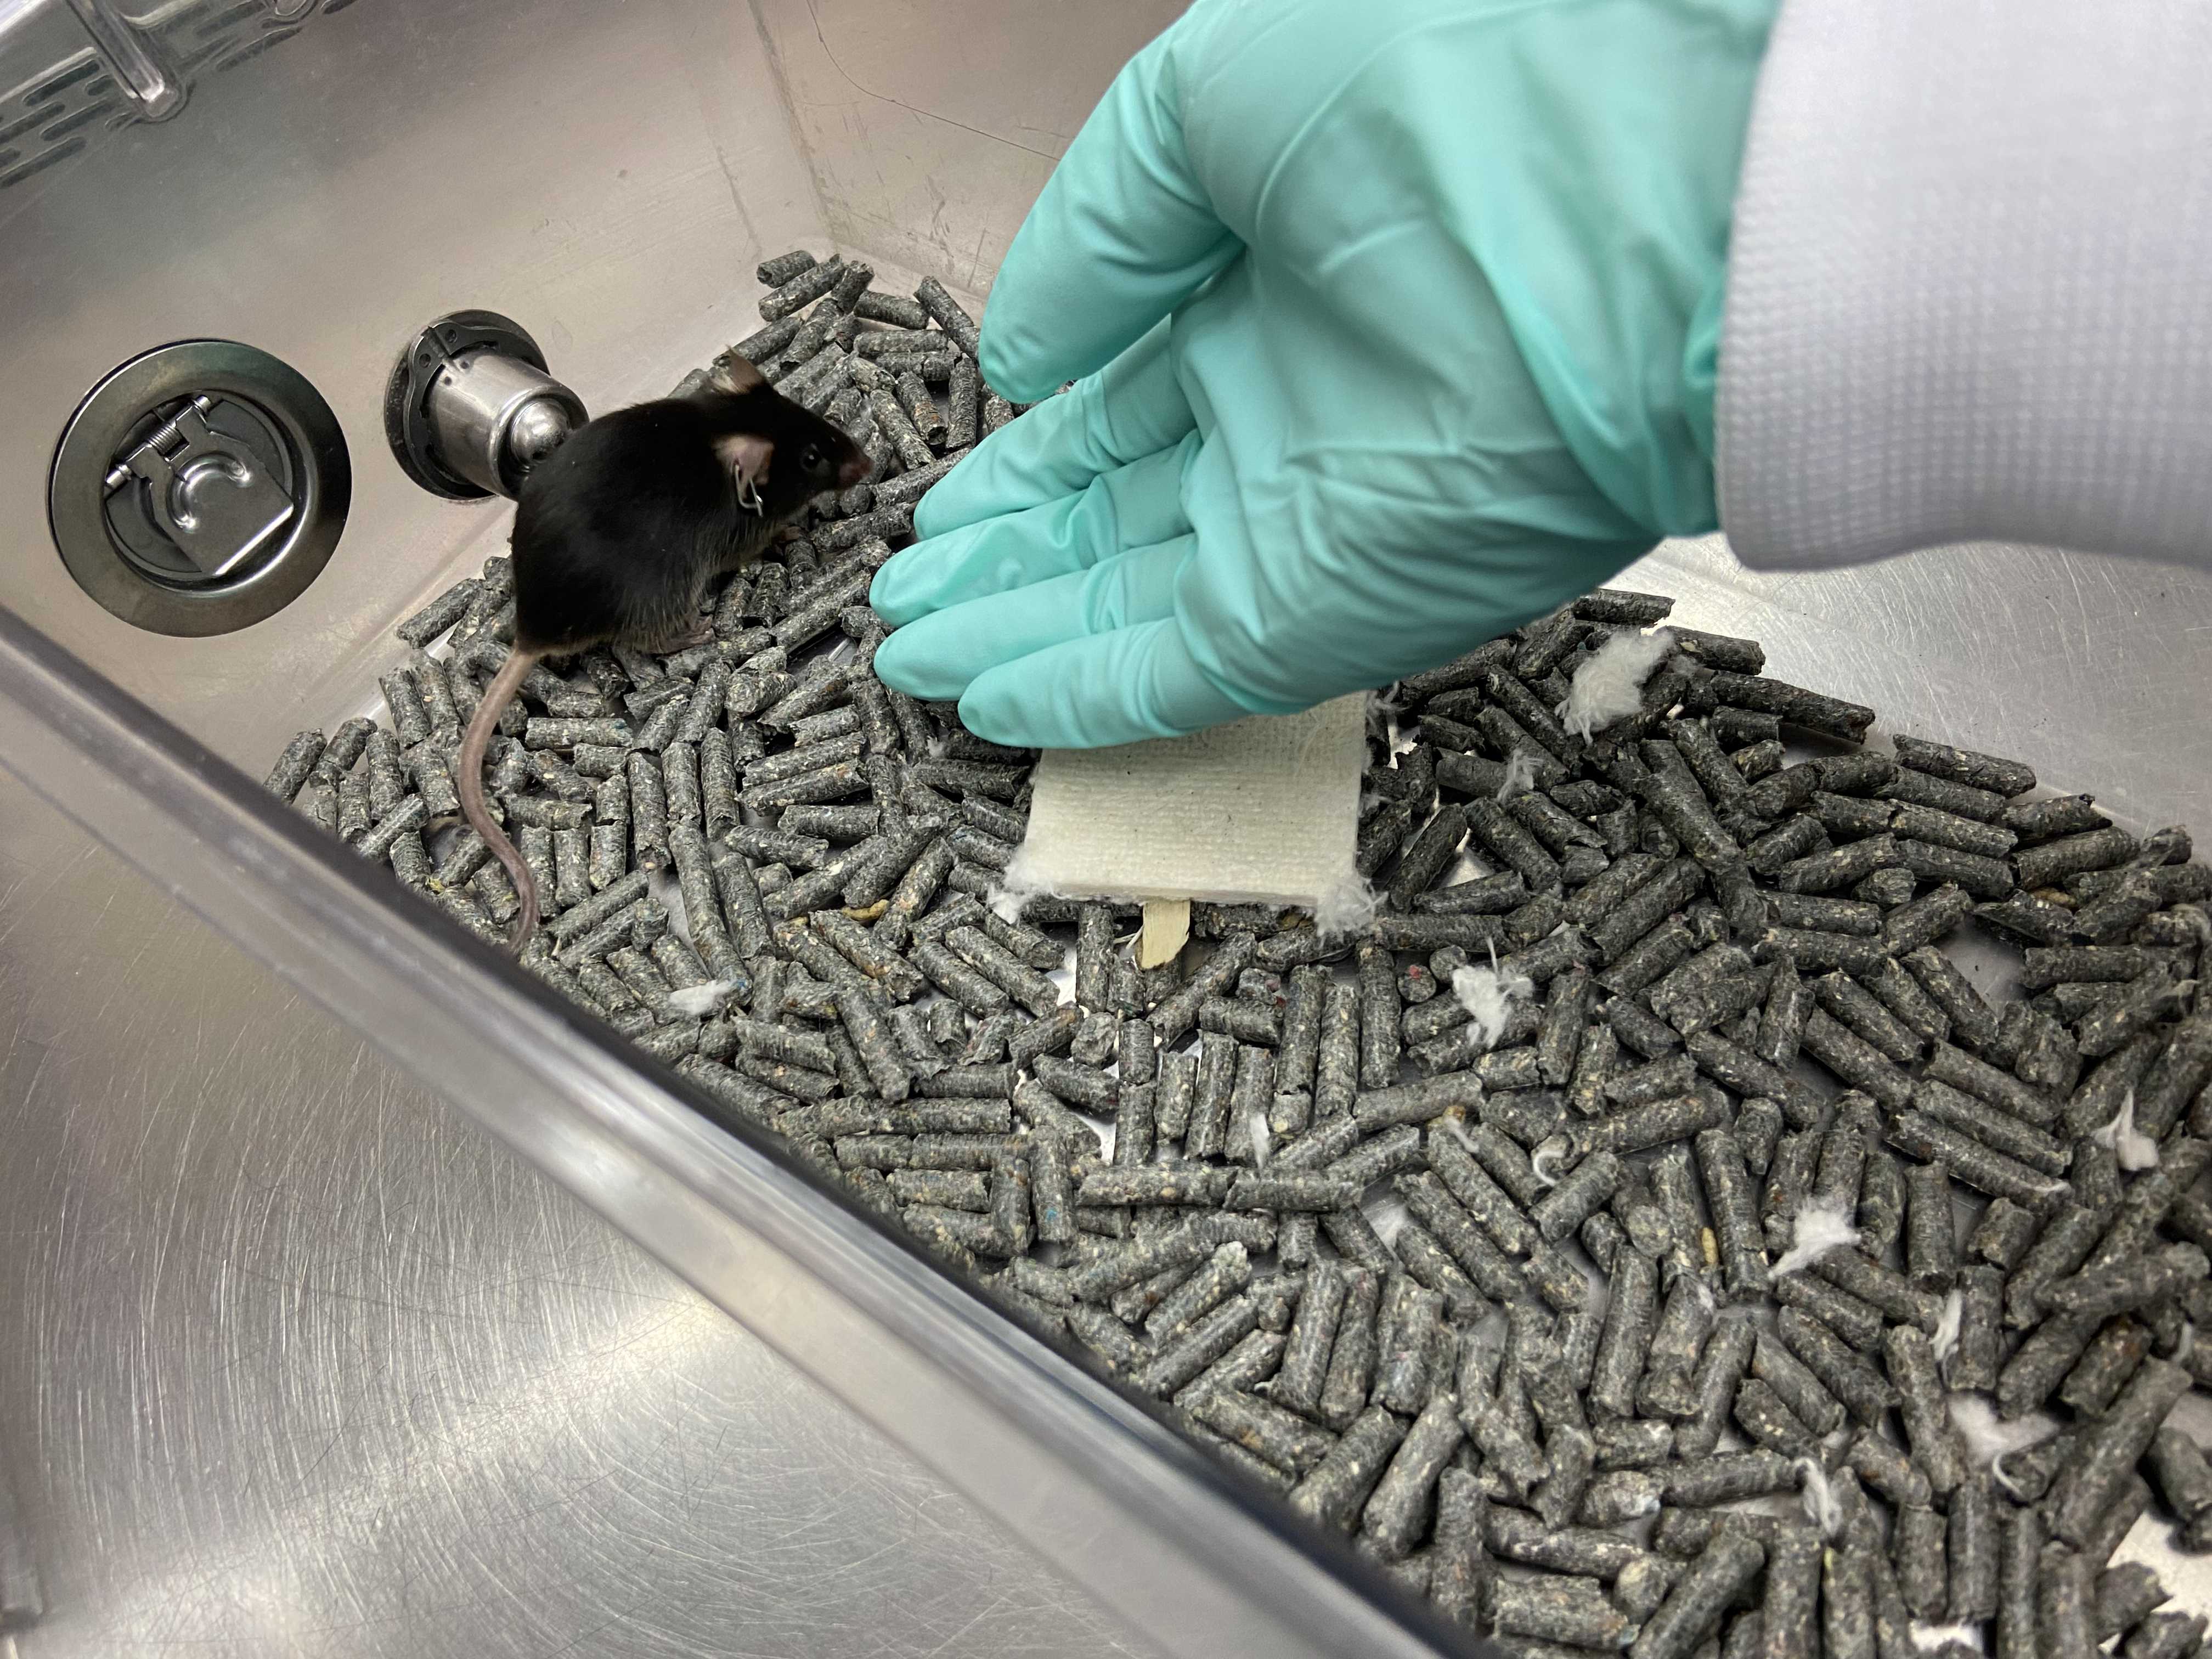
In the eventuality of a highly stressed mouse line, add additional days to decrease the reactivity and stress level of the animals, using the methods described in Day 2/3.

Note
Many factors can affect baseline stress of the animals including strain, presence of transgenic modification, age, sex and housing conditions. If these factors are not consistent between groups such as aged animals being tested against young controls or transgenic animals being tested against wild type controls, it is recommended that the same number of days of habituation are used for each group.

推荐阅读

Nature Protocols
Protocols IO
Current Protocols
扫码咨询