Micropatterning EM grids for cryo-electron tomography of cells
Leeya Engel, Richard Held, Claudia G. Vasquez, William I. Weis, Alexander R. Dunn
EM grid micropatterning
Micropatterning
ECM micropatterning
PRIMO micropatterning
cryo-electron tomography
cryo-ET
Abstract
Micropatterning of electron microscopy (EM) grids facilitates cryo-focused ion beam and cryo-electron tomography pipelines by optimally positioning cells and regions of interest in for milling and imaging (Engel, et al. 2019, Toro-Nahuelpan, et al. 2020, Engel and Vasquez, et al. 2021). Since EM grid micropatterning was introduced, we and other researchers have adopted new reagents for micropatterning EM grids using the Alveole PRIMO system which improve the efficiency of patterning and the stability of grid’s surface chemistry (Swistak et al. 2021, Sibert and Kim, et al. 2021). We have also introduced a sterilization step to make the process compatible with cell culture systems that do not contain antibiotics. Here, we present our protocol for efficient micropatterning of EM grids, which we have successfully used to micropattern grids for neuronal, cardiomyocyte, melanoma, and endothelial cell cultures.
References:
- Engel L, Gaietta G, Dow LP, Swift MF, Pardon G, Volkmann N, Weis WI, Hanein D, Pruitt BL. Extracellular matrix micropatterning technology for whole cell cryogenic electron microscopy studies. J Micromech Microeng. 2019 Nov;29(11):115018. doi: 10.1088/1361-6439/ab419a. Epub 2019 Sep 26. PMID: 32879557.
- Toro-Nahuelpan M, Zagoriy I, Senger F, Blanchoin L, Théry M, Mahamid J. Tailoring cryo-electron microscopy grids by photo-micropatterning for in-cell structural studies. Nat Methods. 2020 Jan;17(1):50-54. doi: 10.1038/s41592-019-0630-5. Epub 2019 Nov 18. PMID: 31740821.
- Engel L, Vasquez CG, Montabana EA, Sow BM, Walkiewicz MP, Weis WI, Dunn AR. Lattice micropatterning for cryo-electron tomography studies of cell-cell contacts. J Struct Biol. 2021 Sep 11;213(4):107791. doi: 10.1016/j.jsb.2021.107791. PMID: 34520869.
- Léa Swistak, Anna Sartori-Rupp, Matthijn Vos, Jost Enninga. Micropatterning of cells on EM grids for efficient cryo-correlative light electron microscopy. Methods in Microbiology , 48, Elsevier, pp.95-110, 2021, doi: 10.1016/bs.mim.2020.11.001.
- Sibert BS, Kim JY, Yang JE, Wright ER. Micropatterning Transmission Electron Microscopy Grids to Direct Cell Positioning within Whole-Cell Cryo-Electron Tomography Workflows. J Vis Exp. 2021 Sep 13;(175). doi: 10.3791/62992. PMID: 34570100.
Steps
Photopatterning
Place each dry grid film-side down on a #1.5 glass coverslip. Place the coverslip containing grids on the stage of a microscope outfitted with the Primo system.
Passivation
Cut out a rectangle (<24 x 60 mm) of silicone sheeting so that it can be mounted on a glass coverslip.
Place grids gold mesh side down (holey Quantifoil or UltrAuFoil thin film-side up) on the silicone.

Line the bottom of a 10 cm plastic petri dish with parafilm.
Place the glass coverslip containing the grids in center of the chamber of a plasma etcher (always do a dry-run first to season the chamber and set the power level). Expose the grids to atmospheric plasma at 30 W for 10-12 sec or 27 W for 12 sec. For silicon dioxide film grids, 15 sec at 30 W has also worked well. Note: always make sure to check that you can see plasma through the window on the chamber.

Remove glass coverslip from vacuum chamber and place it on the parafilm-lined 10 cm dish.
Add liquid PLL to the silicone surface until all the grids are covered. 1-2 mL should be sufficient to form a bubble over the whole coverslip surface that is repelled by the parafilm underneath. Cover the dish and leave it overnight at 4 degrees Celsius.

Rinse at least three times in HEPES or DIW. To rinse, aspirate the liquid with a pipette then gently pipette on fresh solution.
Take an aliquot of PEG-SVA powder out of the -20 C freezer and allow it to reach room temperature before removing the cap. Weigh the PEG-SVA powder and then dissolve it in 0.1M HEPES to create a 100mg/ml solution. As you pipet up and down to mix, the solution will go from opaque to clear.
Aspirate off the remaining rinse solution from the grids, then immediately pipet the PEG-SVA solution onto the grids until they are covered. Leave at room temperature for 1 hr.
Aspirate off the PEG-SVA solution and carefully rinse at least three times in DIW by pipetting on and off.
Gently lift an EM grid off of the silicone with negative-pressure tweezers and remove excess water by blotting vertically on filter paper.
While still holding the grid, set the tweezers down on your work surface so that the grid is film-side up with both sides exposed to the air. Allow the grid to air dry, this should take <5 min.

Prepare a 1:6 PLPP gel solution in pure ethanol in an Eppendorf tube. Pipette up and down to mix well.
Add 3µL of the 1:6 PLPP gel solution to the surface of each grid that is being held by the tweezers.
Allow it to air dry while it is protected from ambient light (e.g., place under a box cover)
Turn on the Primo system and calibrate it using a #1.5 glass coverslip.
Prepare a piece of parafilm with 3 droplets of deionized water per grid. These will be used to rinse the grids after exposure in step 22.
Prepare a 35 mm glass bottom dish with a stencil to create four 4mm wells. Fill each well with 25 µL PBS.
Once the PLPP has dried on the grids, place each grid holey film-side down on a clean #1.5 glass coverslip. Place the coverslip containing the grids (2-3) on the stage of a microscope outfitted with the Primo system.

Locate the grid using the microscope and focus on the holes in the holey film that are closest to the center of the grid. Create a circular region of interest on the grid using the Leonardo software that is 2.5 mm in diameter and centered on the center of the grid. Select the "scan" option to get a preview of the grid.The preview will allow you to align your micropattern to the grid in the next step.
Load your digital pattern into the Leonardo software, and define the array spacing and number of repeats so that the pattern appears well aligned to the grid in the preview. Expose each grid using an exposure 50 mJ/mm2.

Following exposure of all of the grids, remove the glass coverslip from the stage of the microscope, deposit a droplet of water onto each grid to dissolve the photoinitiator, and let it sit until the grid is detached from the glass (after ~1 min the grid should move when contacted by tweezers or the coverslip is tilted). Pick up the grid with tweezers and dip it in droplets of water on Parafilm three times to rinse off the photoinitiator, then place it carbon face up into a droplet of PBS contained in a well (prepared in step 18). Tip: insert grid into droplet at a 45 degree angle.
Cell Culture
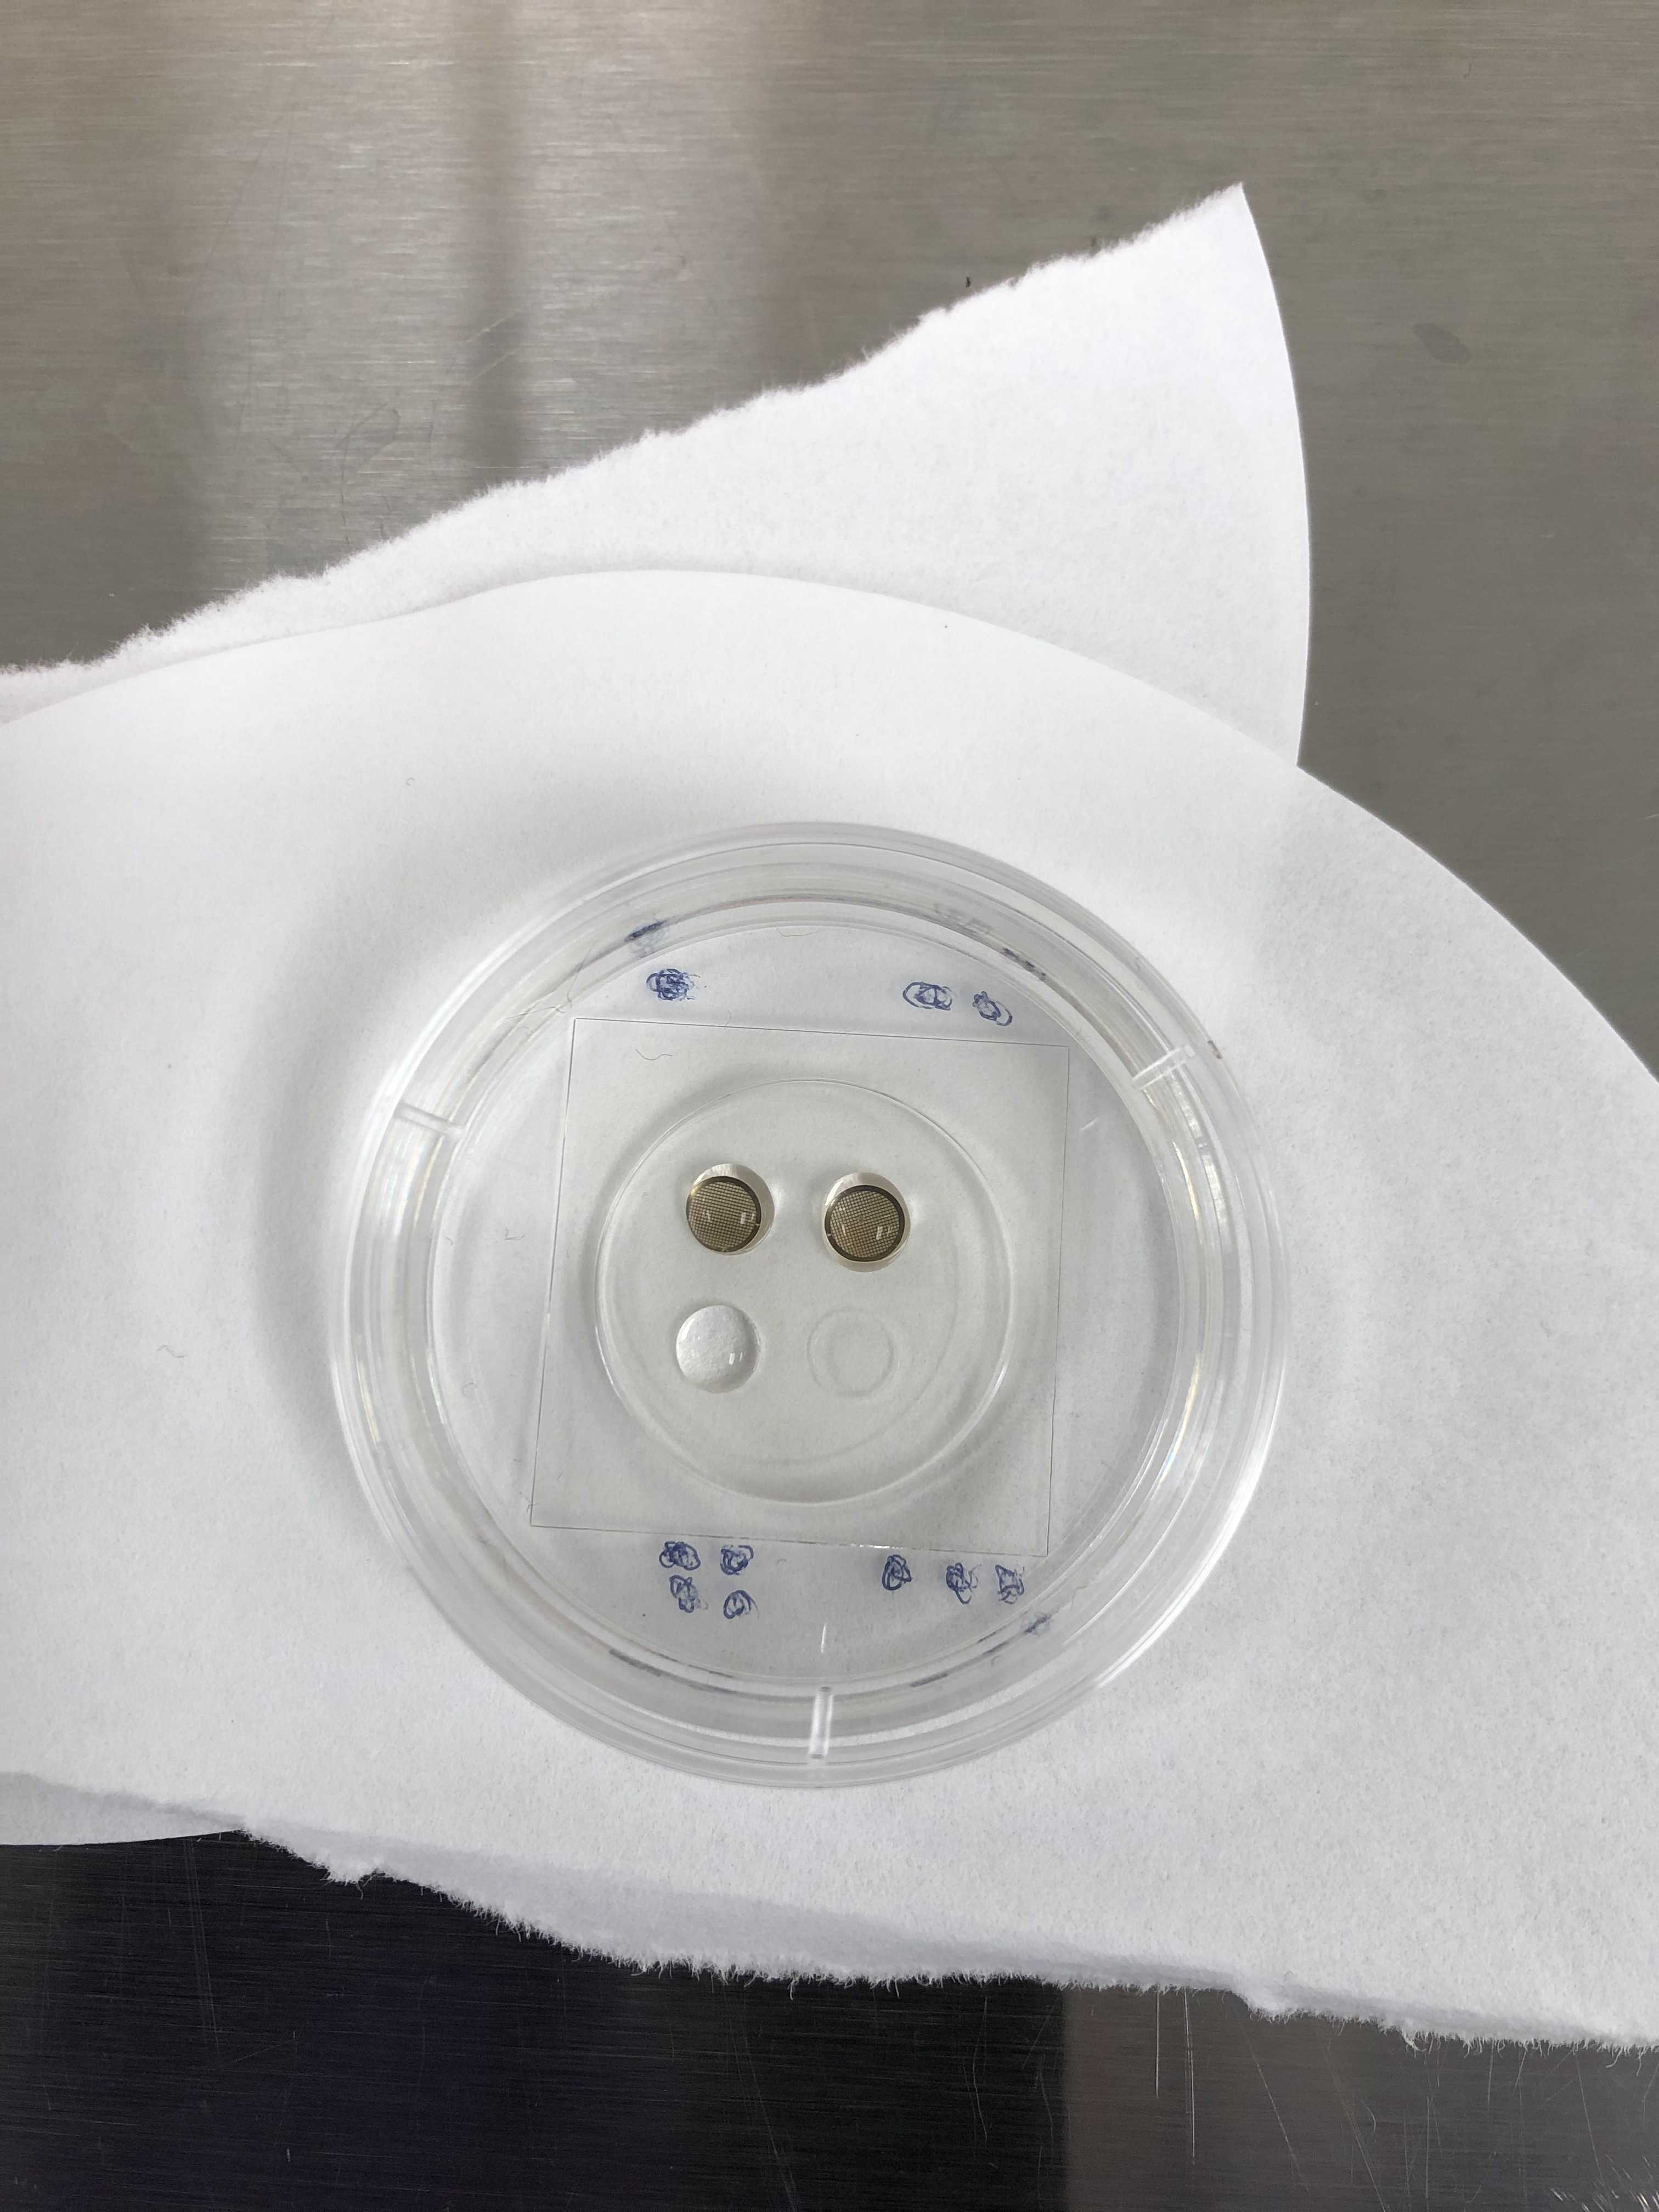
Before use, sterilize EM grids in 70% ethanol in the TC hood. If the grids are in a 35 mm glass bottom dish with a stencil you can wipe the outside of the dish with 70% ethanol, bring it into the hood, and fill it with 70% ethanol.
After 0h 5m 0s, dilute the ethanol in sterile water, pipette out most of the liquid, and repeat until you are confident that you have diluted out the ethanol.
Replace the water with sterile PBS and make sure that grids are immersed in PBS for at least 0h 5m 0s before adding ECM proteins or cells.
Aspirate the PBS and add a droplet (~25 uL) of ECM protein solution into each well containing an EM grid.
Rinse each well three times by aspirating the ECM and and then pipetting in PBS or DMEM/F12. Aspirate gently from the edge of the well or use a pipette for more control.
Add 10-20 uL cell culture media to each well. Optional: Store dish with micropatterned grids in incubator while resuspending cells.
Resuspend cells as you would to replate them and then make a dilute cell suspension (~1:8).
To seed cells, add 3-5 uL of a dilute cell suspension to each droplet of media above the grid in a well until observing 1-2 cells/square (close dish and observe in the tissue culture room microscope).
Once the cells begin to spread on the micropatterns (30 min – 2 hr depending on the cell type), add 2 mL warm cell culture media to the dish and leave in incubator overnight or for as long an incubation time as necessary.
Vitrification
Fix or plunge freeze the grids once the cells achieve the desired level of spreading on the grids. Example: 12-16 hrs for HUVECs, 14 days for neurons). Remove the silicone sticker prior to lifting the grids out of the dish with tweezers.
