Methods for culturing the freshwater sponge Ephydatia muelleri: Growing sponges on agarose and priming gemmules
Shunsuke Sogabe, Taitum Cornish, April Hill, Ana Riesgo, Sally P Leys
Abstract
The freshwater sponge Ephydatia muelleri is an emerging sponge model system. This species has clonal asexual reproduction stages called gemmules that are long-lasting and easily maintained in the lab, and a chromosome-level assembly of the genome (Kenny et al ., 2020) with molecular resources (ephybase.ca), making this an easily used species for study by researchers around the world.
Sponges grow attached to substrates, and one technical difficulty when working with species are attached to a substrate, is how to transfer samples to and from different solutions and vessels for experimental manipulations. In the case of E. muelleri , transfer is usually done with gemmules before they hatch and attach, or with sponges that are attached to small coverslips.
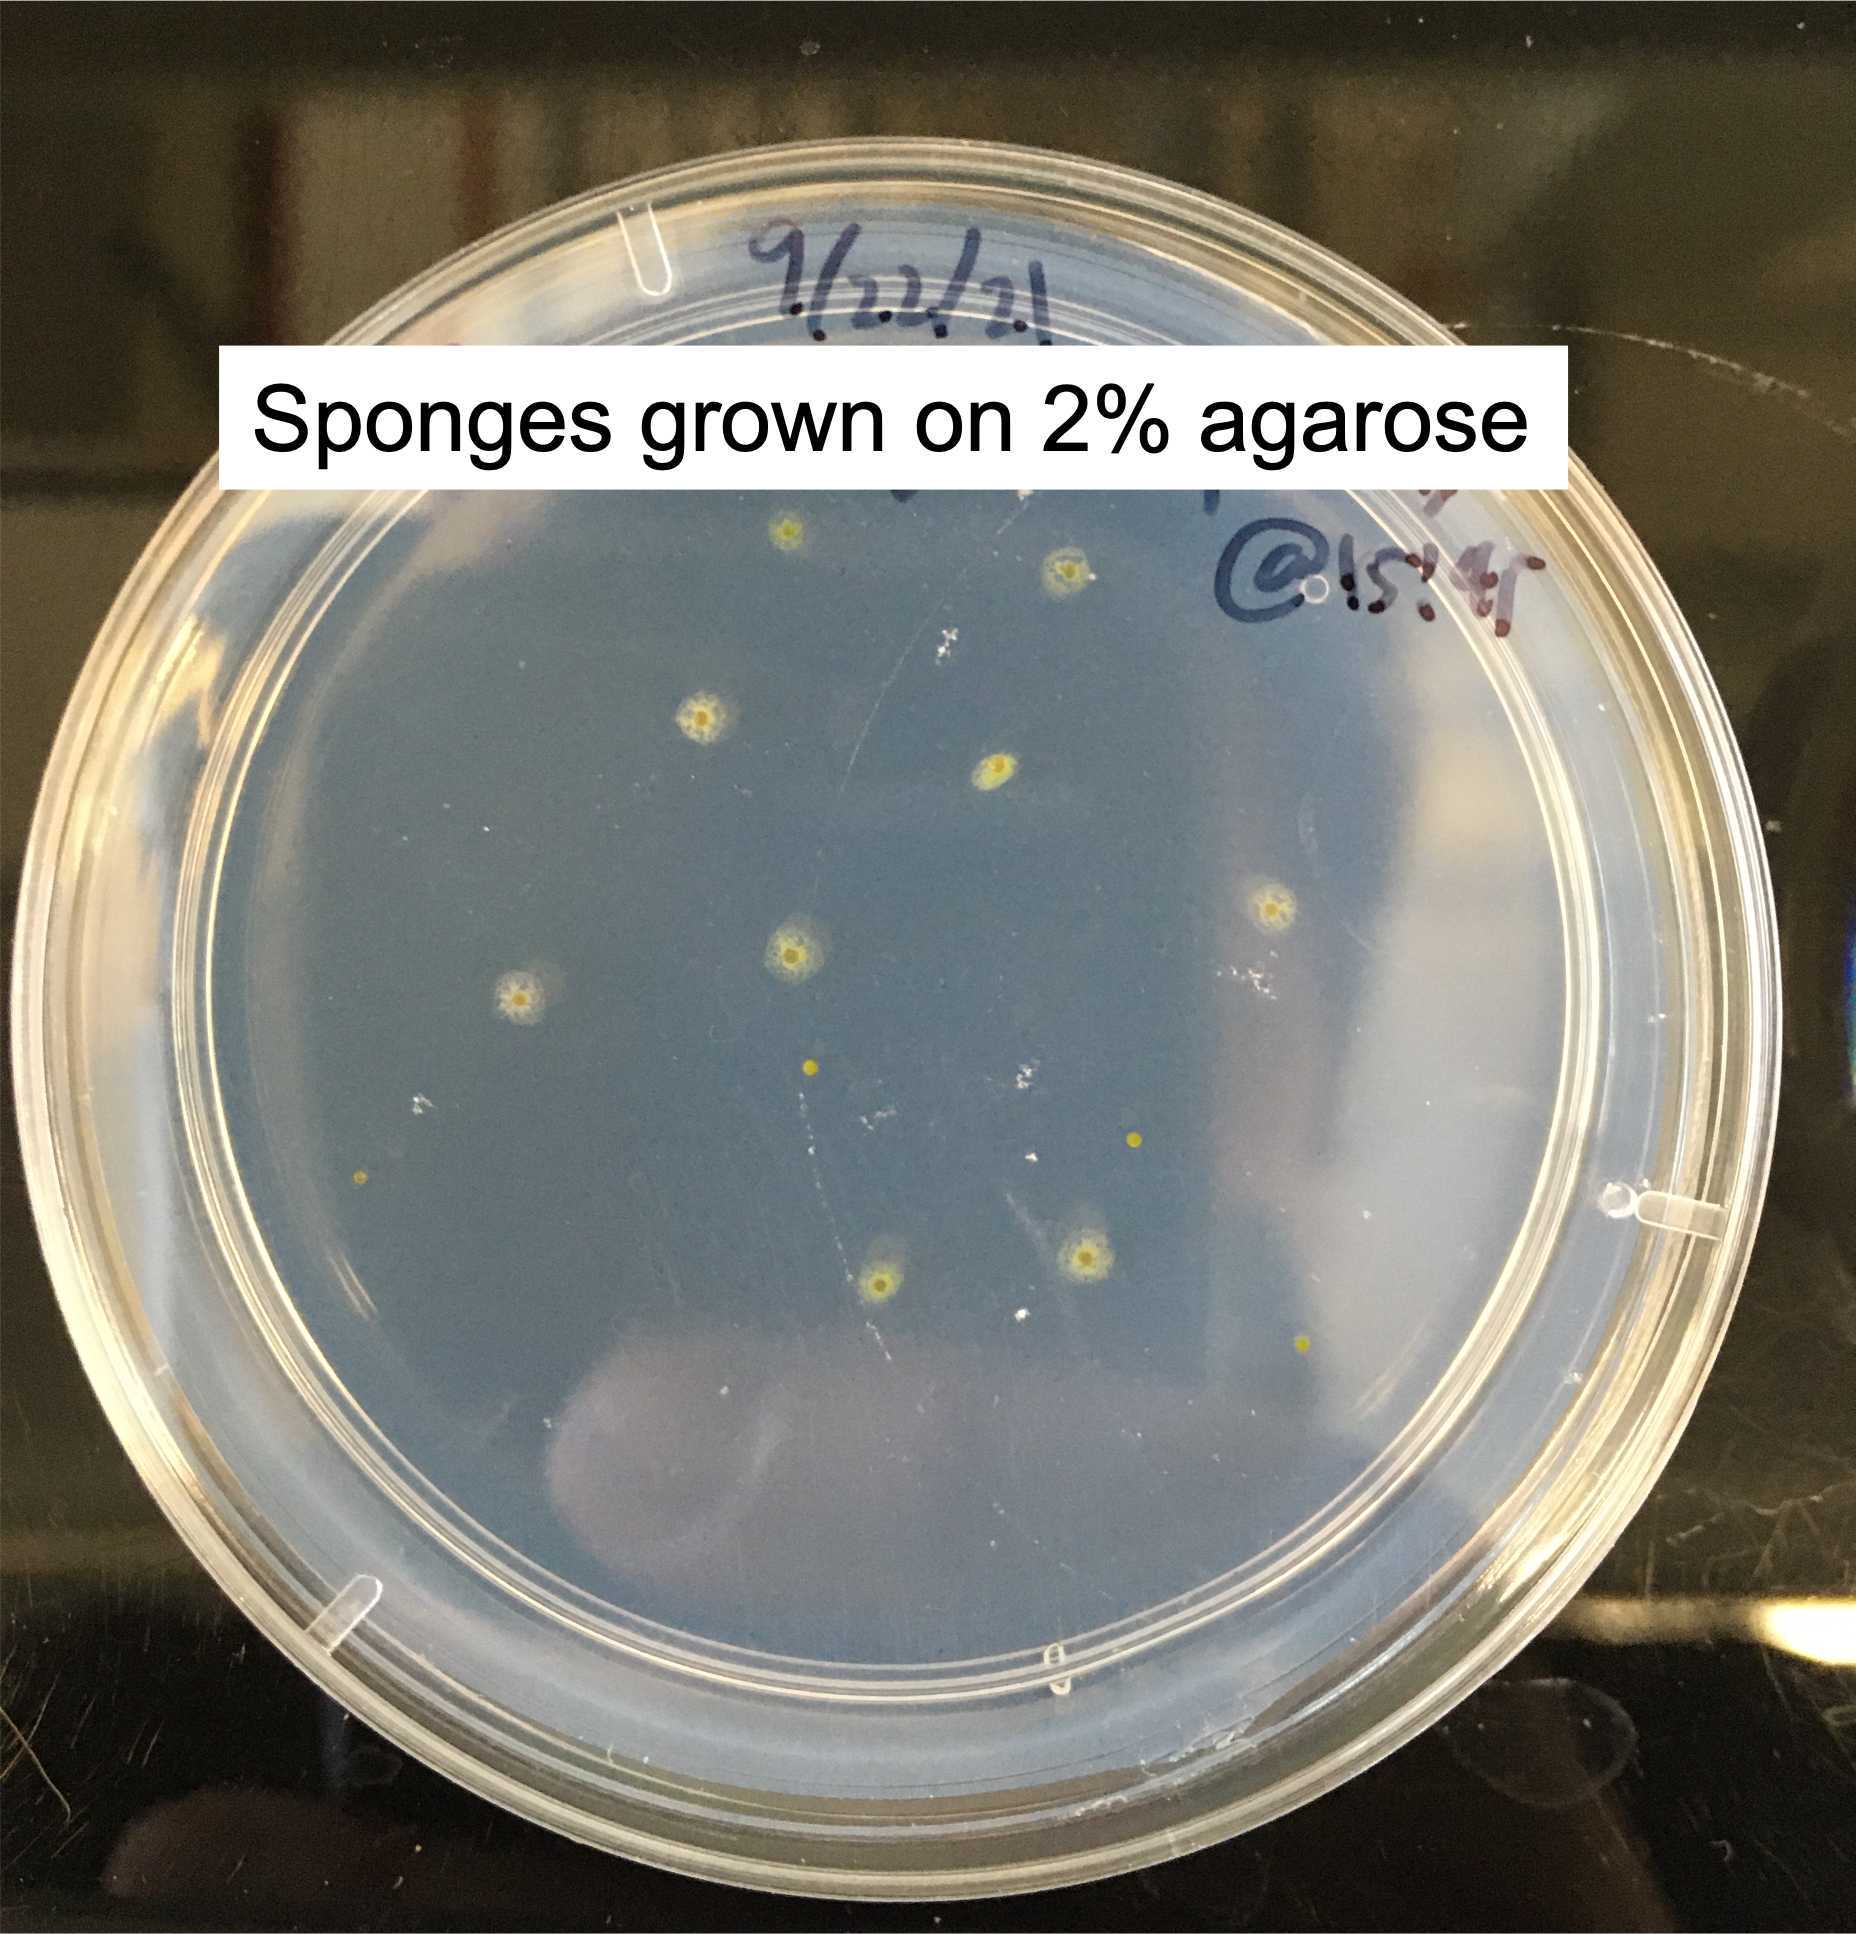
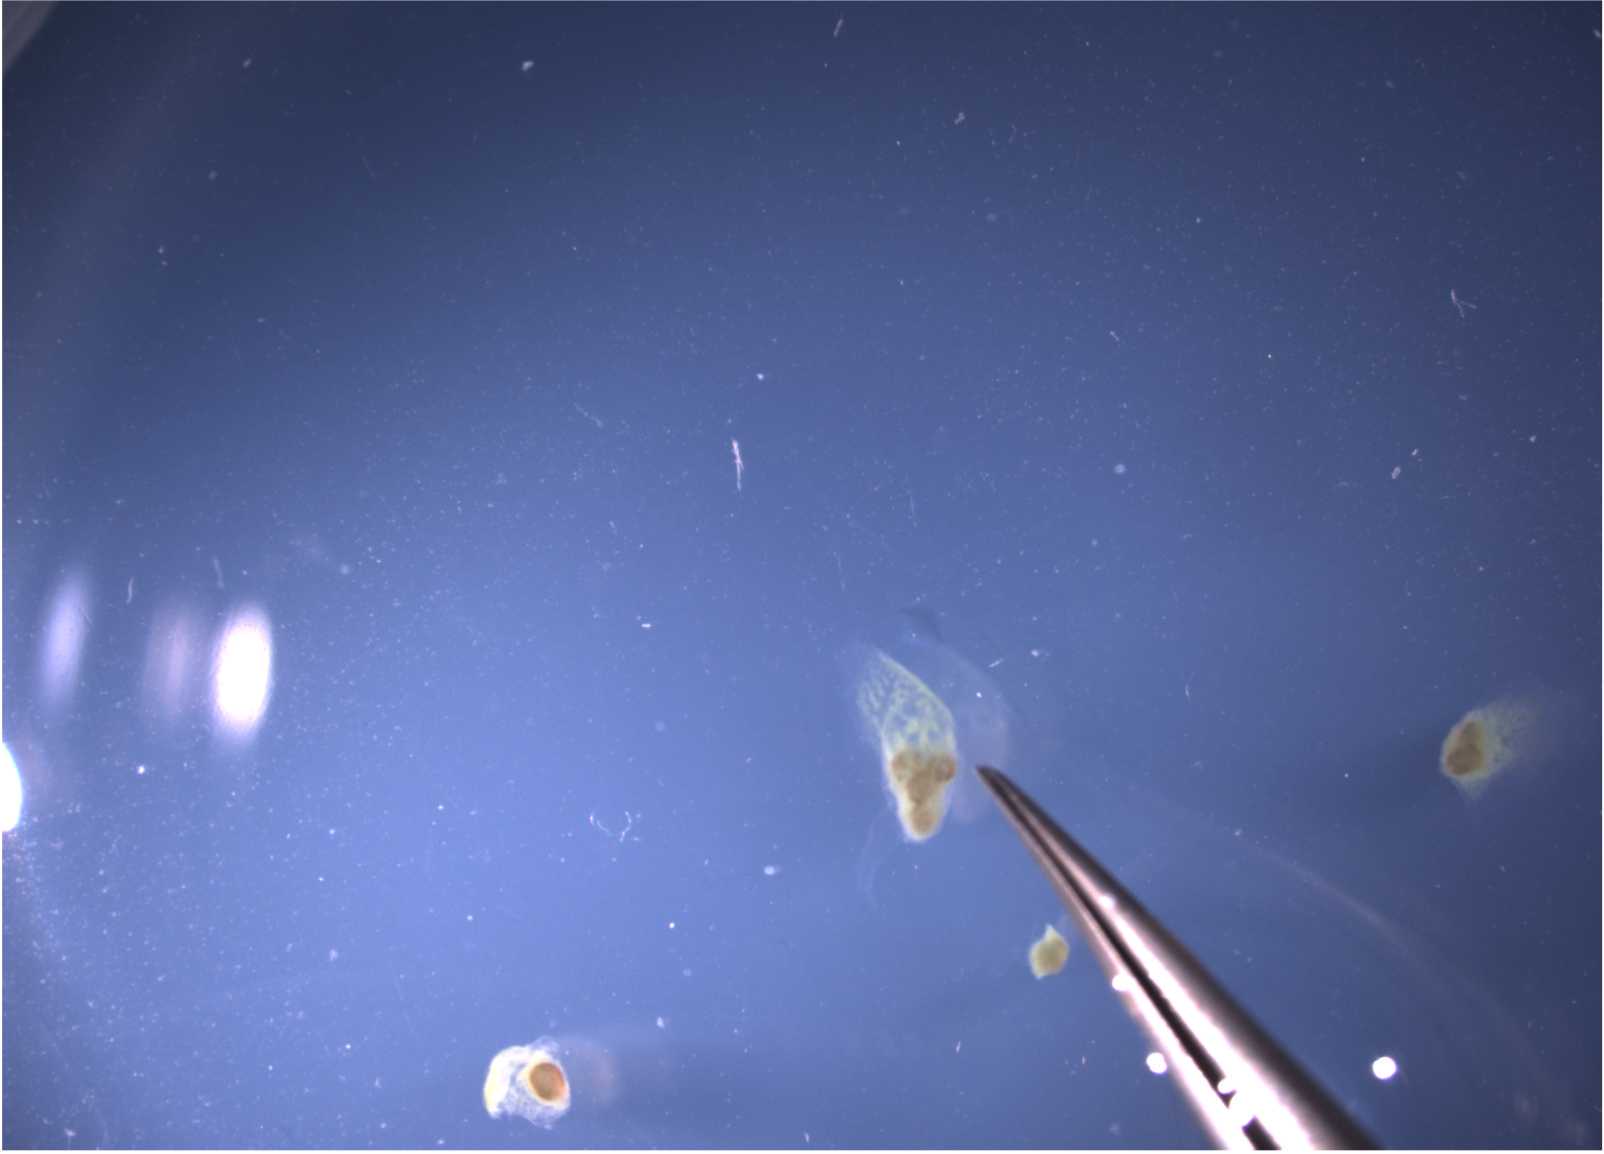
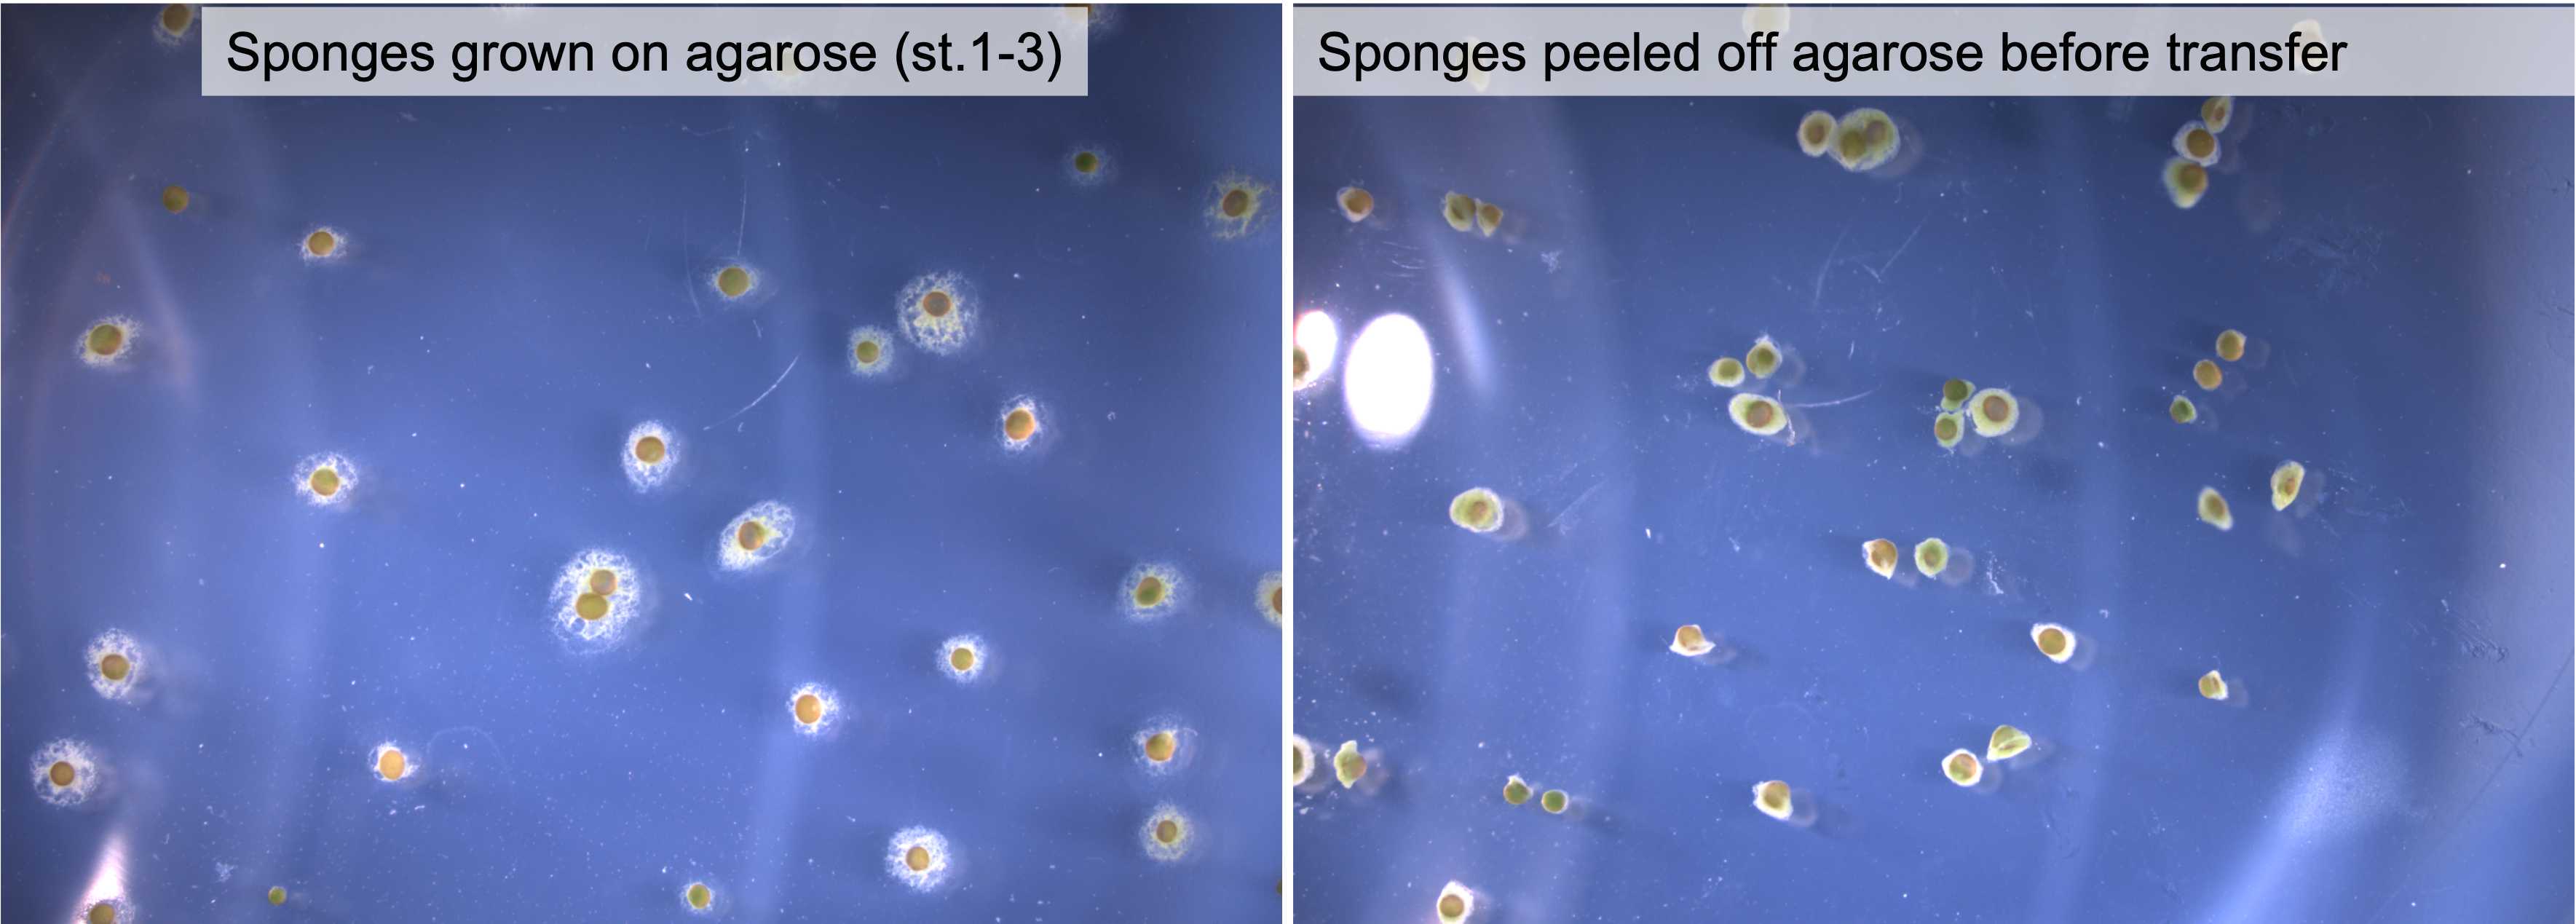
Here, we outline a simple and effective method to grow E. muelleri on 2% agarose, a substrate that allows them to be peeled off with little damage, and transfer to other containers at any stage. Once transferred and left alone, they re-attach readily.
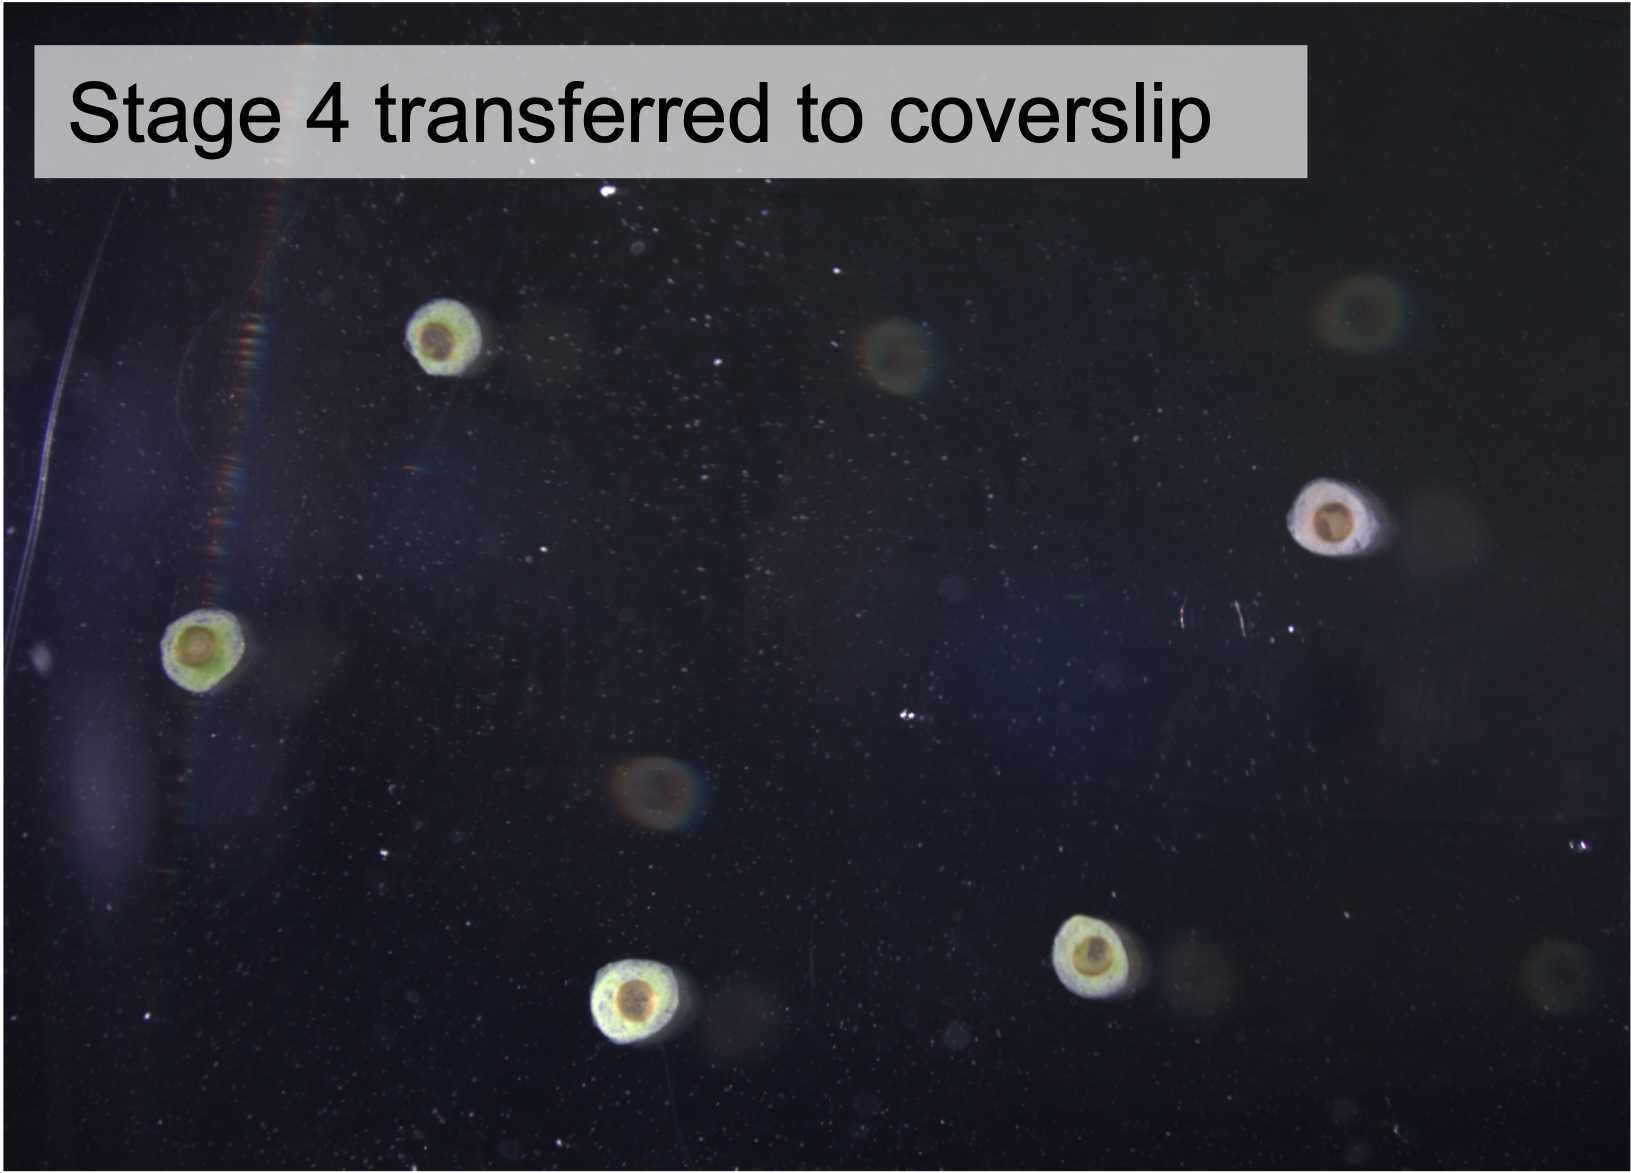
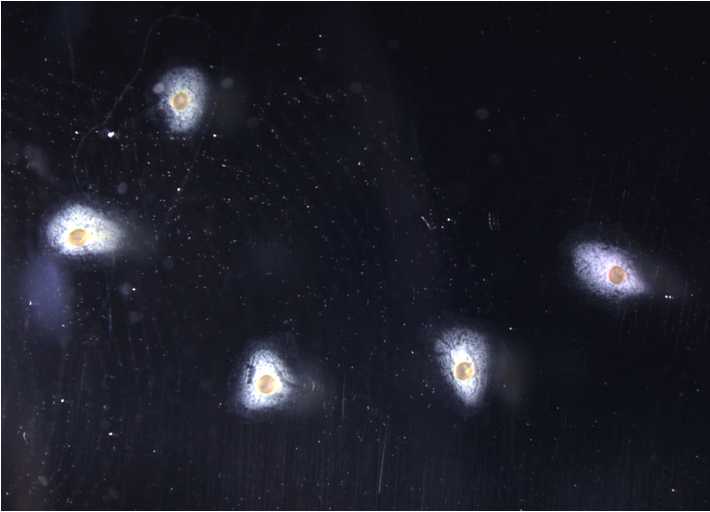
E. muelleri development from gemmules are referred to as stages: stage 1 is just prehatching; stage 2 is hatched with no aquiferous system; stage 3 has 'pockets' of water spaces that are growing and merging with each other; stage 4 has an incipient but not fully organized canal system; stage 5 has a fully developed canal system with osculum vent. Although all stages can be easily peeled off the agarose substrate, sponges at earlier stages (2-3) develop at the same rate as undisturbed sponges after transfer, allowing direct comparison with unmanipulated control samples.
This method allows different stages of E. muelleri to be transferred into cuvettes for electroporation, or into a solution for pharmacological treatment, or onto a new substrate for imaging.
We also describe the best mechanism of timing hatching of gemmules. Gemmules are 'dormant' when kept at 3°C. Once placed at room temperature they undergo development within the collagen capsule, that involves differentiation of different cell types prior to their emergence from the micropyle (opening), as described by Höhr in 1977. This development can be thought of as "priming", or readying them for hatching. 'Priming' gemmules to the same level of hatching readiness, allows more control over timing of experiments. Primed gemmules also appear to be more resilient to both physical and chemical treatments.
The gemmules slowly get primed once cleaned, or thawed from -80°C. A general guideline to prime gemmules is:
1 week in a 3°C incubator = 1 less day it takes for the gemmules to hatch after plating
1 day at room temperature = 1 less day it takes for the gemmules to hatch after plating
Once they are over-primed (usually after 4-5 weeks in the 3°C incubator), they will start hatching even when kept at 3°C.
We suggest that for reproducibility of experiments that concern the stage of development, experiments using E. muelleri gemmules would benefit from using primed gemmules or indicating how primed the gemmules were.
Reference
Kenny, N.J., Francis, W.R., Rivera-Vicéns, R.E. et al. Tracing animal genomic evolution with the chromosomal-level assembly of the freshwater sponge Ephydatia muelleri . Nature Communications. 2020. 11, 3676. https://doi.org/10.1038/s41467-020-17397-w.
Höhr, D. 1977. Differenzierungsvorgänge in der keimenden Gemmula von Ephydatia fluviatilis . Rouxs Arch. Dev. Biol. 182: 329-346.
Steps
Preparing agarose plates (2% in 1x Strekal's medium)
Make 2% agarose plates and allow to cool.
Weigh 2g agarose into a flask, add 100mL of 1x Strekal's medium, microwave for 30-40 seconds to dissolve, and pour enough to only coat the bottom of 5 cm diameter Petri dishes. Leave to cool for 2 hours.
*Note that a thin layer of agarose allows room for a greater volume of growth medium for growing the sponges.
Once the agarose is solidified, store the dishes inverted in an airtight Tupperware container or plastic bags at 4°C.
*Agarose plates should last for several months when stored in these conditions.
Cleaning and plating gemmules
Clean gemmules for plating, or rinse gemmules stored at -80°C following the protocol - "Hatching and freezing gemmules from the freshwater sponge Ephydatia muelleri" by Sally P Leys, Lauren Grombacher, and April Hill (dx.doi.org/10.17504/protocols.io.863hzgn).
Pour 1x Strekal's medium onto the agarose Petri dish, and transfer gemmules onto the agarose using a wide-bore Pasteur pipette.
a) Let the gemmules hatch and develop in the dark (e.g. covered with tin foil).
b) Change the medium every 2 days after hatching.
Peeling sponges and transferring them from the agarose dish
Once the sponges have been peeled off the agarose, transfer them using a wide bore Pasteur pipette or a modified P1000 tip, to prevent damage to the sponge tissue.
Priming gemmules for faster hatching and increased resilience to manipulation
Cleaning gemmules prompts the process of cellular differentiation inside the gemmule capsule. This process takes a few days. Cleaned gemmules will undergo cellular differentiation at 3C, such that gemmules plated directly after cleaning hatch slower than gemmules plated a week after cleaning. Note, how vigorously gemmules are cleaned also affects how rapidly they undergo differentiation.
Whereas freshly cleaned gemmules do not always survive manipulations, primed gemmules hatch and develop well despite physical or chemical manipulation. Below are two treatments that are possible with primed gemmules.
General timeline of gemmule hatching when cleaned and kept at 3°C
Freshly cleaned gemmules - hatch after 2 days to one week at room temperature.
-
2 weeks after cleaning (kept at 3°C), gemmules usually start hatching by the next day.
-
4 weeks after cleaning (kept at 3°C), gemmules may hatch inside the incubator.
Gemmules stored at -80°C, thawed and rinsed, hatch after about 5 days at room temperature.
-
One week after rinsing (kept at 3°C), gemmules start hatching within 3 days.
-
4 weeks after rinsing (kept at 3°C), gemmules may hatch inside the incubator.
*NOTE: Gemmules thawed from -80°C seem to prime faster than the gemmules from fresh sponges kept at 3°C, but those thawed from -80°C last longer in the 3°C incubator as primed gemmules.
Physical manipulations that are practical for use with primed gemmules E. muelleri. E. muelleri .
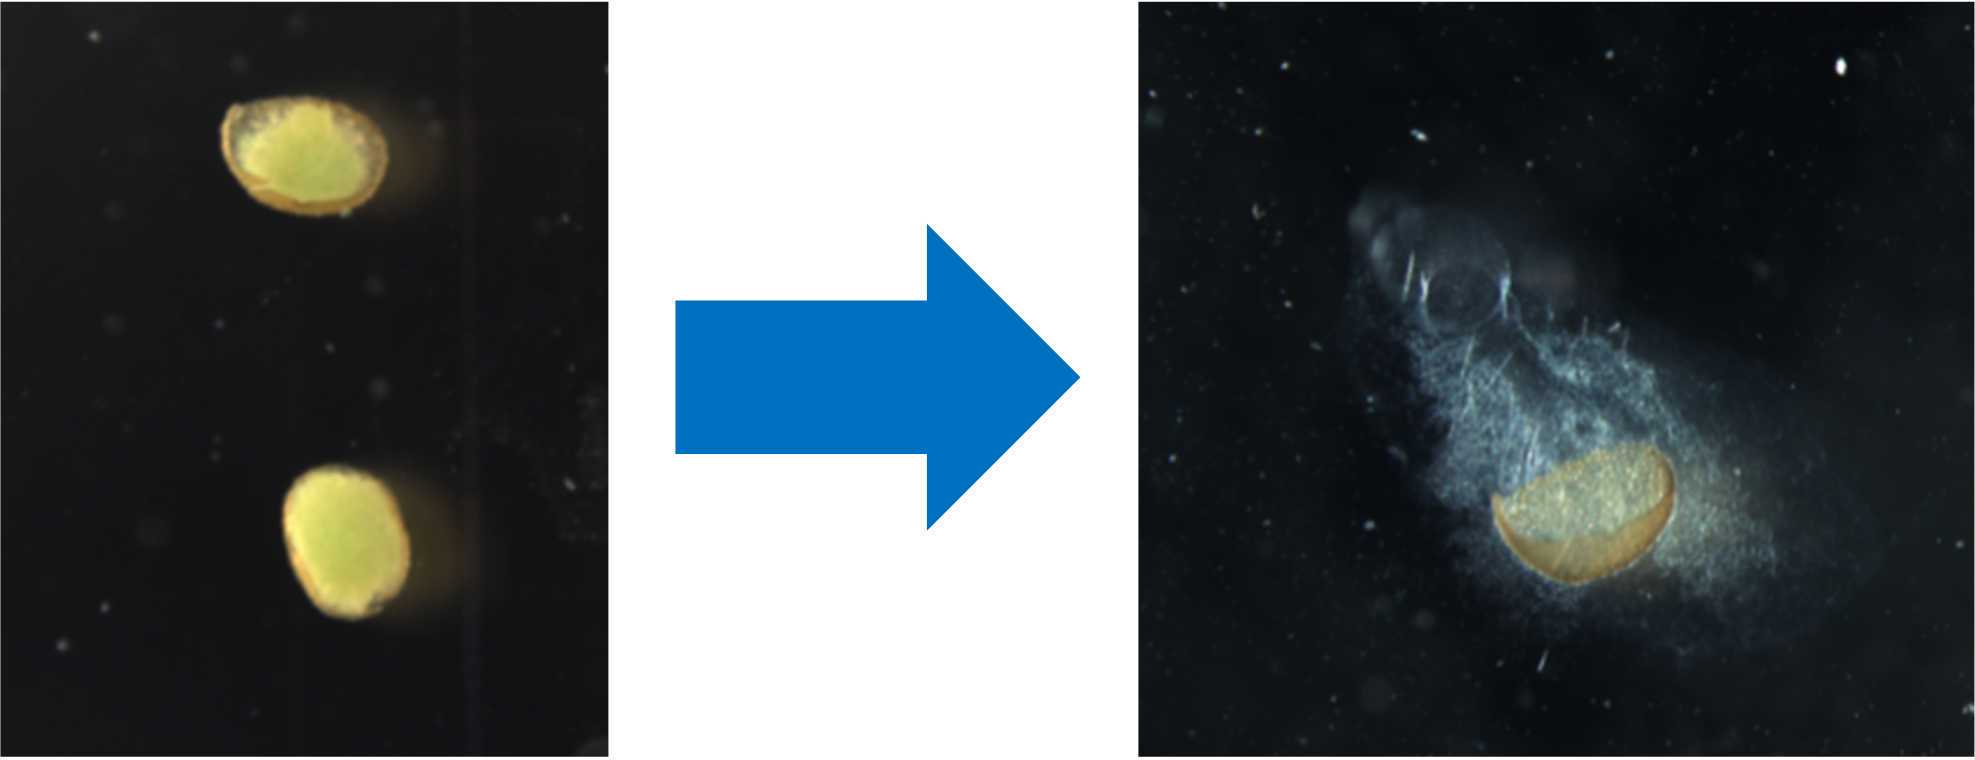
Example 2: Squeezing cells from gemmules
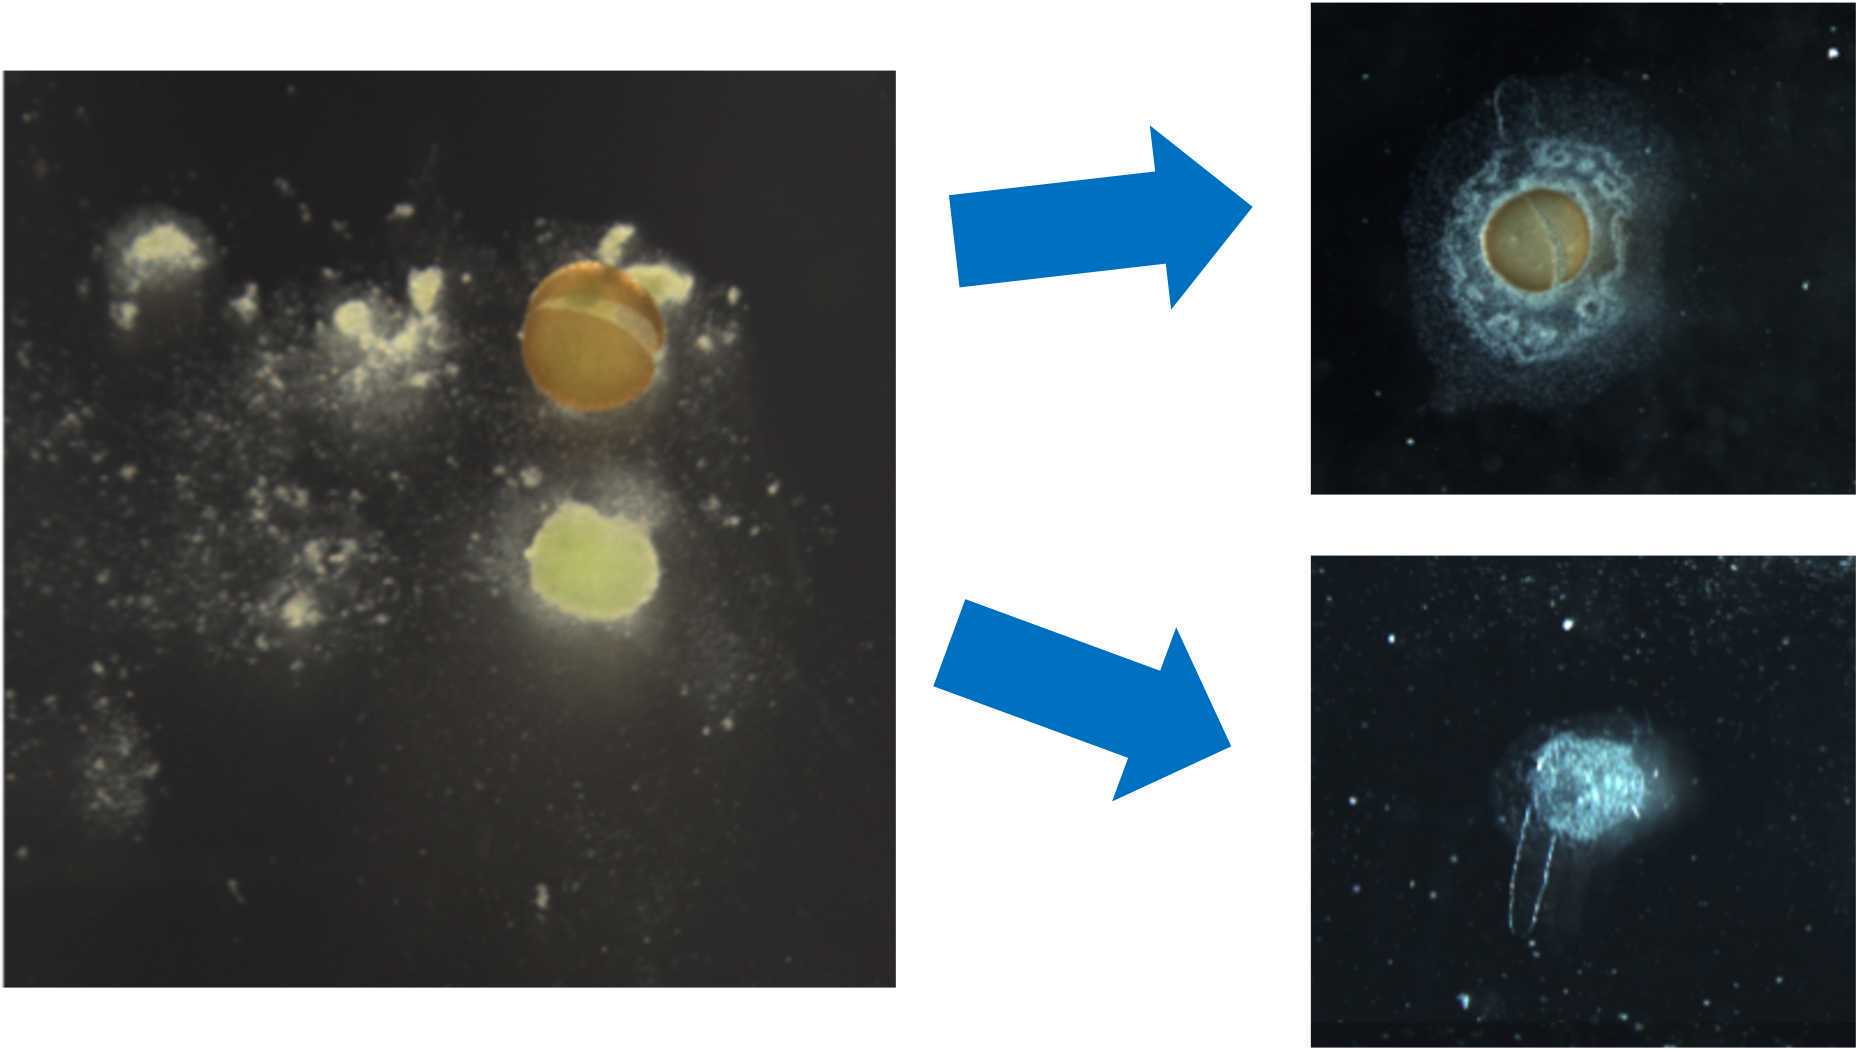
When the gemmules are primed, they can be cut/squeezed with a pair of forceps to push out the cells and both halves (with or without the gemmule casing) will develop into a functional stage 5 sponge with an osculum.
