Freequenza Box - Production and Assembly
Katarzyna Dobaczewska, Zbigniew Mikulski, Matthew Meyer
Abstract
A histology aid for slide immunostaining. Improves staining consistency, reduces reagent use, and saves time. Works with Shandon Plastic Coverplates. For technical specifications, check out this link.
Total hands-on time to 3D-print and assemble a 5x3 model is approximately 5 hours, and 4 days including printing and gluing time
Before start
Make sure you understand and follow the safety guidelines for your 3D printer. Test the compatibility of the filament with the solutions you will be using in the future. See here for ideas.
Steps
3D-Printing
Navigate to the required 3D-printable files from the NIH 3D Print Exchange
Select the desired model type from the below options and download the file in the "Other Files" section
- 2x1 Box.zip - (2 slide capacity)
- 3x2 Box.zip - (6 slide capacity)
- 5x3 Box.zip - (15 slide capacity)
- 7x4 Box.zip - (28 slide capacity)
Extract the .zip file to retrieve the required files
- Mac: Double-click .zip file
- PC: Right-click .zip file and click "Extract All..."
- Linux: Follow video tutorial

Launch the 3D-printing slicing software. If you are experiencing a very poor performance of the software on a computer bound to a domain (often the case in large academic institutions) see this post for a potential remedy

Open the .stl files +Rack *, -Rack *, End , and Insert in the slicing software

- suffix will differ depending on the model type
Multiply the above .stl files to the appropriate number based on the model type
| A | B | C | D | E |
|---|---|---|---|---|
| 2x1 | 3x2 | 5x3 | 7x4 | |
| Box | 1 | 1 | 1 | 1 |
| Top | 1 | 1 | 1 | 1 |
| +Rack | 1 | 2 | 3 | 4 |
| -Rack | 1 | 2 | 3 | 4 |
| End | 1 | 2 | 3 | 4 |
| Insert | 2 | 6 | 15 | 28 |
| Handle* | 0-2 | 0-2 | 0-2 | 0-2 |
- handles are optional

Use the default setting in a "High Detail" profile (i.e. ≤0.18mm layer height) and prepare/slice the design into a .gcode file

If your printed parts break easily try to inspect your sliced model in the Layer view to see if the infill creates a strong, interconnected lattice in the vulnerable part. Try increasing the wall size to 2 mm, changing the Infill Density to 80% density, and Infill Pattern to Cubic or Gyroid.
Upload the .gcode file onto an SD card

Insert the SD card into the 3D-printer
Heat the 3D-printer nozzle to approximately 170°C
Using a clean cloth, wipe the heated nozzle to remove debris

")

Prepare printbed for maximum adhesion of filament (e.g. using a glue stick to cover the area of the printbed which objects will be printed on)
Select the .gcode file and print


Carefully remove parts from the 3D-printer printbed using a razor blade
Repeat steps 4-14 with the Box and Top .stl files with the "Infill" setting at 100%

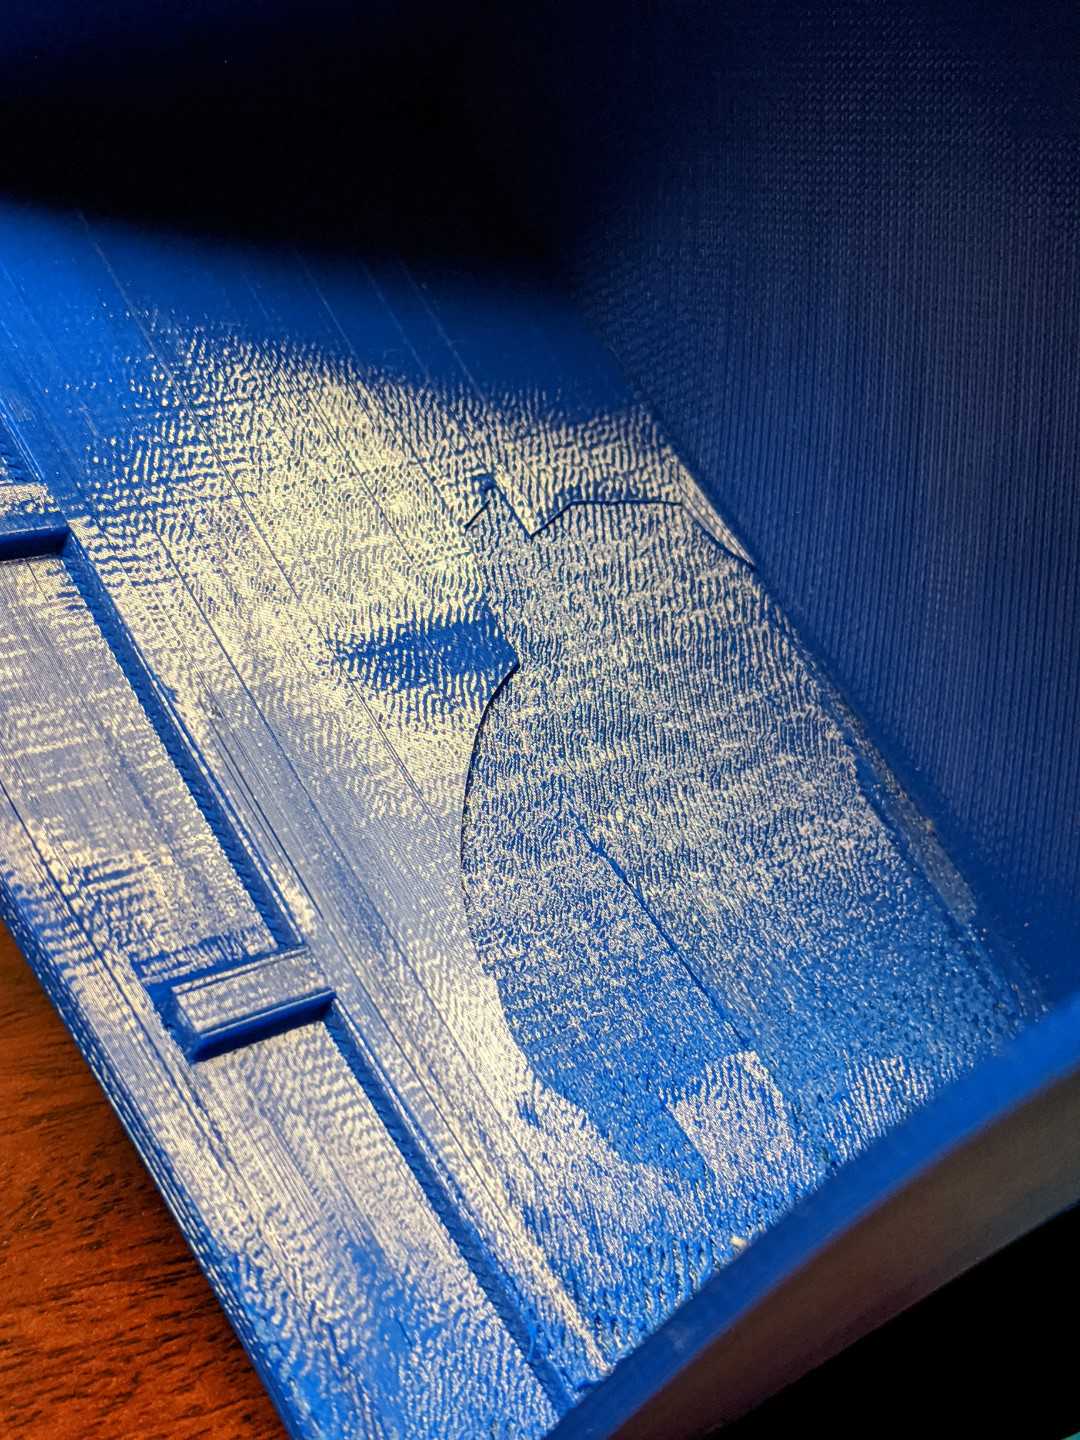
Inspect parts for defects
Acceptable defects (e.g. small blemishes, strings, indentations, etc.) can be cleaned with razor blades, sand paper, or metal brushes

Unacceptable defects (e.g. large holes, wall flaking, warping, etc.) cannot be repaired and will need to be reprinted
Many issues come from the moisture in the filament (it should be stored in a desiccated container with up to 20% relative humidity). Printer issues can be diagnosed with the help of this guide.
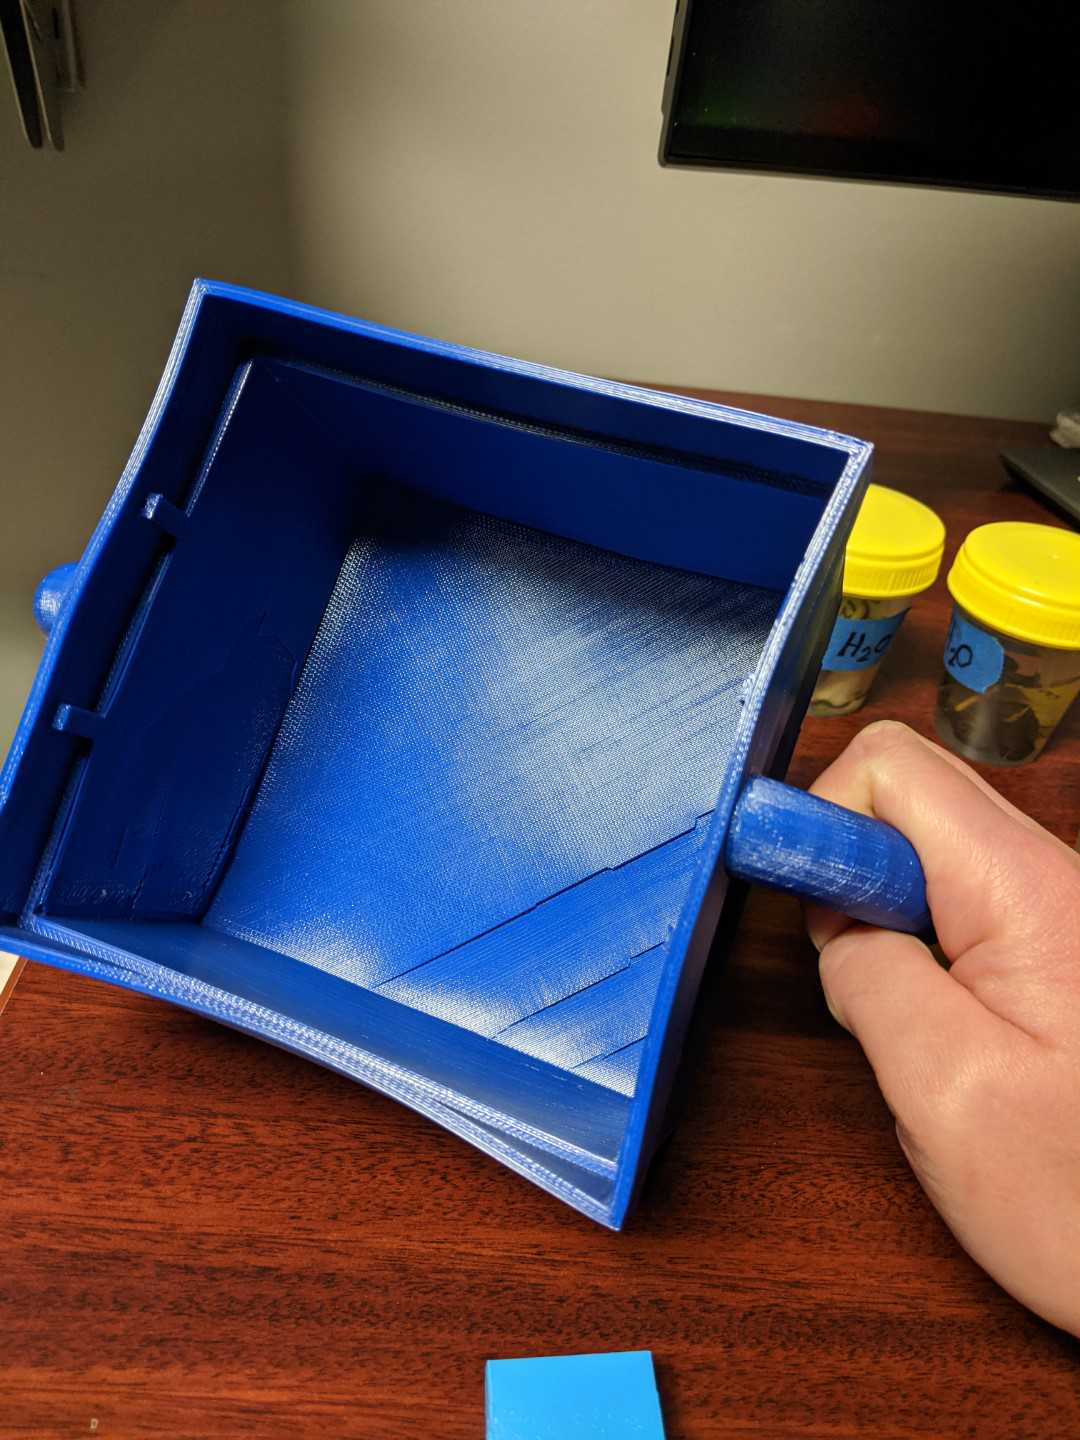
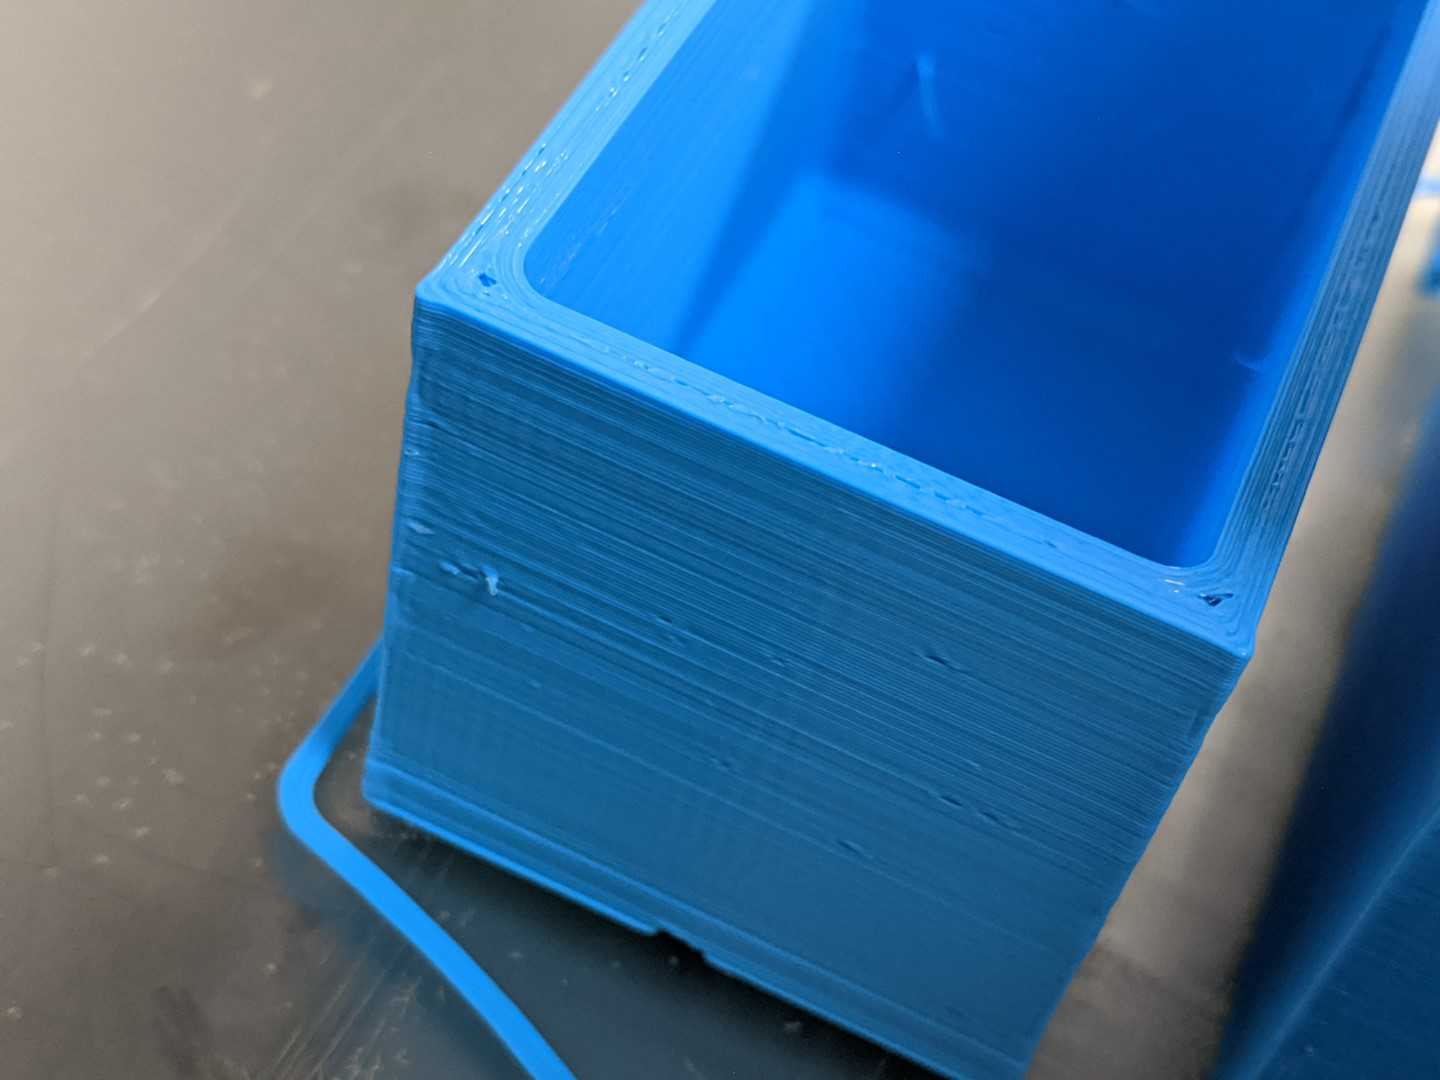
Fill the Box and Top with water to check if they leak
If the part leaks, place the part in a larger container and fill the part with acetone*
- use caution and work under a chemical hood as acetone is flammable and produces hazardous fumes
Let the part sit until the acetone stops leaking through the previous leak hole
If the part never stops leaking, the part will need to be reprinted
Assembly
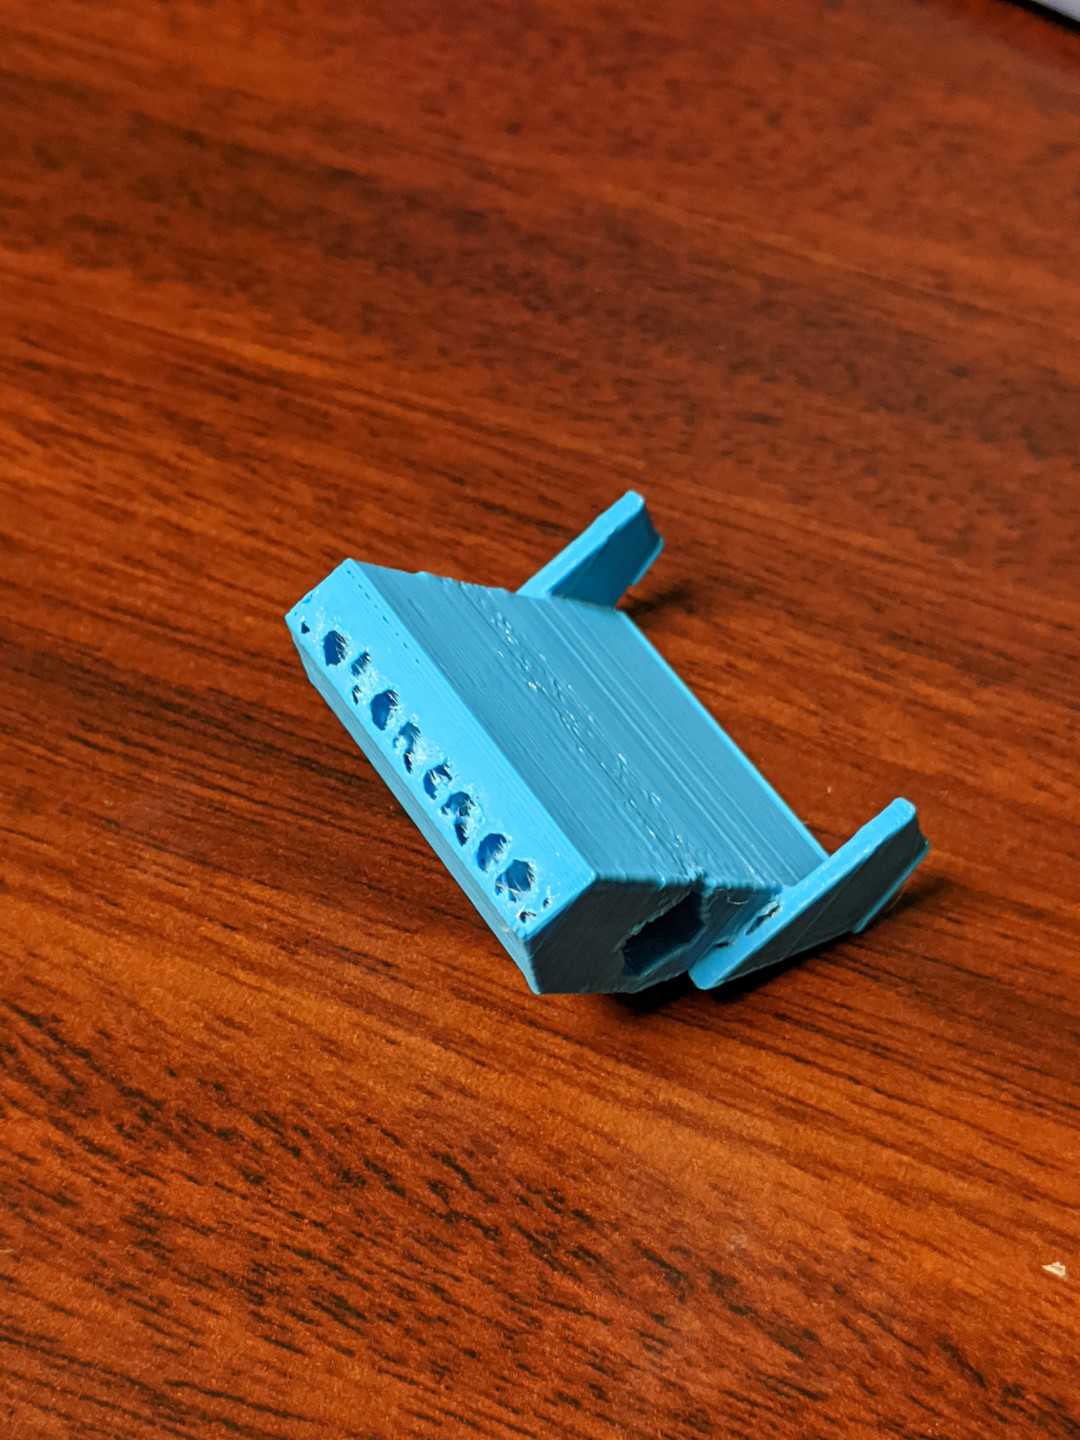
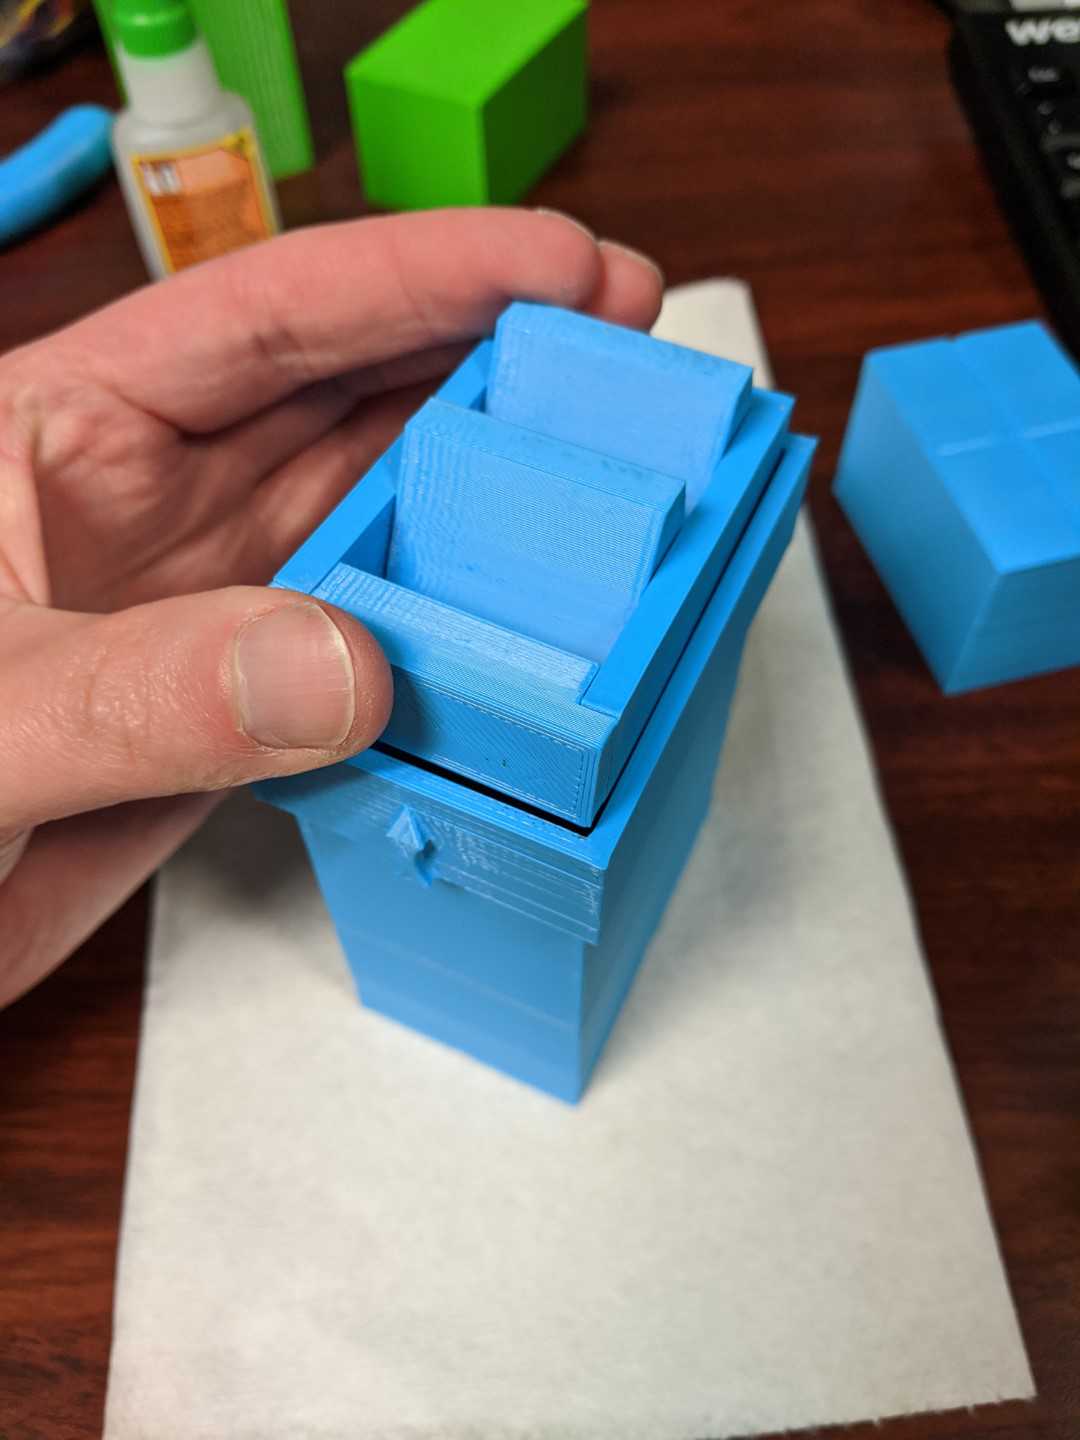
Connect Inserts and +Rack

Lay the long edge of the +Rack flat on a counter (rods facing upward) with the short edge oriented leftward
Lay the Inserts on their sides (holes facing upward) with the outward bump oriented leftward
Maintaining the above orientations, place the holes of the Inserts through the rods of the +Rack
Glue +Rack , -Rack , and End together

Apply 3M Scotch-Weld PR40 or superglue to all holes of the +Rack and -Rack
Align and connect the holes of the -Rack with the rods and studs of the +Rack
Orient the outward bump on the End the same way as the Inserts
Connect the End studs into the holes of the +Rack and -Rack
Wipe off excess glue with a paper towel
Rubberband the assembled rack together or use woodworking clamps
Let the glue dry until the parts are completely set
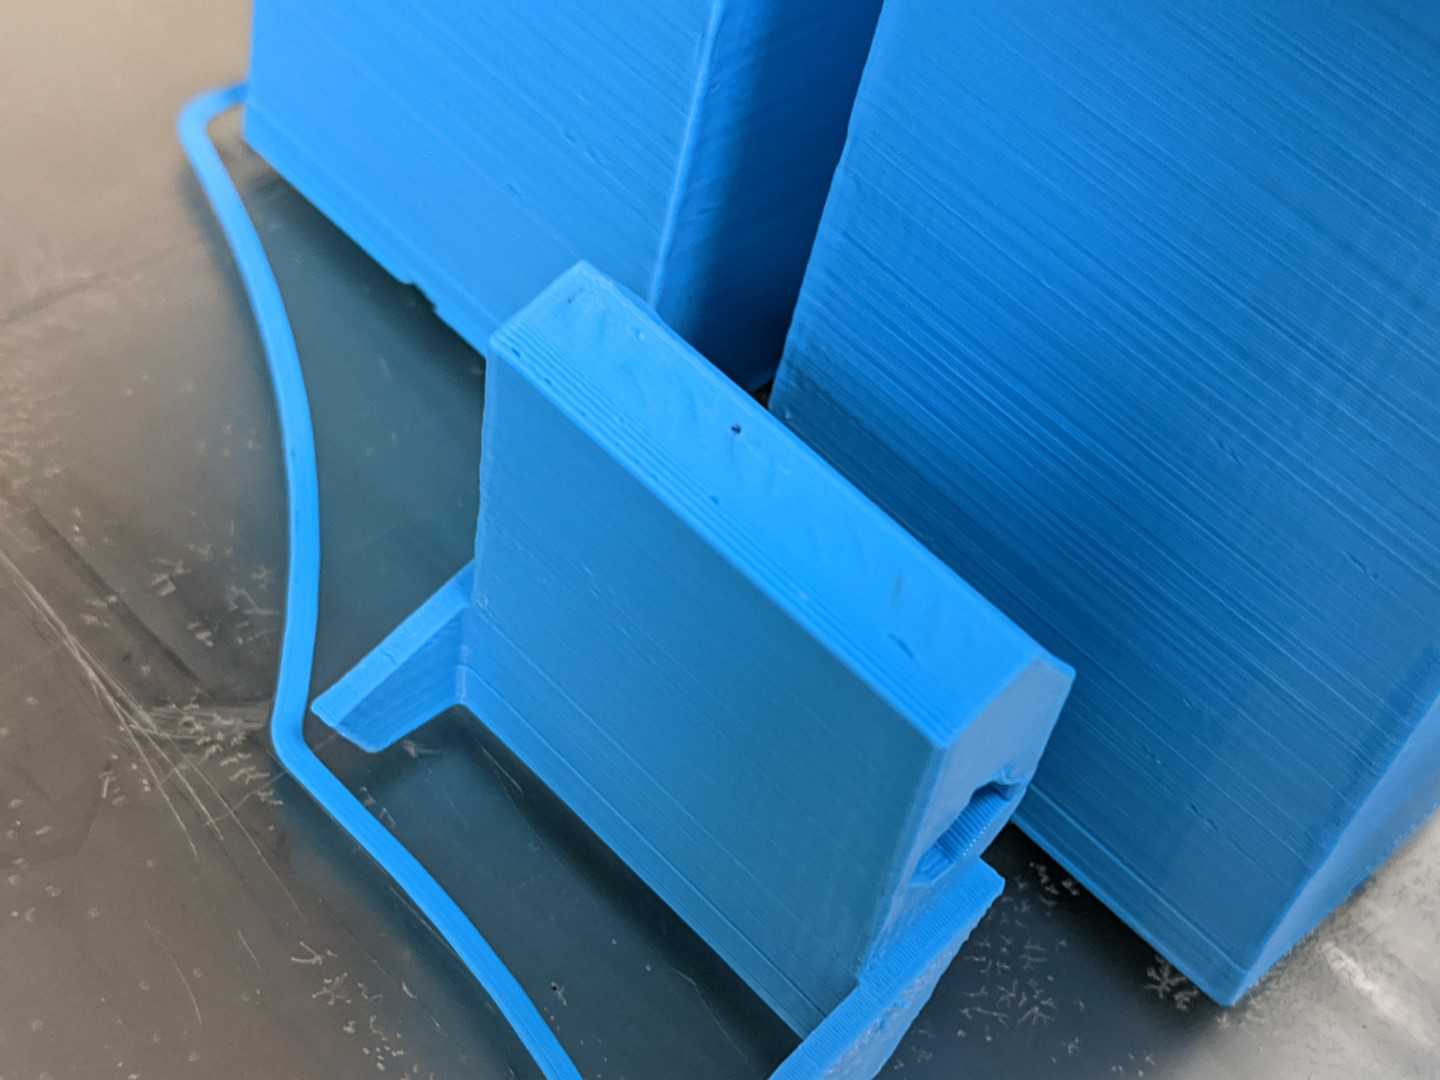
Place the assembled rack into the Box with the outward bumps facing upward
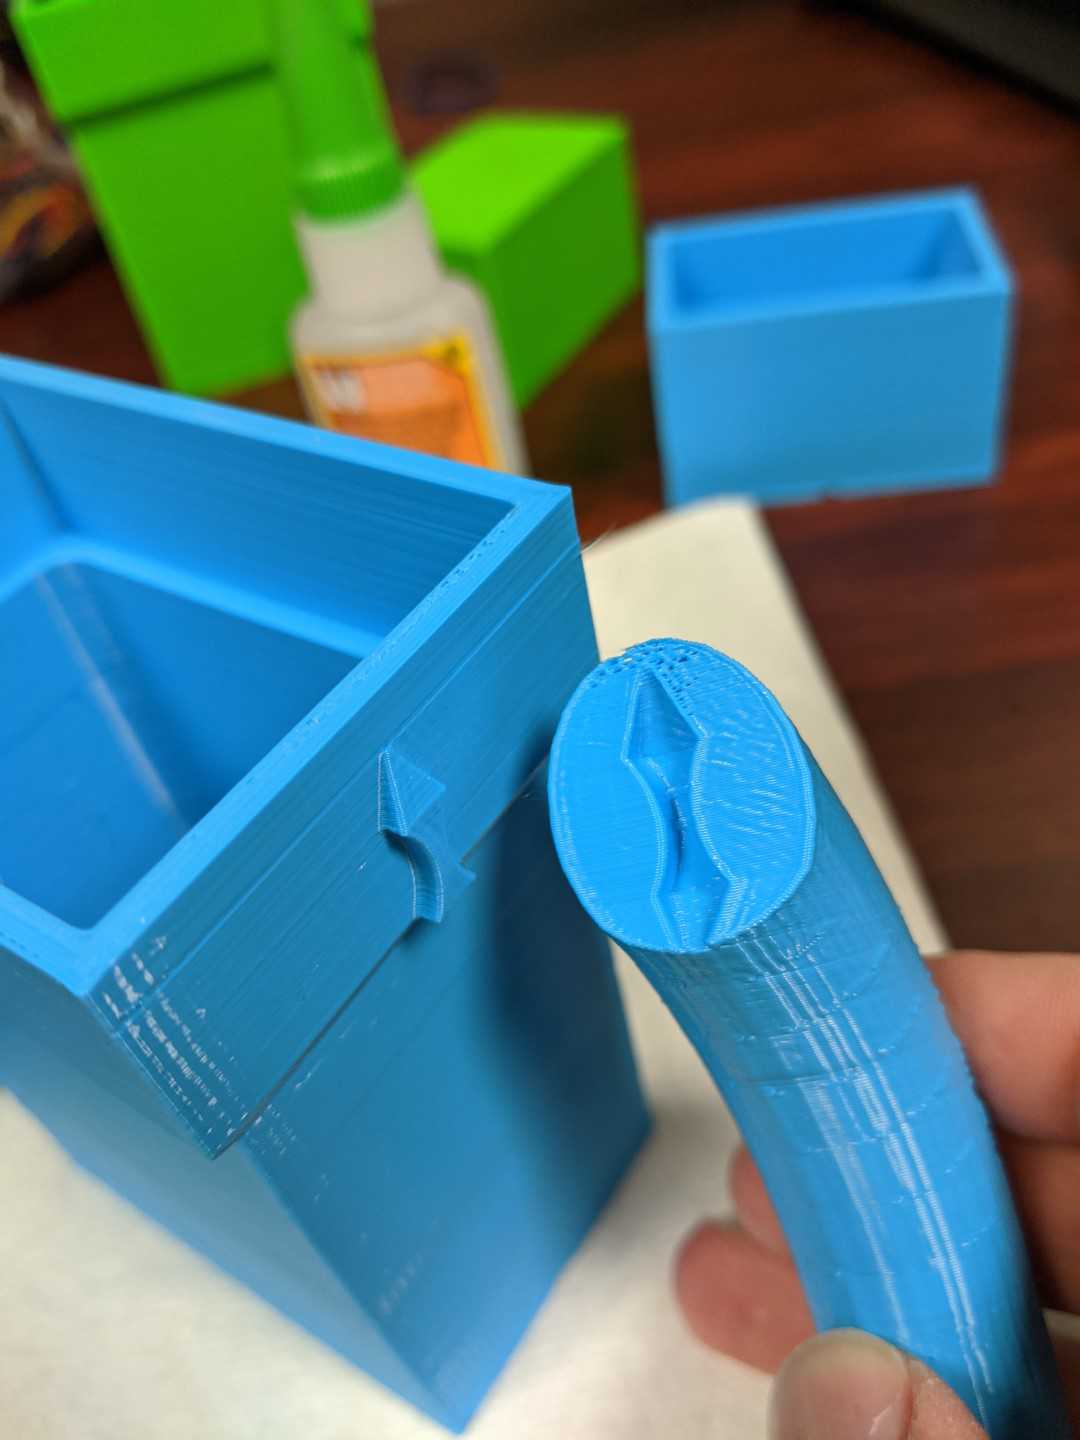
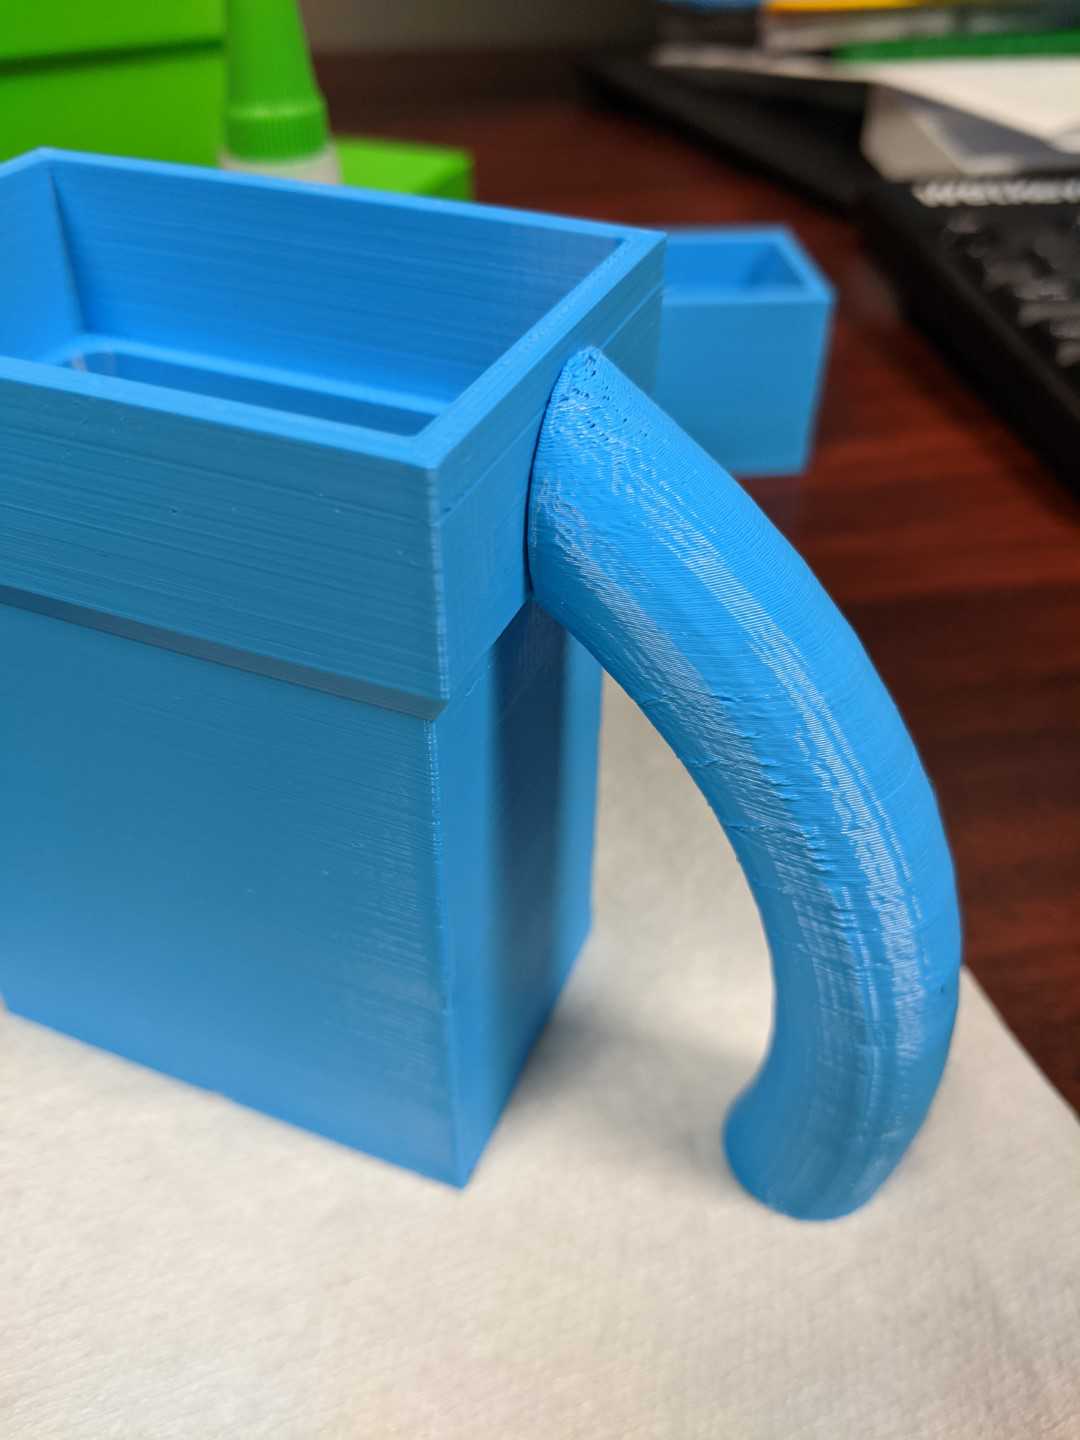
Optional: Glue Handles to Box