Explant Surgery: Chronic recoverable Neuropixels in mice
Emily A Aery Jones
Abstract
This protocol collection explains how to build a low-cost, lightweight system to implant 1 Neuropixels 1.0 probe or 2 Neuropixels 2.0 probes into mice, record during freely moving behavior, then recover the probes for future use. This protocol explains how to recover a previously implanted Neuropixel probe and clean for future use. See full collection for more details.
Before start
Steps
Prepare mouse
Set O2 flow rate to 1-1.5L/min and isoflurane to 3%. Place mouse in anesthetic chamber.
When breathing has slowed to 1Hz, move animal to the toothbar. Switch isoflurane from chamber to nosecone. Wait until unresponsive to pedal reflex test, then lower to 1.5% isoflurane.
Set the nosecone to the position you recorded from the implant surgery. Attach mouse to headbar stereotactic adapters.
Remove probe
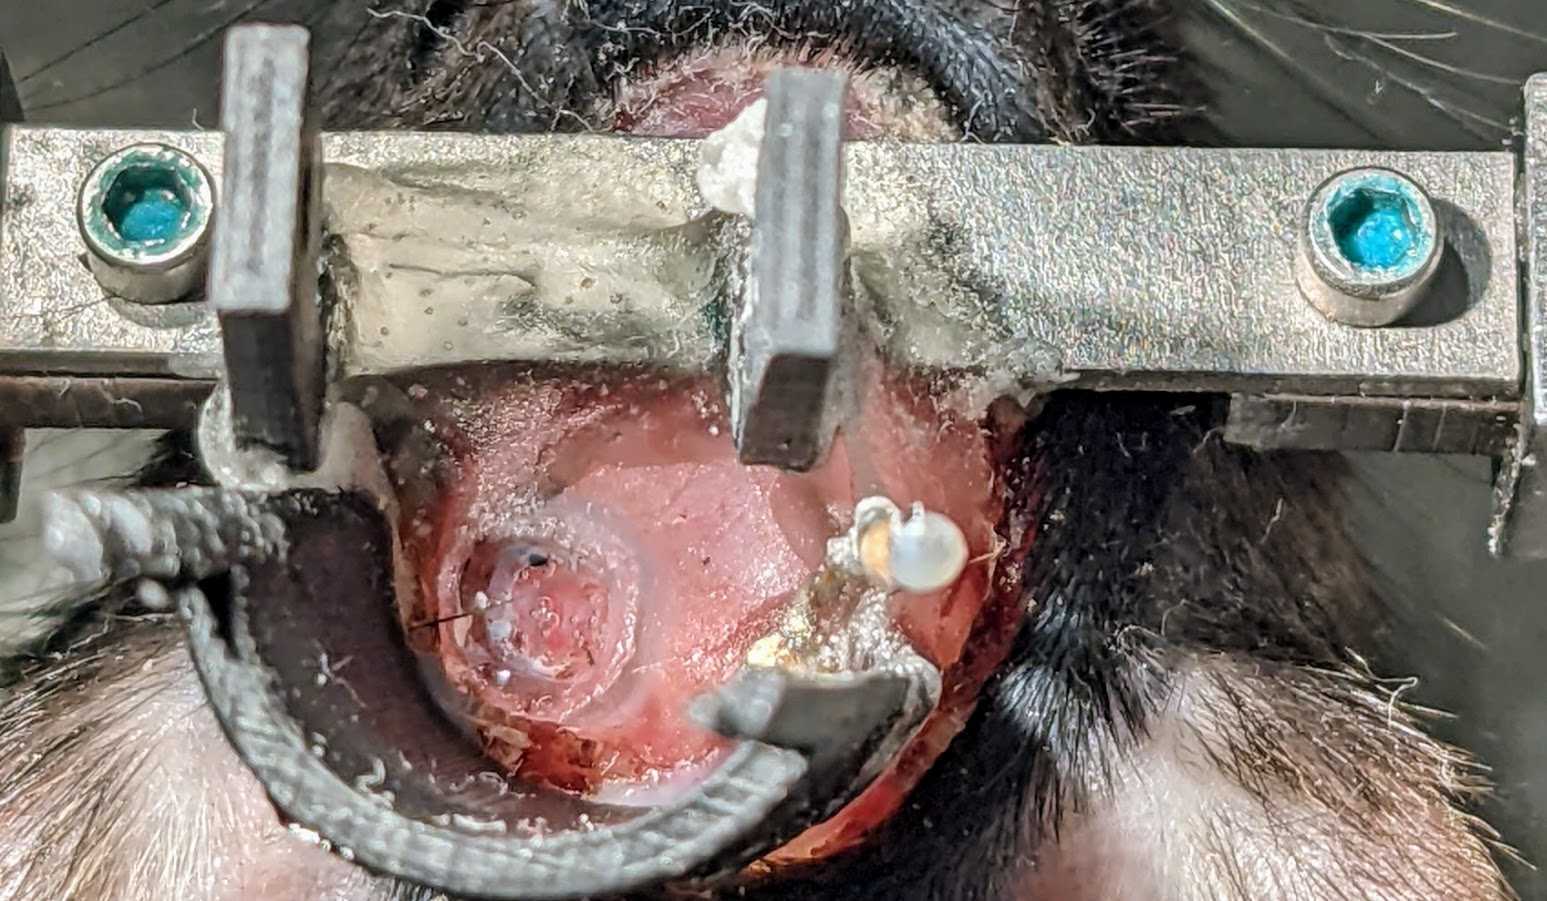
Remove all the tape to expose the screws and probe.
Cut the ground wire above the pin.
Attach the Sensapex holder and set the stereotax to the angle used in the implant surgery. Tax to the dovetail cap. A fully open Sensapex holder can be taxed in from anterior or dorsal to the dovetail holder.
Adjust the screws so the holder grips the dovetail cap.
Unscrew the wings from the body. Screws can be saved for future surgeries.
Slowly tax up to bring the probe & body piece away from the animal. Set back to 0 degrees and adjust the arm so the probe is away from the surgical field.
Lower the probe into tergazyme and let sit for 30 minutes, then rinse with dH2O.
Perfuse
Re-use probe
Probes may have residual Dow-Sil on them or dried gunk. Examine probe shanks under the stereoscope and look for changes in reflection of light along the shank. To remove Dow-Sil, soak shank in Dow-Sil DS-2025 Solvent for 10 minutes, then dip several times in 100% IPA to remove solvent.
If pieces still remain or 2.0 probe shanks are sticking together, dip into ultrasonic cleaner for 10 second intervals in 100% IPA, examining between each dip and stopping once shank is clean or at least improved. This will quickly clear small residual pieces and will dry out larger pieces so they can be removed manually.
If the previous step still wasn't sufficient, move to manual cleaning and shank separation using the 30g needle. Mount the probe on the stereotax, shanks facing down and PCB facing you as if you were about to insert the probe during a surgery. Visualize through the stereoscope, focused so you can see the whole shank. Brace your hand against a solid surface and your second hand to steady it. Hold the syringe parallel to the table and bring the needle perpendicular to the shanks. Insert the bent tip between the probe shanks high on the probe and gently move downwards until they separate. The shanks are designed to safely flex towards and away from you along this axis, but can break if flexed left or right, so move the needle up and down only, following the shanks. It's okay if the needle catches on the shanks and pulls them toward or away from you; keep moving slowly down or up, never sideways, until it releases.
Assemble following the Assembly protocol, skipping the steps that modify the probe (sharpening, soldering wire to the PCB, attaching the body piece). Extend the ground wire back to full length and attach a new pin.


