outlineR: Artefact Processing and Extraction Protocol
David Nicolas Matzig
R
Archaeology
Stone Tools
Geometric Morphometrics
Outline Analysis
Image processing
Momocs
outlineR
Rstats
Lithic Studies
Lithics
2D
Digitization
Digital Humanities
Disclaimer
THE PROTOCOLL IS PROVIDED "AS IS", WITHOUT WARRANTY OF ANY KIND, EXPRESS OR IMPLIED, INCLUDING BUT NOT LIMITED TO THE WARRANTIES OF MERCHANTABILITY, FITNESS FOR A PARTICULAR PURPOSE AND NONINFRINGEMENT. IN NO EVENT SHALL THE AUTHORS OR COPYRIGHT HOLDERS BE LIABLE FOR ANY CLAIM, DAMAGES OR OTHER LIABILITY, WHETHER IN AN ACTION OF CONTRACT, TORT OR OTHERWISE, ARISING FROM, OUT OF OR IN CONNECTION WITH THE SOFTWARE OR THE USE OR OTHER DEALINGS IN THE SOFTWARE.
Abstract
Geometric morphometric methods (GMM) in archaeology are experiencing a sharp increase in application and popularity since the last decade or so and seem to be more popular now than ever. In general, they constitute a major advance vis-à-vis earlier qualitative descriptions, typological assessment, or linear measurements of artefacts. GMM approaches can be divided into methods that use landmarks, and those that use trigonometric descriptions of whole outlines. The bulk of archaeological applications of GMM have so far relied on landmark-based approaches, although a surge of recent studies is demonstrating the utility of whole-outline approaches using so-called elliptical Fourier analysis and cognate approaches. There currently exist various standalone software applications as well as some R-packages for the extraction and analysis of landmarks and whole-outlines. However, the extraction step always involves a considerable amount of manual processing and manual tracking of either the landmarks or whole-outlines, which proves to be the definite bottleneck of many studies. In this protocoll I introduce the R-package outlineR (Matzig 2021) that allows a fast and efficient extraction of whole-outlines from multiple artefacts on images, as well as all necessary preparatory steps that lead up to it.
References
Barthelme et al. 2020 : Barthelme, S., Tschumperle, D., Wijffels, J., Assemlal, H. E., & Ochi, S. (2020). imager: Image Processing Library Based on “CImg” (0.42.3) [Computer software]. https://CRAN.R-project.org/package=imager
Bonhomme et al. 2014 : Bonhomme, V., Picq, S., Gaucherel, C., & Claude, J. (2014). Momocs: Outline Analysis Using R. Journal of Statistical Software, 56(13). https://doi.org/10.18637/jss.v056.i13
Matzig 2021 : outlineR: An R package to derive outline shapes from (multiple) artefacts on JPEG images. Zenodo. https://doi.org/10.5281/ZENODO.4527469
Pau et al. 2010 : Pau, G., Fuchs, F., Sklyar, O., Boutros, M., & Huber, W. (2010). EBImage—An R package for image processing with applications to cellular phenotypes. Bioinformatics, 26(7), 979–981. https://doi.org/10.1093/bioinformatics/btq046
Before start
Steps
Workspace Set-up
For this project, create a new folder on your computer. In the following protocol, this project folder will be referred to as "/project_folder".
Inside of "/project_folder" create the following subfolders:
- one for the raw images ("/project_folder/raw"),
- one for the prepared images ("/project_folder/prep"),
- one for the single artefacts as a subfolder of the prepared images folder ("/project_folder/prep/single").
Expected folder structure:
|
├── project_folder/
│   ├── raw/    # raw image data
│   └── prep/   # prepared image data
│        └── single/   # single artefacts
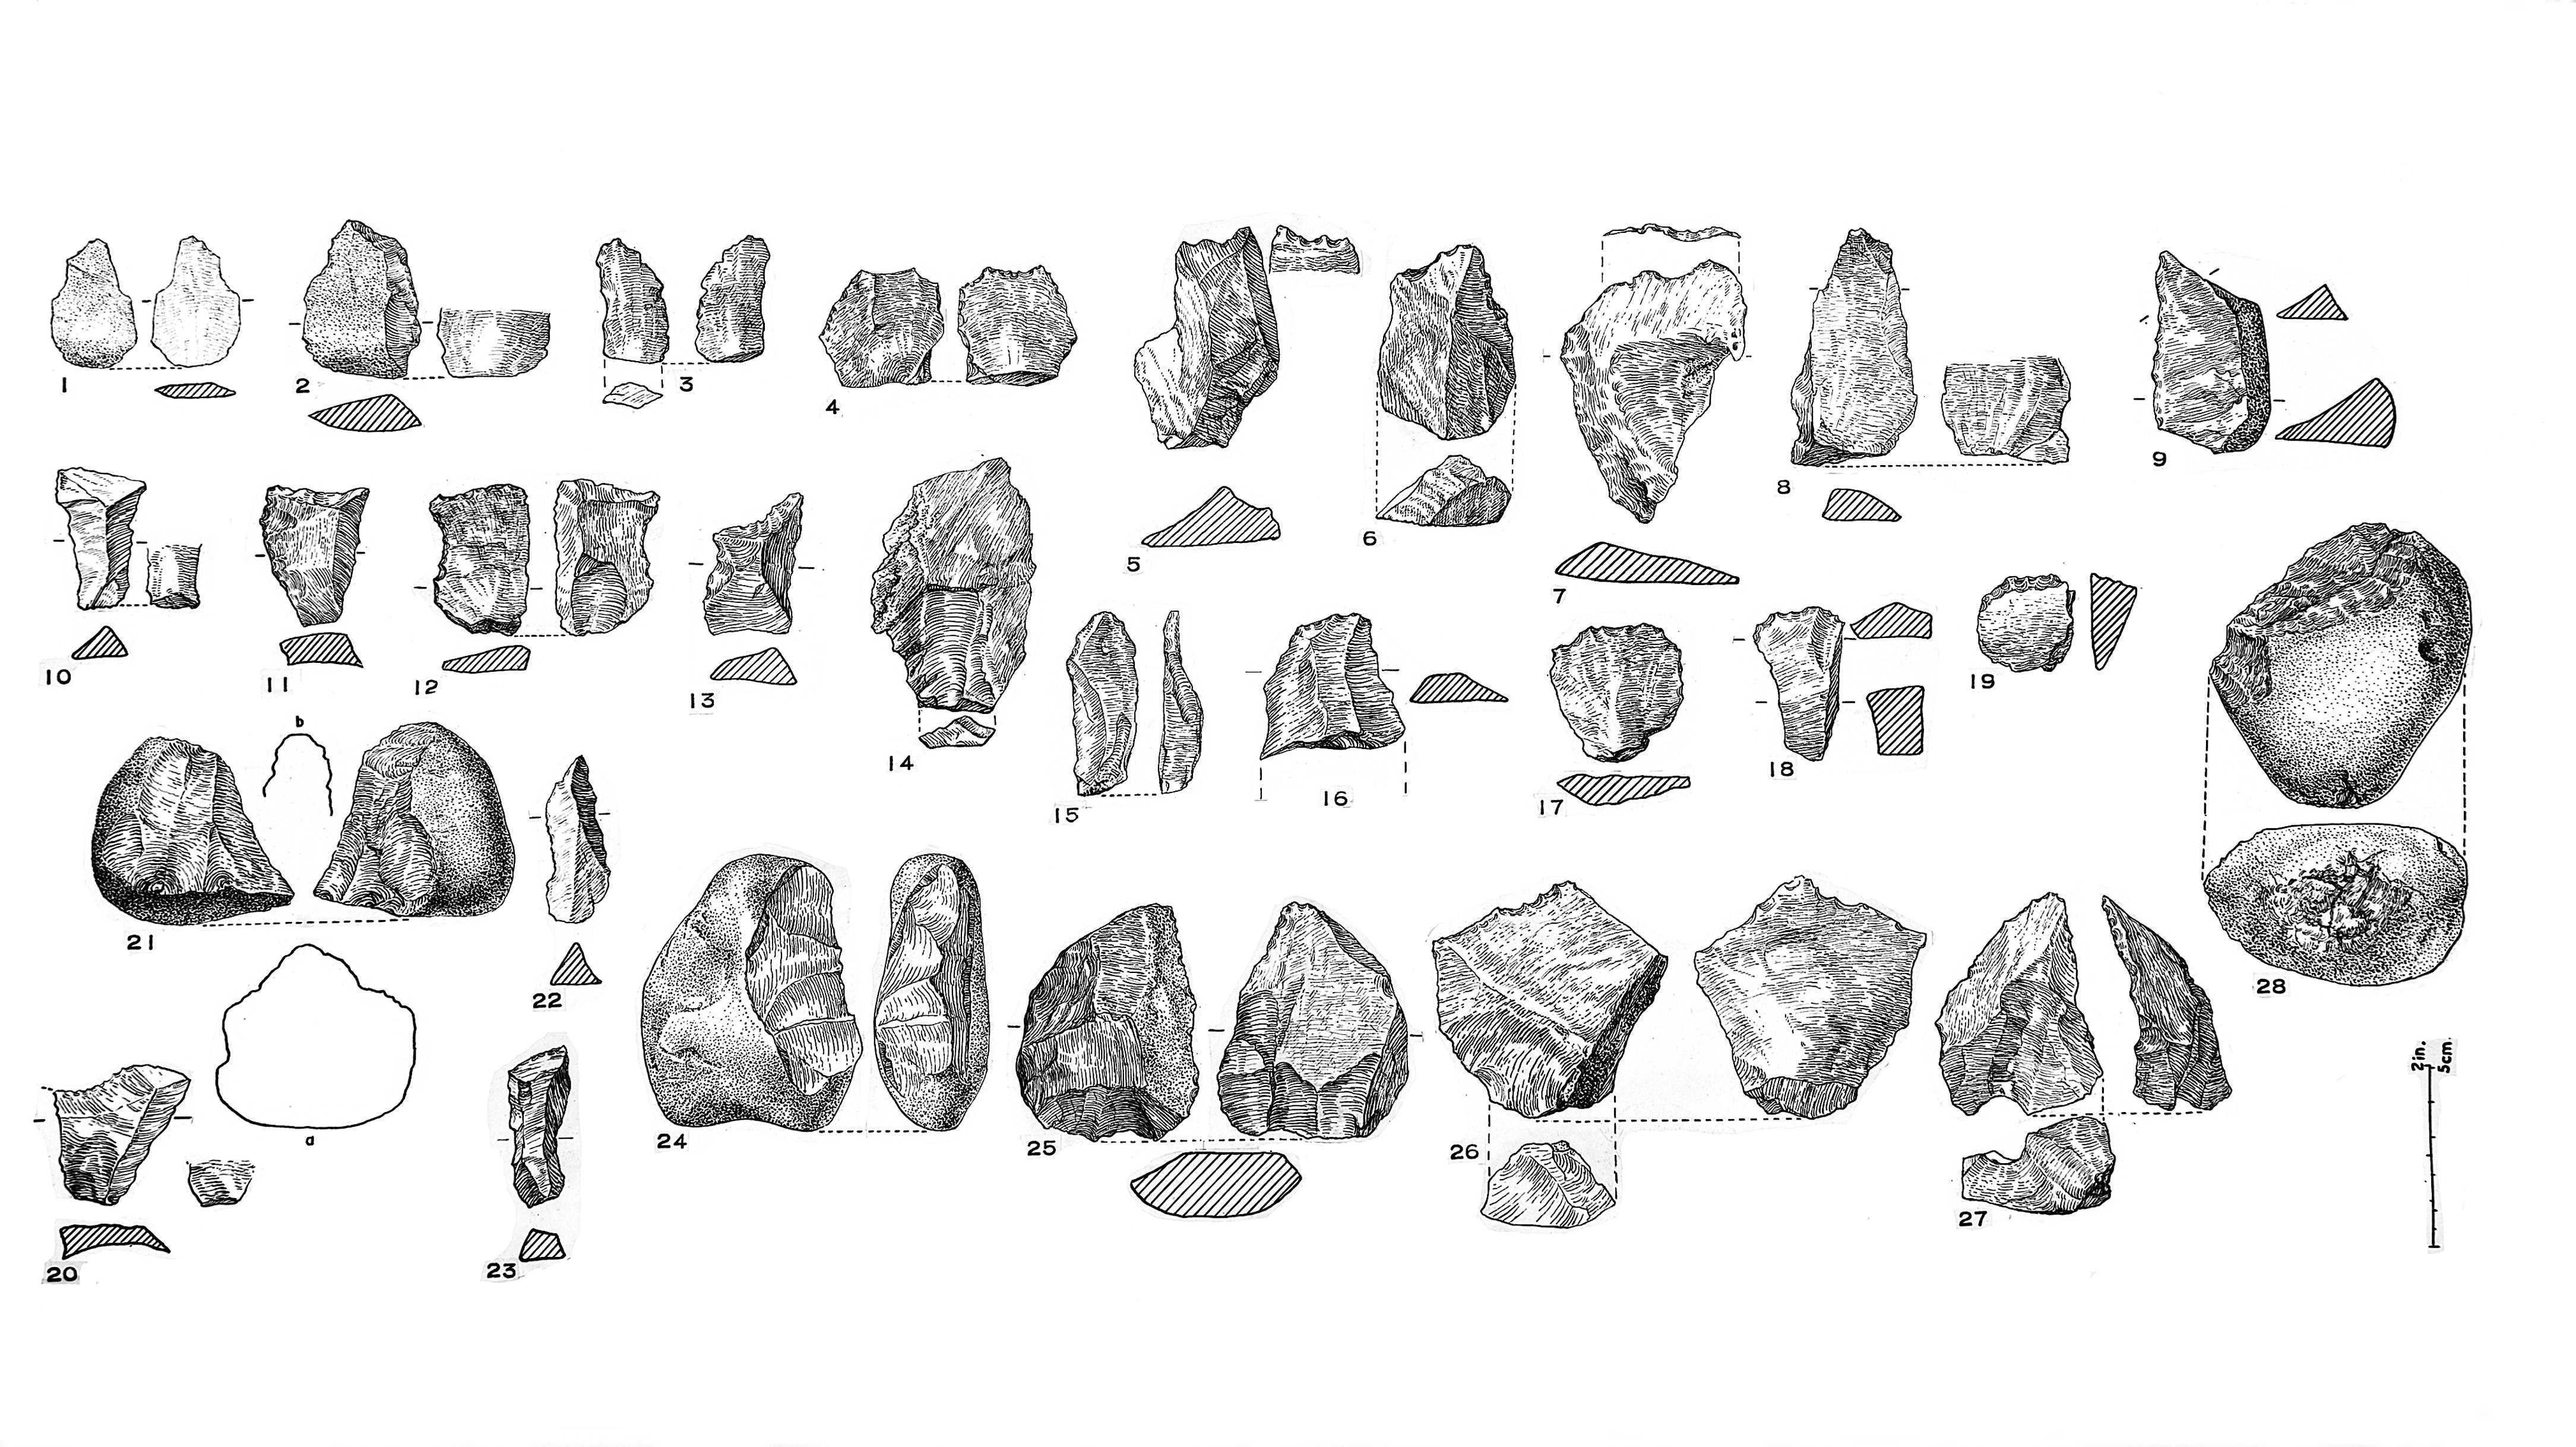
For the purpose of this protocol, we are going to use a picture of Morar Quartz Industry from Wellcome Collection (https://wellcomecollection.org/works/th7egtfj; CC BY 4.0). The image serves as proxy for a typical figure in a catalogue of an archaeological publication.
Save it under "/project_folder/raw" as "morar_quartz_industry.jpg".

Image Preparation
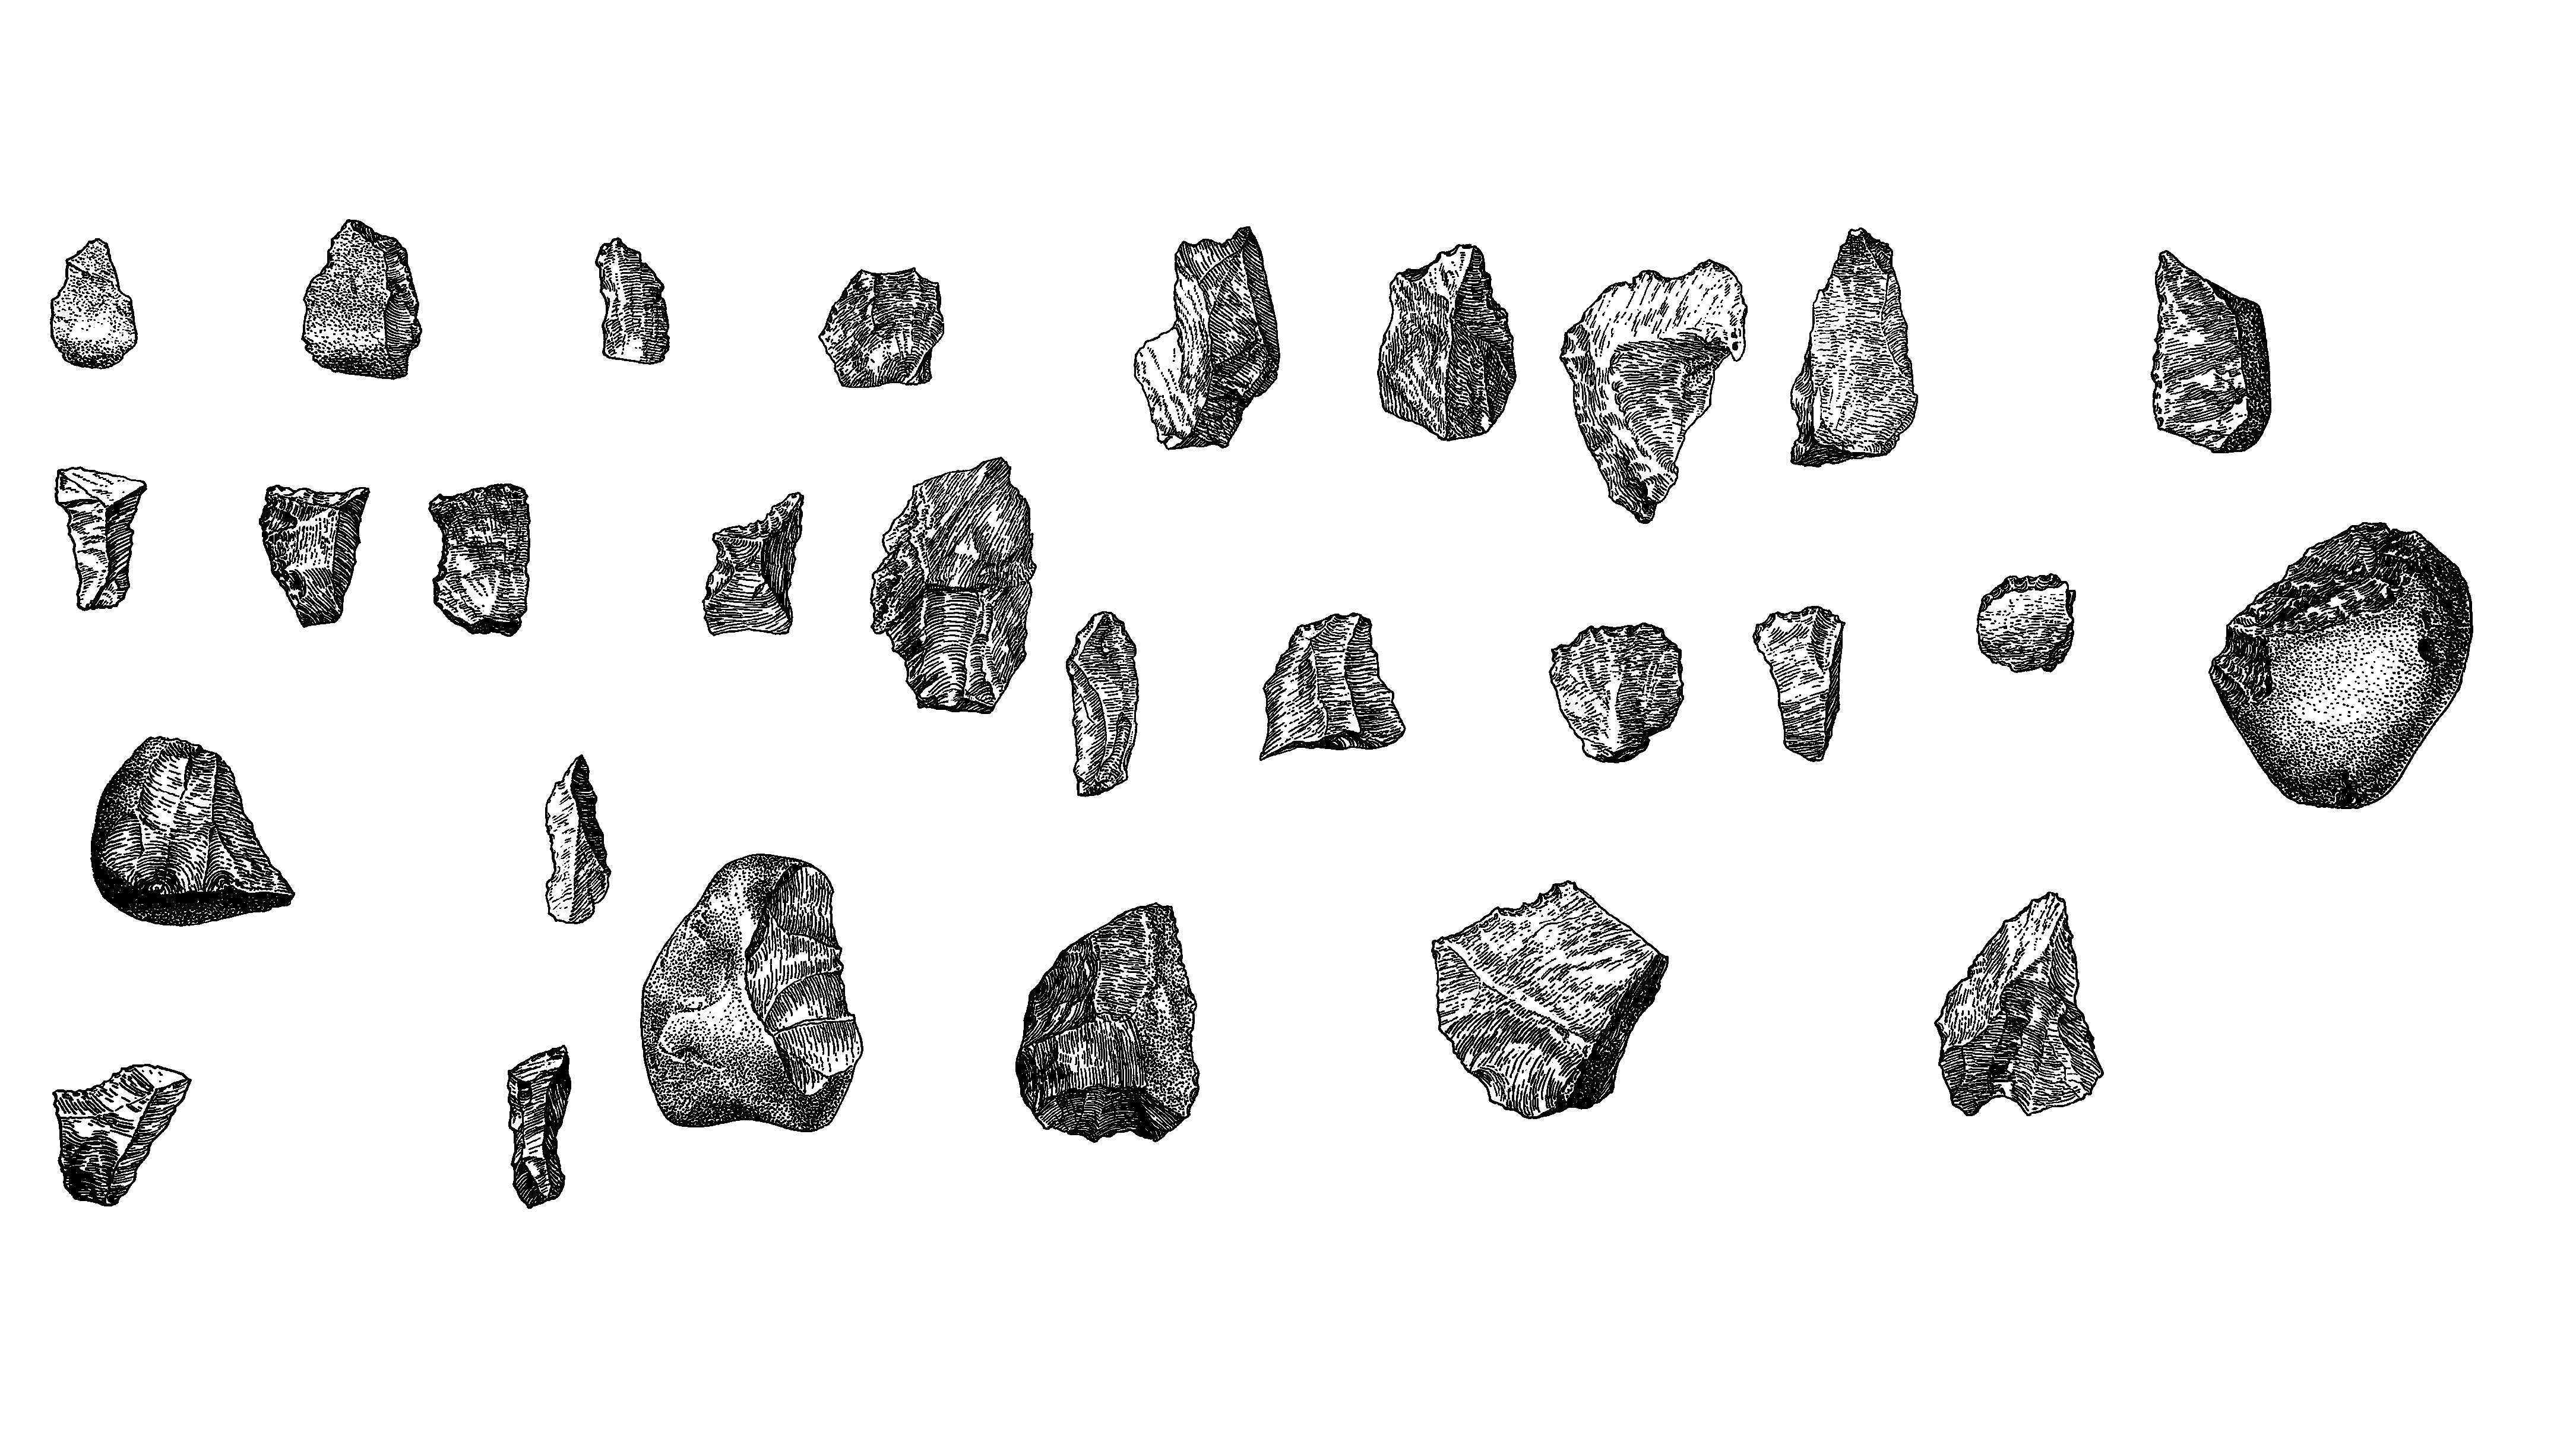
Typically, figures of archaeological (stone) artefacts contain scale bars, numberings, and other descriptions or details, or in the case of photographs, heterogenous backgrounds. This section describes, how to manually remove all elements in a picture, that do not belong to the artefact itself.
For every raw image:
Open GIMP
Software
| Value | Label |
|---|---|
| GNU Image Manipulation Program (GIMP) | NAME |
| Ubuntu | OS_NAME |
| 18.04 | OS_VERSION |
| GIMP Development Team | DEVELOPER |
| https://www.gimp.org/ | LINK |
| 2.8 | VERSION |
Load raw, unprepared picture ("/project_folder/raw/morar_quartz_industry.jpg").
Remove all numbering, scales, text, ventral and lateral views, incomplete artefacts, etc. using i.e. the Rectangle select tool in GIMP in combination with the "delete" key on your computer's keyboard.
Check if picture is in grayscale. Go to: Image → Mode → Grayscale e
Threshold/binarize the image to get clear, thick lines around the artefacts. Go to:
Color → Threshold
Save the prepared image under "/project_folder/prep" using the same filename as the raw image.
Scaling Factor - Create TPS File
Build a .tps file into which all filenames of the prepared images are written. This file is needed for Step 4: Scaling Factor - Get Scaling Factor .
This step requires tpsUtil32 by F. James Rohlf (http://www.sbmorphometrics.org/soft-utility.html).
Software
| Value | Label |
|---|---|
| tpsUtil32 | NAME |
| Microsoft Windows | OS_NAME |
| F. James Rohlf | DEVELOPER |
| http://www.sbmorphometrics.org/soft-utility.html | LINK |
| 1.81 | VERSION |
Start tpsUtil and navigate to:
Operations → Build tps file from images
In the field Input directory click on Input :
    1. navigate to “/project_folder/raw”,

    2. select the first (or any) picture,

    3. under  ***Files of type***  select  ***JPEG Bitmap,***


    4. click  ***Open*** .
In the field Output file click on Output :
    1. navigate to “/project_folder/raw”,

    2. create a .tps file with a sensible name that uses underscores instead of empty spaces, and no special characters.
In the field Actions click on Setup :
    1. make sure to ***Include all*** ,


    2. do not  ***include path*** ,


    3.  ***Create*** .
Scaling Factor - Get Scaling Factor
With tpsDig we are going to derive the pixel-to-cm scaling factor, using the scale bars on the raw images.
Software
| Value | Label |
|---|---|
| tpsDIG2w32 | NAME |
| Microsoft Windows | OS_NAME |
| F. James Rohlf | DEVELOPER |
| http://www.sbmorphometrics.org/soft-dataacq.html | LINK |
| 2.31 | VERSION |
Load the .tps file:
File → Input source → File
and select the .tps file created in tpsUtil in Step 3: Scaling Factor - Create TPS File .
For each image, set the pixel to centimeter ratio.
In the “Image Tools” window ( Options → Image tools… ):
    1.  ***Set scale*** ,


    2. click on the starting point and the end point of the scale in the image,

    3. type in the length of the measured scale/reference length,

    4. make sure it’s the correct measure (i.e. centimeters, millimeters,..),

    5. click  ***OK*** .


    6. If there is more than one raw image to scale, go to the next image by clicking on the  ***red arrow***  pointing to the right in the top left corner.
File File → save data save data
outlineR
The R package outlineR (Matzig 2021) is a helpful wrapper around functions from mainly the Momocs (v. 1.3.0; Bonhomme et al. 2014), EBImage (v. 4.28.1; Pau et al. 2010), and imager (v. 0.42.3; Barthelme et al. 2020) packages. It is designed for the fast and easy extraction of single outline shapes from images containing multiple thereof, such as the one we prepared in the steps above.
To use the package we require a current version of the statistical programming language R (≥ 3.6.3; R Core Team 2020). An integrated development environment such as RStudio is recommended.
Software
| Value | Label |
|---|---|
| R | NAME |
| R Core Team (2020) | DEVELOPER |
| https://www.r-project.org/ | LINK |
| ≥ 3.6.3 | VERSION |
Software
| Value | Label |
|---|---|
| RStudio | NAME |
| RStudio Team (2020) | DEVELOPER |
| https://www.rstudio.com/products/rstudio/ | LINK |
| ≥ 1.2.5033 | VERSION |
Inside of R, outlineR can be installed via the following command:
# from https://github.com/yesdavid/outlineR
remotes::install_github("yesdavid/outlineR",
                        dependencies = TRUE)
Start Rstudio and create a new project:
    1.  **File → New Project... → Existing Directory**  _File_  → _New Project..._ → _Existing Directory_ ,


    2. navigate to "/project_folder",

    3.  ***Create Project*** .
Inside Rstudio, open an R script:
File → New File → R Script File → New File → R Script .
Inside the R script we will execute all following commands.
Load outlineR:
Define paths:
# Define where the prepared images containing multiple artefacts are right now.
inpath <- file.path(".", "prep")

# Define where the single artefacts should be saved.
outpath <- file.path(".", "prep", "single")
Extract the artefacts from the image(s):
outlineR::separate_single_artefacts(inpath = inpath,
                                    outpath = outpath)
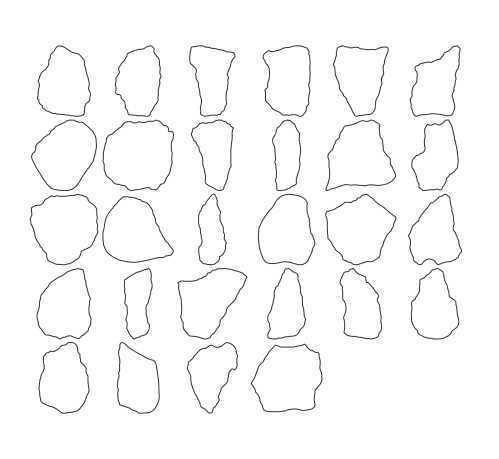
```Afterwards, the images of the single artefacts should be saved in the "./prep/single" folder which was defined as outpath in the code. The single artefact images get individual names based on the original file name and an extension consisting of "_pseudo_no_" and a consecutive number. The extraction process does not follow a left-to-right, top-to-bottom scheme and therefore the pseudo numbers will not reflect any (potential) prior numbering on the raw image.

<Note title="Safety information" type="error" ><span>If there is empty images in the "./prep/single" folder, re-check the prepared images in "./prep" for single pixels outside the artefacts or open outlines. If necessary, delete all images in outpath. Then, re-run this command.</span></Note>
Import the .tps-file:
tps_df <- outlineR::tps_to_df(file.path("path", "to", "file.tps")
Extract the outlines of all separated artefacts and combine them with their scaling factor:
single_outlines_list <- outlineR::get_outlines(outpath = outpath,
                                               tps_file_rescale = tps_df)
If no .tps-file exists, run the following command:
single_outlines_list <- outlineR::get_outlines(outpath = outpath,
                                               tps_file_rescale = NULL)
Combine the single outlines into a common "Out" file (a specific filetype from the Momocs R package):
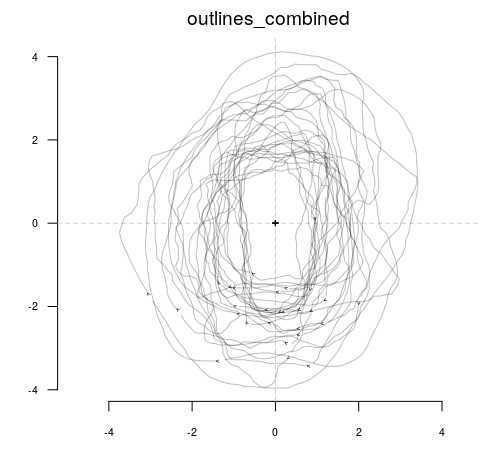
outlines_combined <- outlineR::combine_outlines(single_outlines_list = single_outlines_list)


